
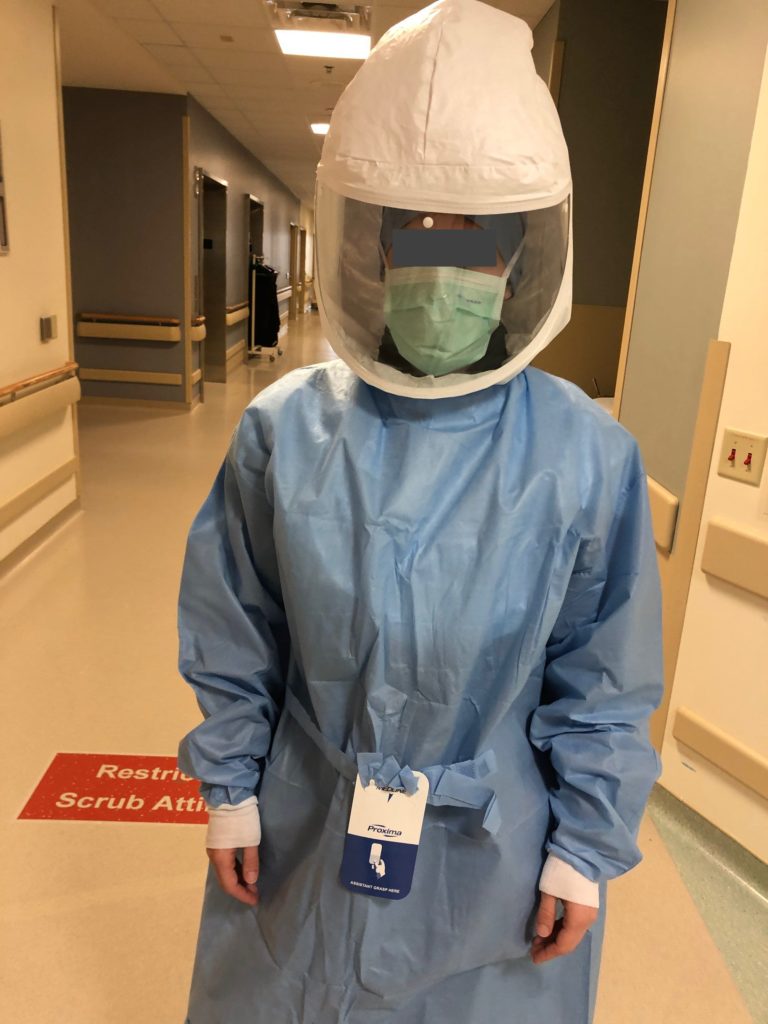
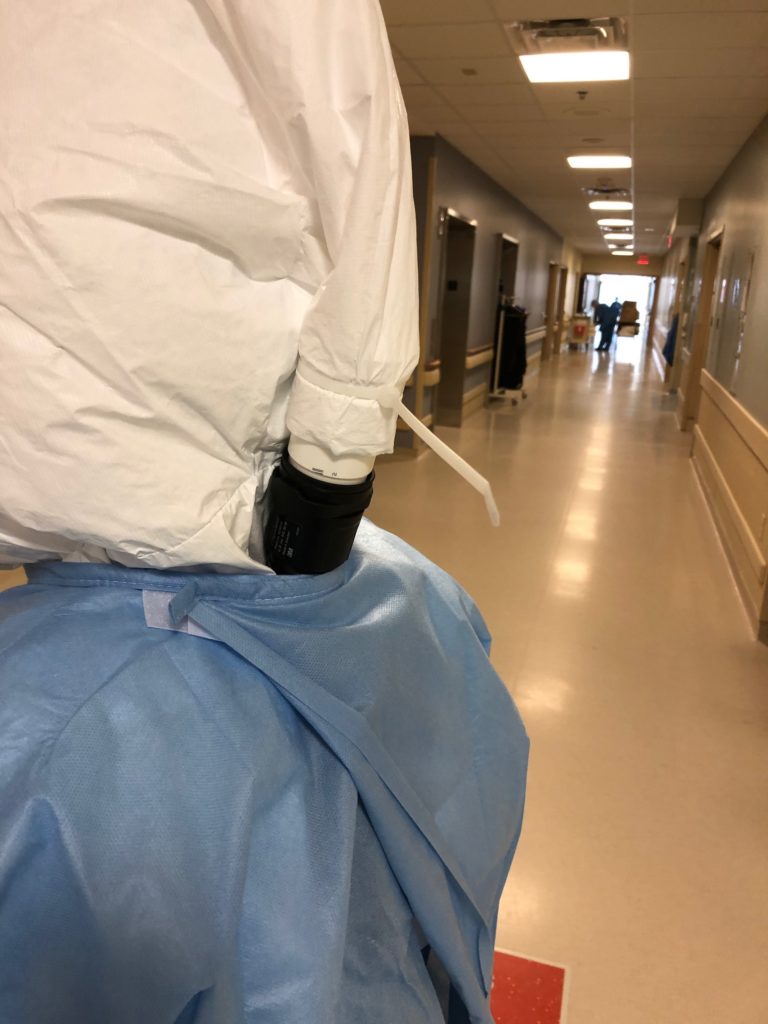
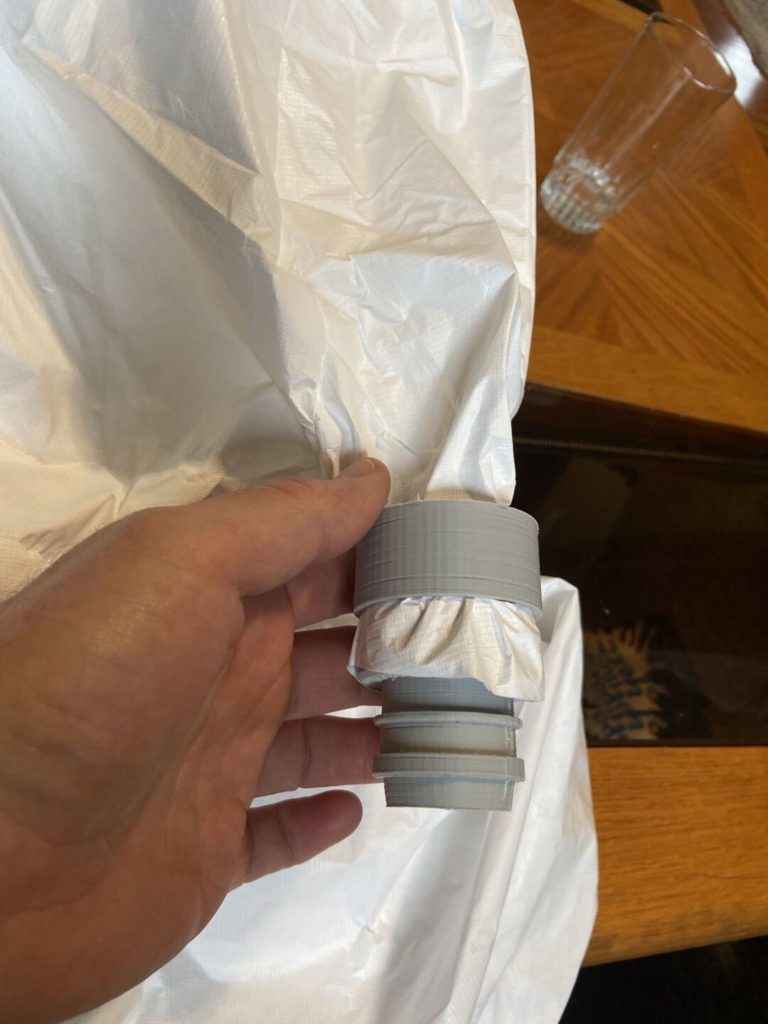
Continuing our pandemic saga, a local hospital needed a PAPR hood adapter to transition from a plastic “cloth” hood to a 3M Adflo PAPR hose. They’ve been taping the corrugated hose to the plastic hood flap but they need to be able to reuse the hood and sanitize the hose, all of which are a lot of work that can be avoided with a simple cleanable adapter.
The easiest approach would have been 3D printing these, because the hood is under positive pressure any leakage should be pushed outwards. There are a few issues though:
- The only printers we have available are FDM, meaning we’re printing them standing on end so the layers are aligned with the tension load of the hose/hood, the potential failure mode is a shear across the layer which would be catastrophic
- FDM printers have high porosity, much larger than the particulate we’re trying to block. Although when the hood is powered it’s under pressure, there may be exposure to a hazardous environment when the blower is off (power runs out, it’s been removed for storage/etc), meaning we could be absorbing particulate then blowing it into the user’s helmet when it’s powered on again
- 3D printing at accelerated speeds yielded about an adapter every hour and a half, we needed to make at least 32 of them and possibly more with a goal of a few day turnaround. Although we have a large farm, this is still a lot of print time and post-print cleanup
- 3D printing leaves a lot of sharp/hard edges from stringing and layer to layer bonding. We don’t want to have our adapter damage/abrade the hood or we’re causing more harm than good
- We love 3D printing, but it’s sometimes not an appropriate application beyond prototyping. . .
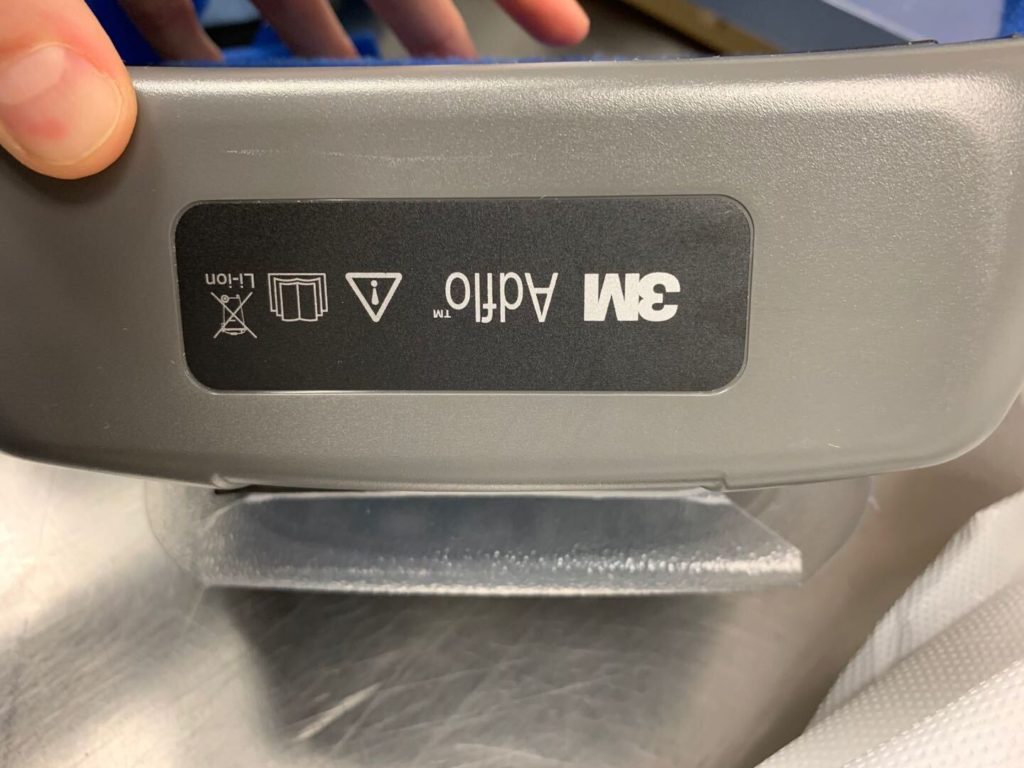
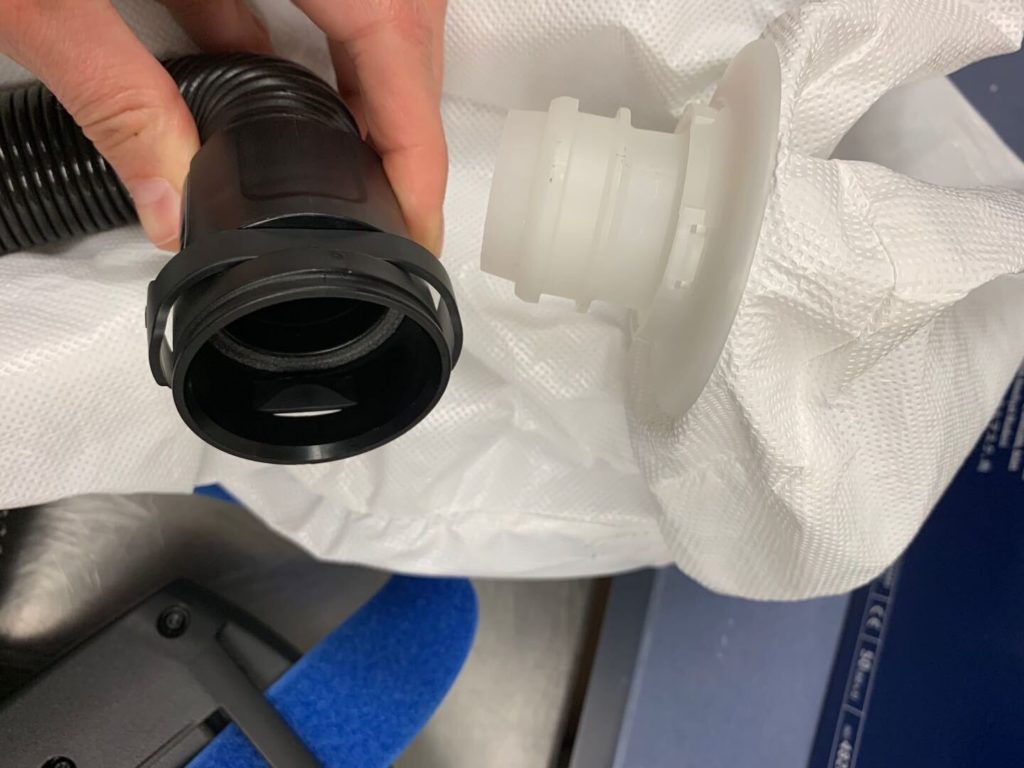
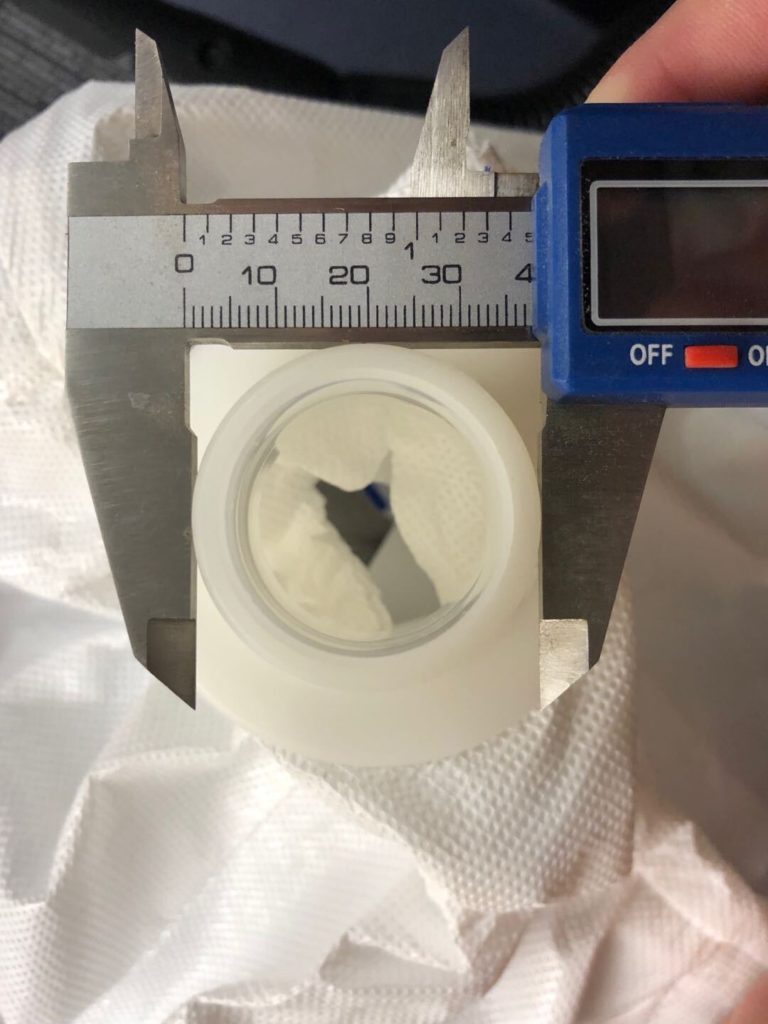
The first step was trying to ascertain the scope of the challenge – quantity, turnaround, cost, etc. In this case the desired cost was zero, quantity high enough to merit some optimization, and the turnaround fast. We tried to hunt down a model and once we figured out the model of the hose (3M Adflo) it was quick to find this adapter on Thingiverse. The hospital didn’t have a working caliper but via some pictures with a reference ruler in frame we were able to confirm the dimensions were in the ballpark:
The next step was brainstorming available materials. The OD and ID matched up reasonably well with 1-1/4″ schedule 80 pipe, but on a weekend it wasn’t feasible to pick up thick wall plumbing pipe as all the true plumbing supply stores were closed. We stumbled around for a bit until we realized that a 1″ schedule 40 pipe ID was still great, but if we glued a coupler onto the outside it’d get us up to the OD ring size we needed to get the hose coupler to lock.
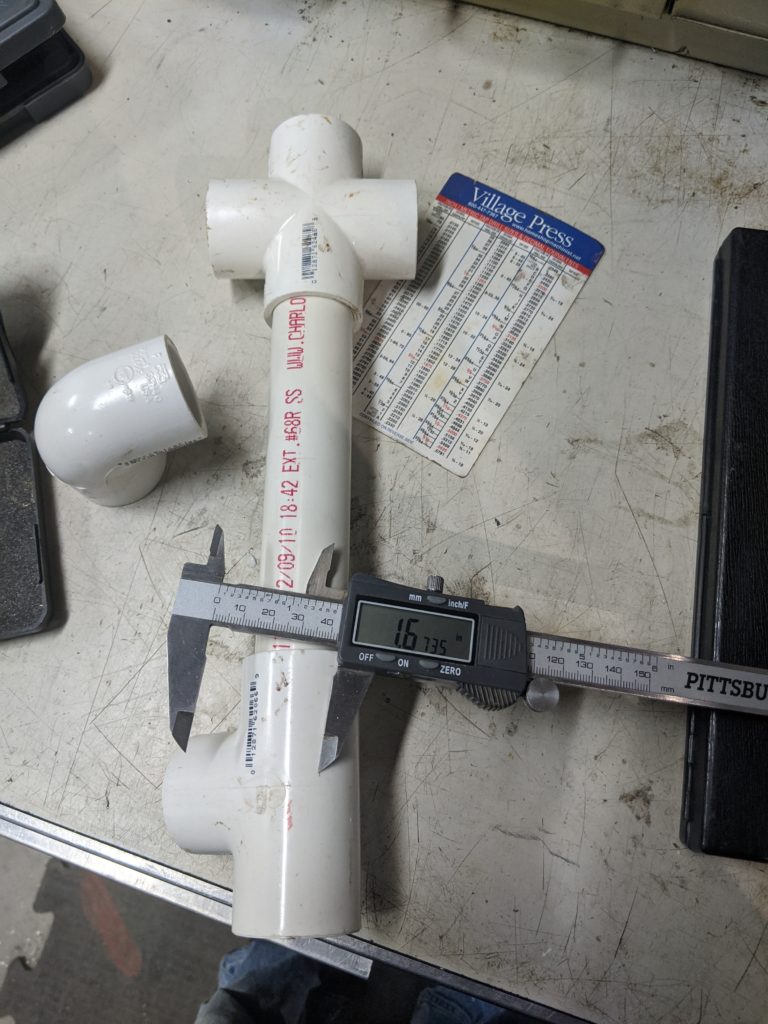
A run to the hardware store yielded plenty of fittings:
We weren’t sure how to couple to the hood, we thought a slip ring to a taper lock would work well and wouldn’t require tools or any other supplies so we printed a sample:

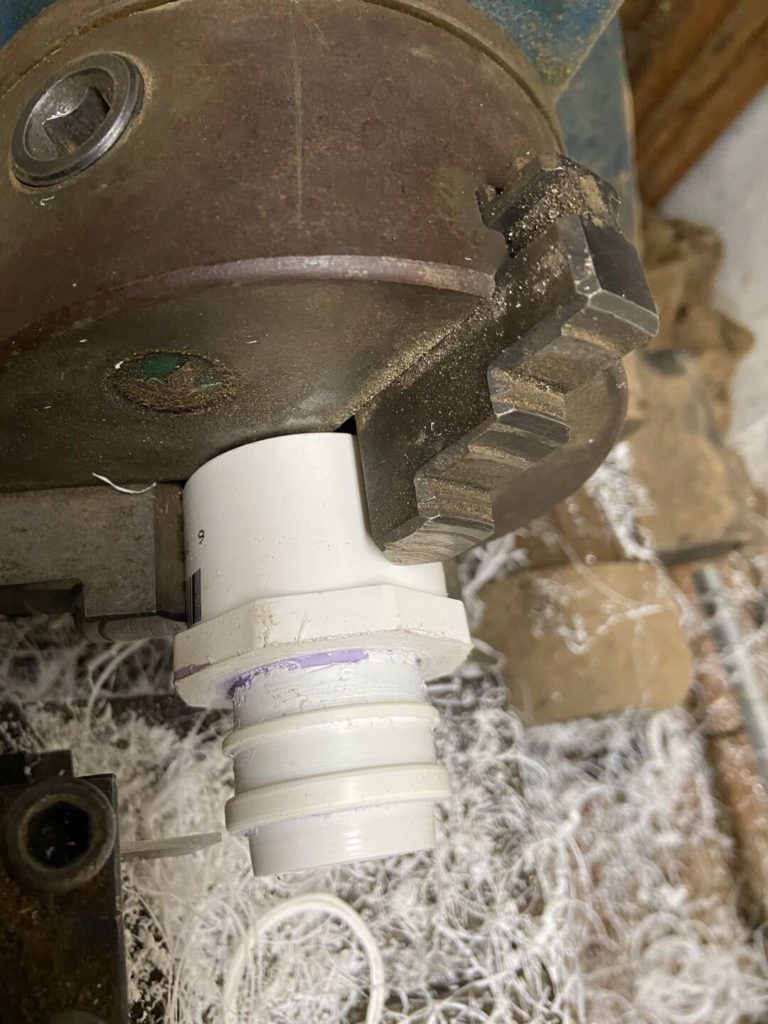
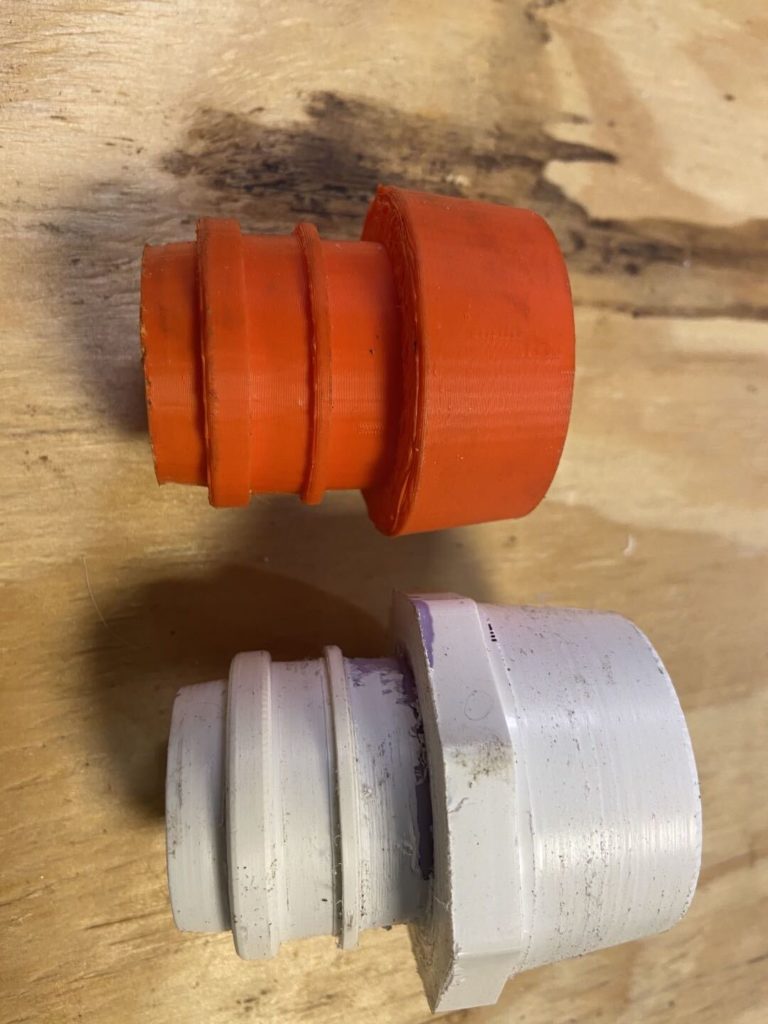
The parts locked together well so we we moved to a PVC version next on a manual lathe. The PVC taper was too slippery to lock on the fabric, so we went back to the drawing board to eventually settle on a zip tie approach.
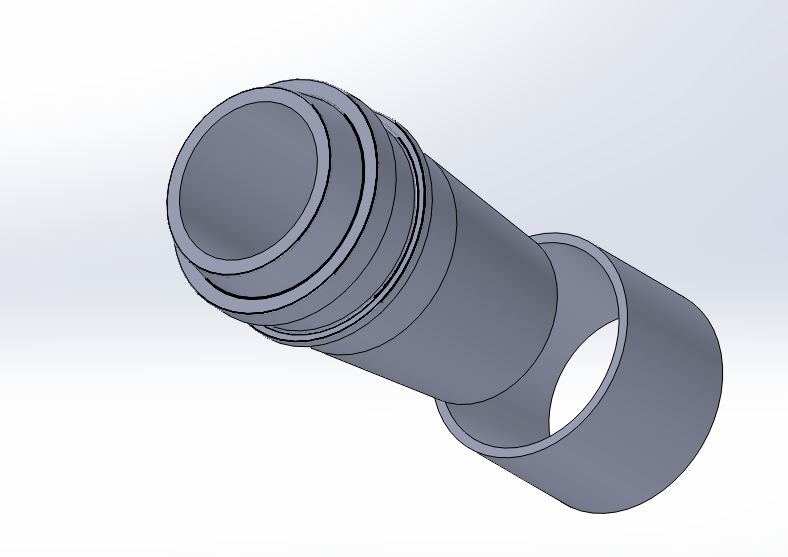
Next step was to generate a file in Fusion360 that we could use to run our Tormach 15L CNC lathe to make a prototype. Fortunately PVC cuts well and we had hammered out a practice adapter on the Adflo end in about 2 minutes. (starts off a little furry, chipbreaking plastic is hard to do grabbing a thin pipe). This was version 5 for anyone keeping track:
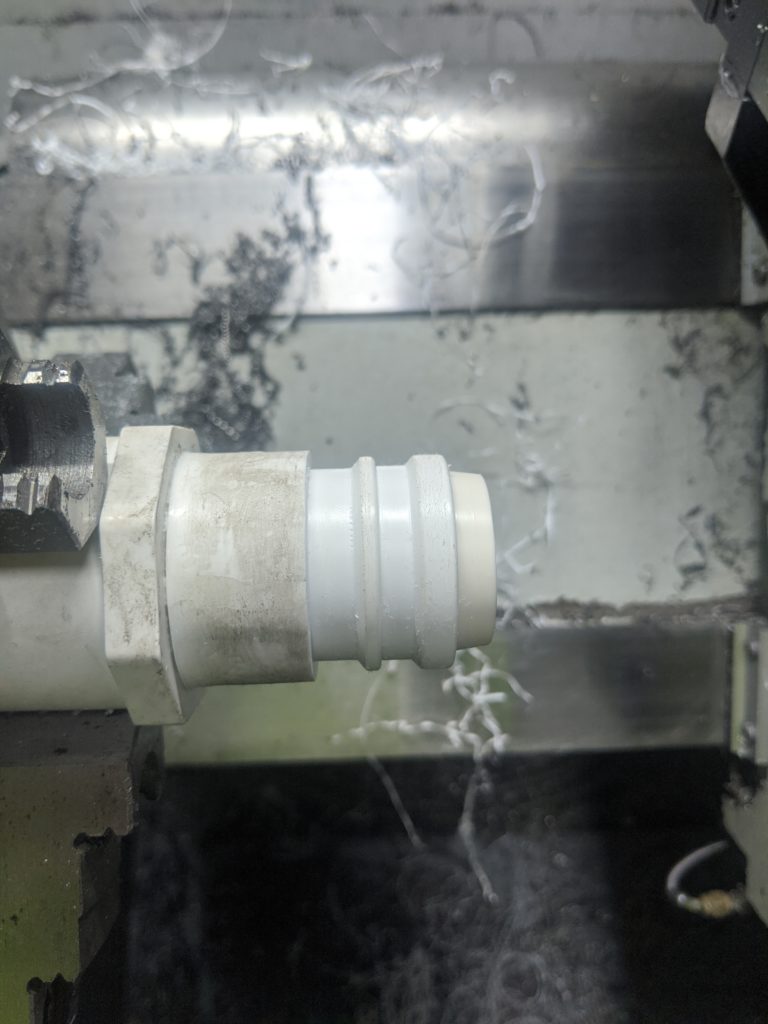
This part was tested on the PAPR hose, unfortunately these are in such demand that they can’t be taken from the hospital for fit so we have to run prototypes back and forth. The tapered nose was determined to be a little too big so we revised it and also dropped the narrow ring, it wasn’t serving any purpose on the coupling.

After 7 versions, we were ready to make a pile of them, easy enough just rinse and repeat right? We forgot one of the annoying parts about PVC pipes – the socket joints like to push out if you don’t hold them together tightly after gluing them, the coupler has a reduced center to keep you from pushing the pipe in too far, and the solvent needs to flash off for a least a day before we start cutting them or they turn into melted plastic on the lathe!
Onwards to a resolution, the first to set up the manual lathe to blast out the coupler center ring:
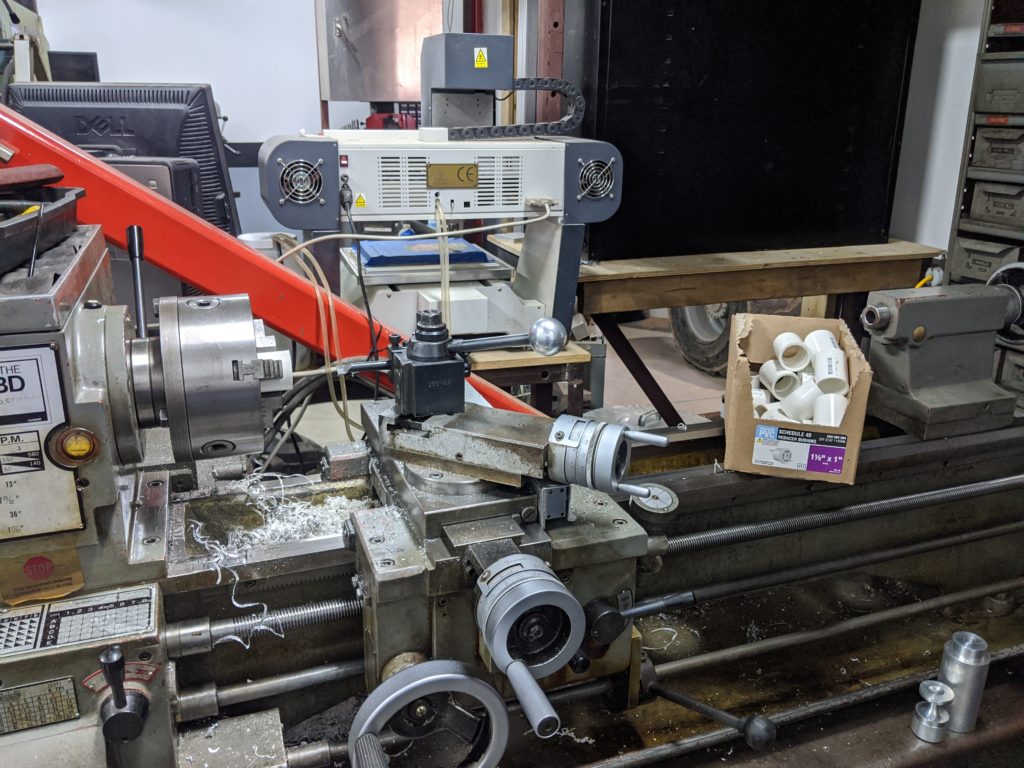
Of course PVC pipes aren’t meant to be turned/centered, so the middle isn’t quite in the middle of the coupler making an interesting time trying to turn them, basically we inserted the boring bar to the middle of the coupler, then brought it straight out until we cut a band in the middle to remove enough of the pipe stop.
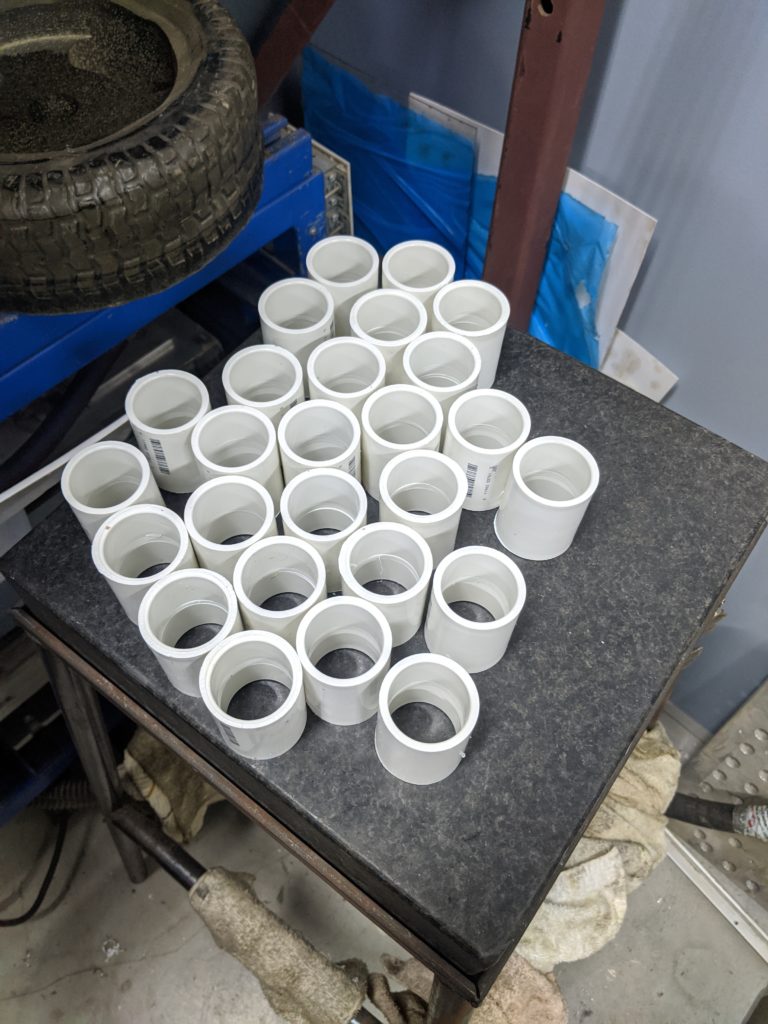
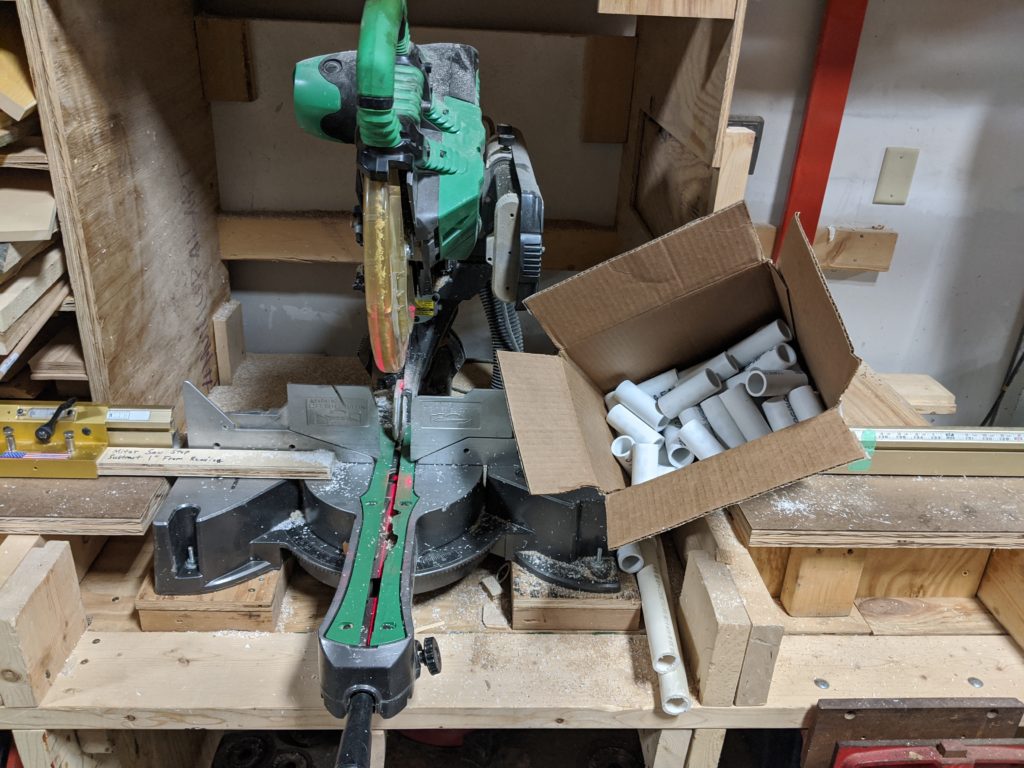
Then we needed to batch out enough pipes to length on the circular saw:
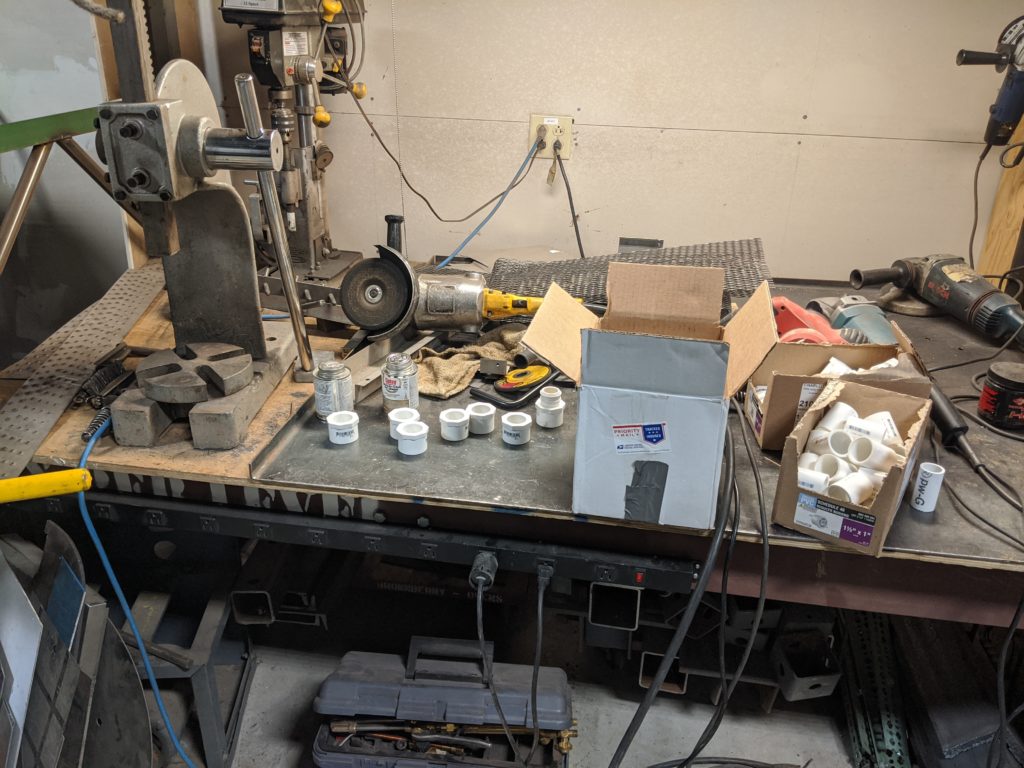
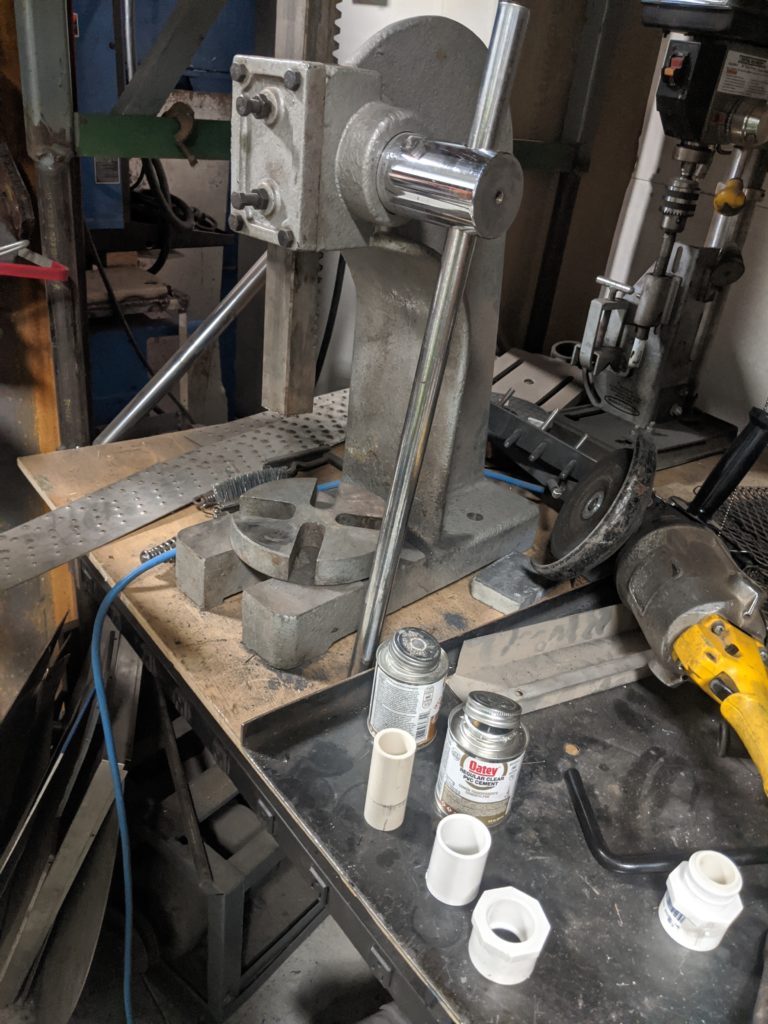
Then we brought it all together with an arbor press and a lot of clear primer/cement
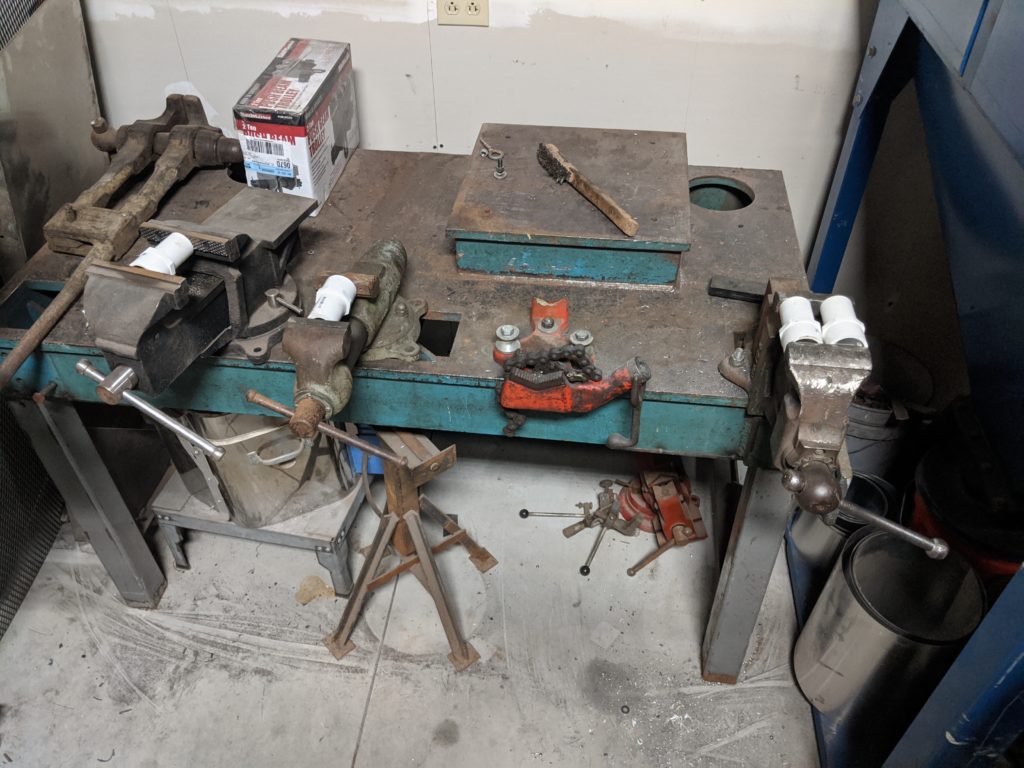
After gluing them went into a vise to hold the pieces together long enough that they were set in position, it turns out having 6 vises in the welding shop is sometimes very handy.
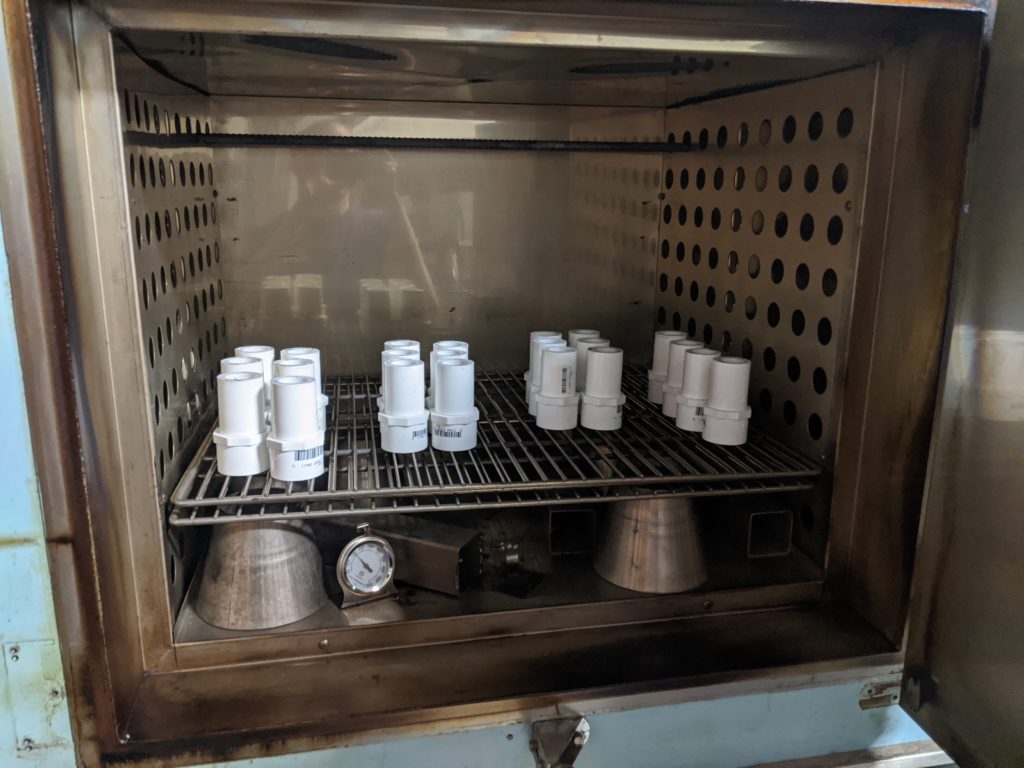
The next step is to flash off the remaining glue in the industrial oven at low temperature, doing so we can accelerate the drying rate to just a few hours.
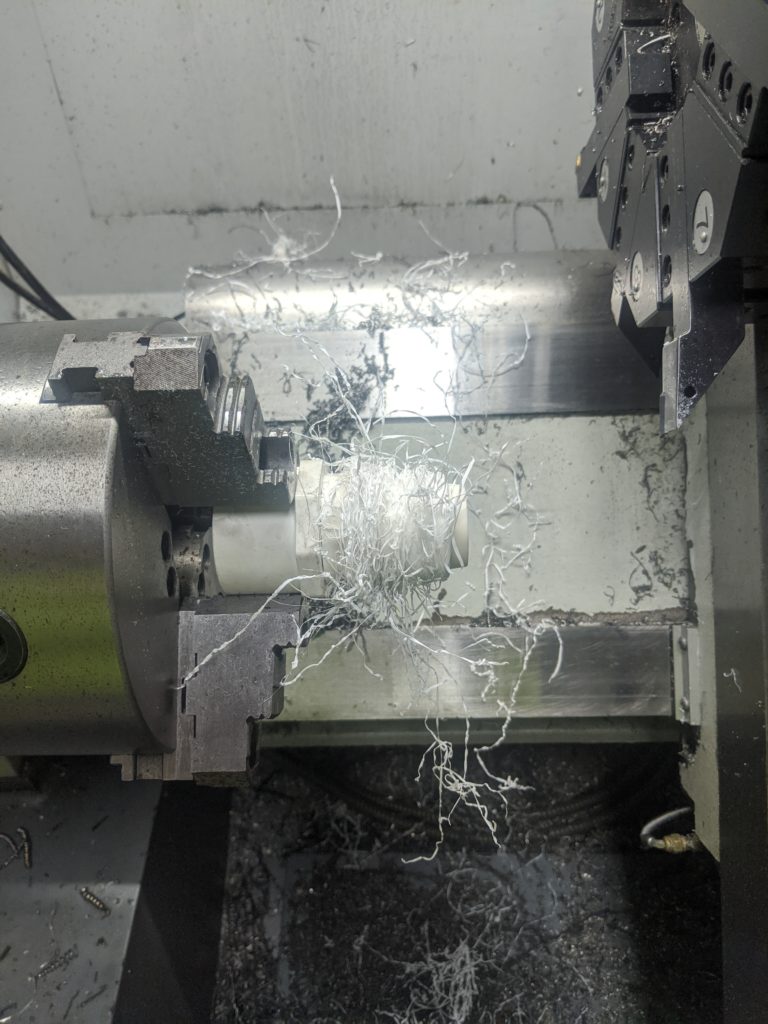
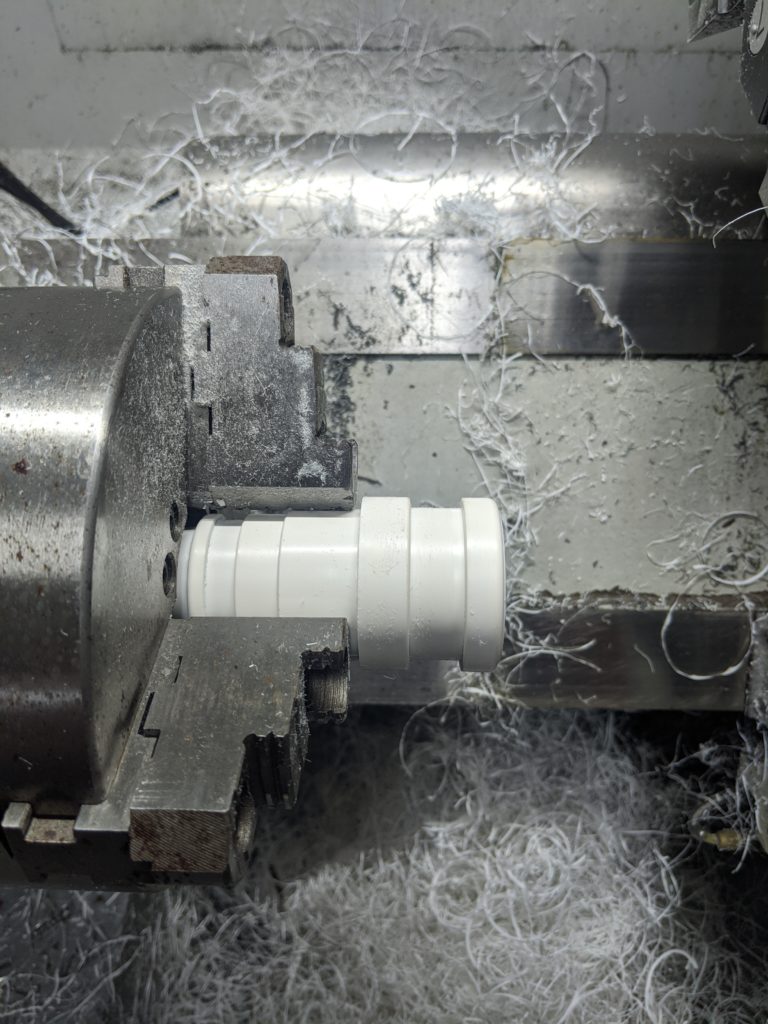
Then it’s on to the CNC lathe to first cut the hose coupler side
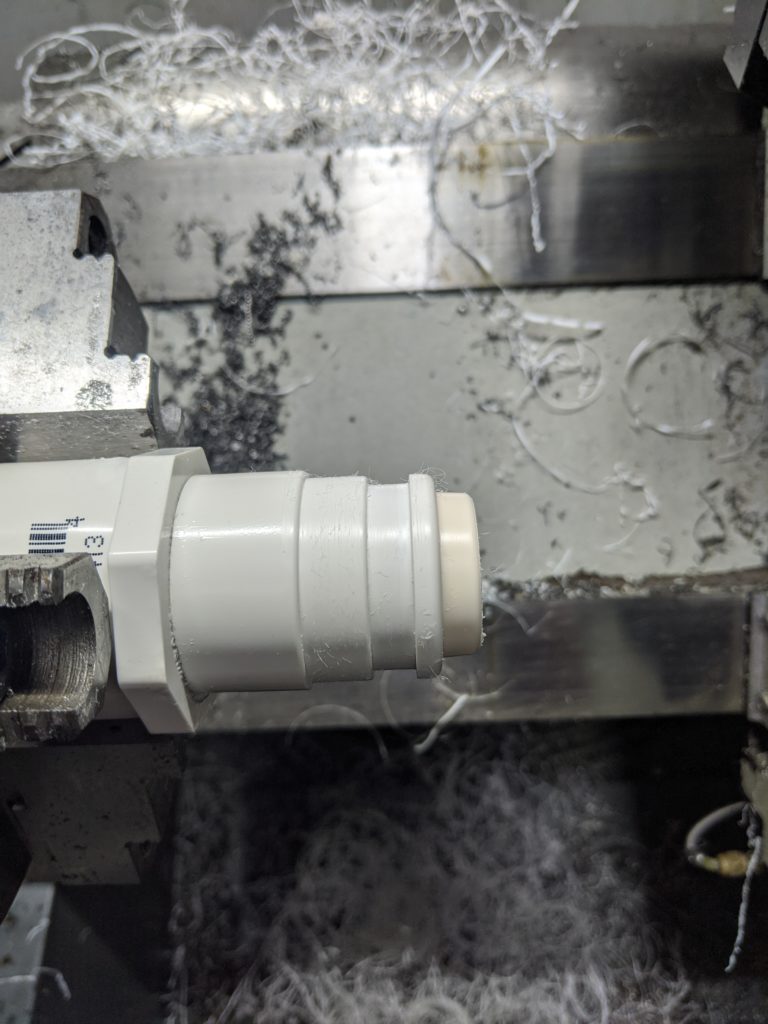
Then flip to cut the hood zip-tie slot and rinse and repeat until we’re done a few hours later:

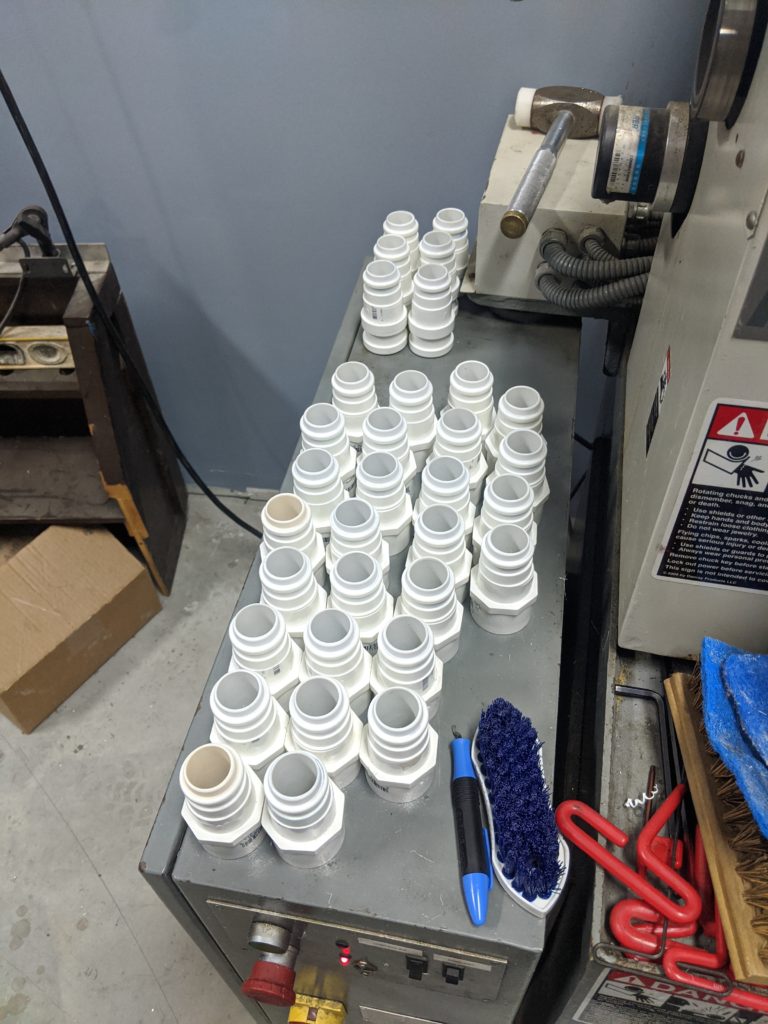
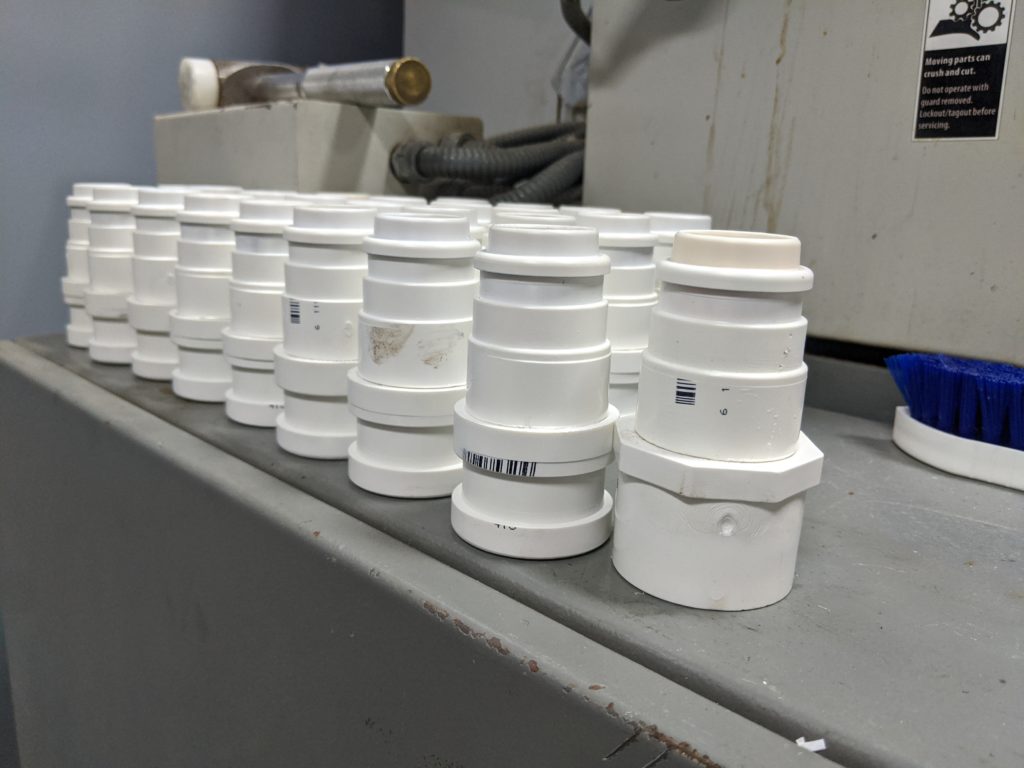
Design files are on Thingiverse, we hope the nurses have an easier time with their equipment as a result of this work!
Thanks everyone!! I attached these to all our hoods today and they are great!!! I appreciate the immense work that went into this!!!
Thank you so much for your help and ingenuity!