
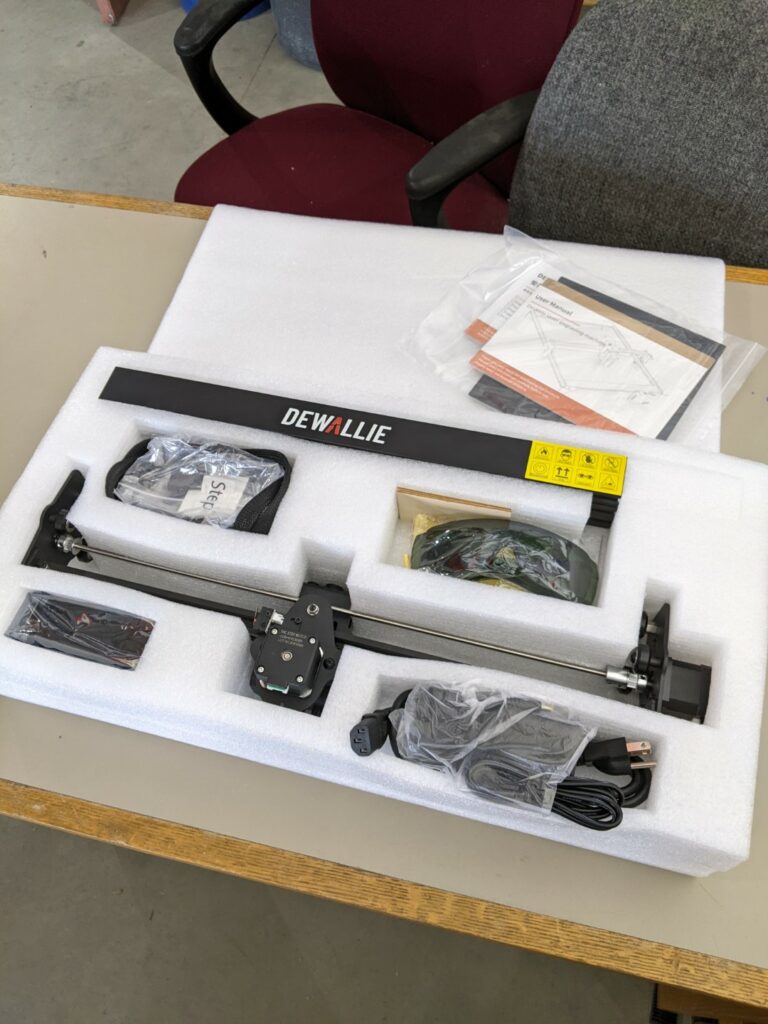
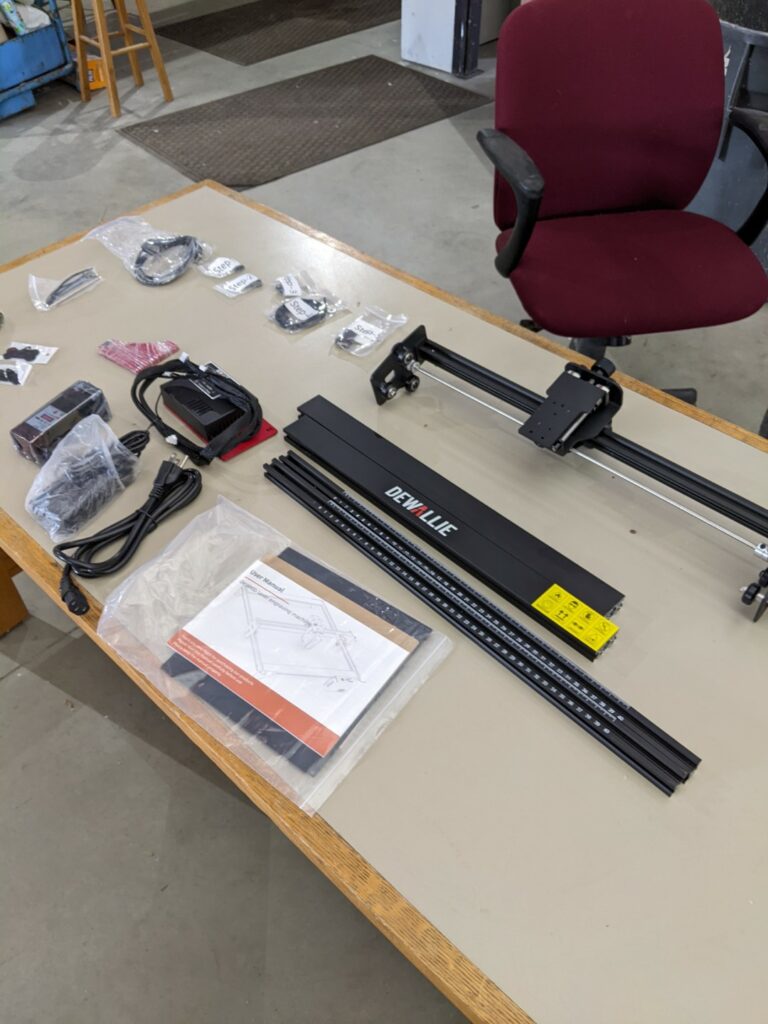
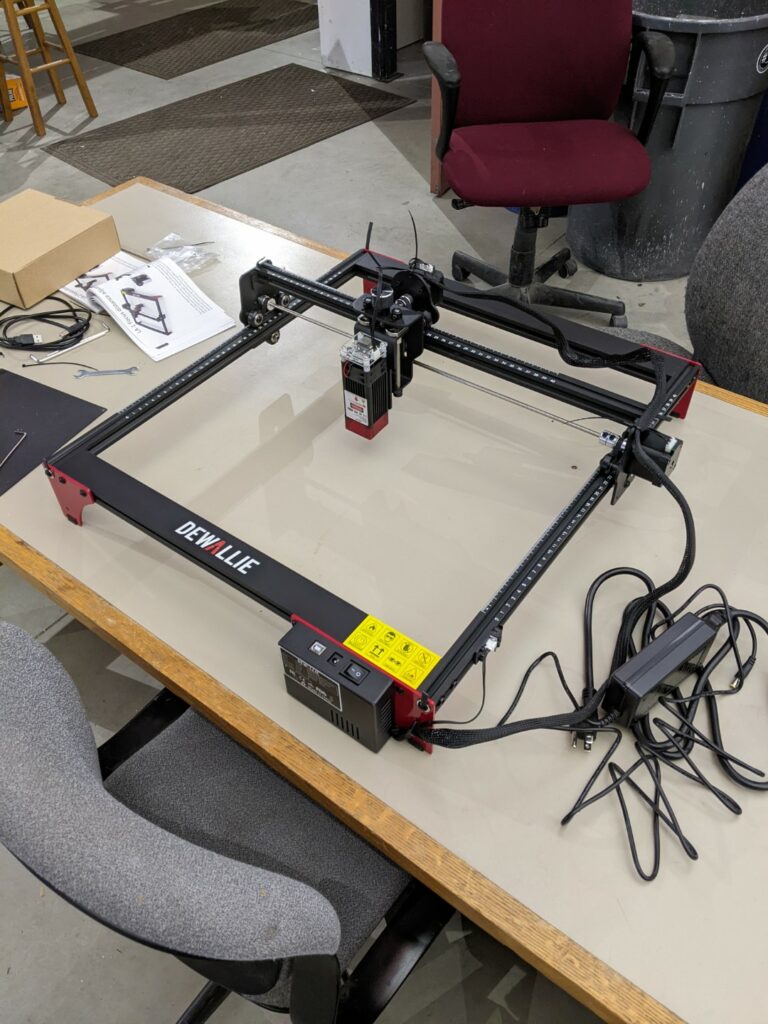
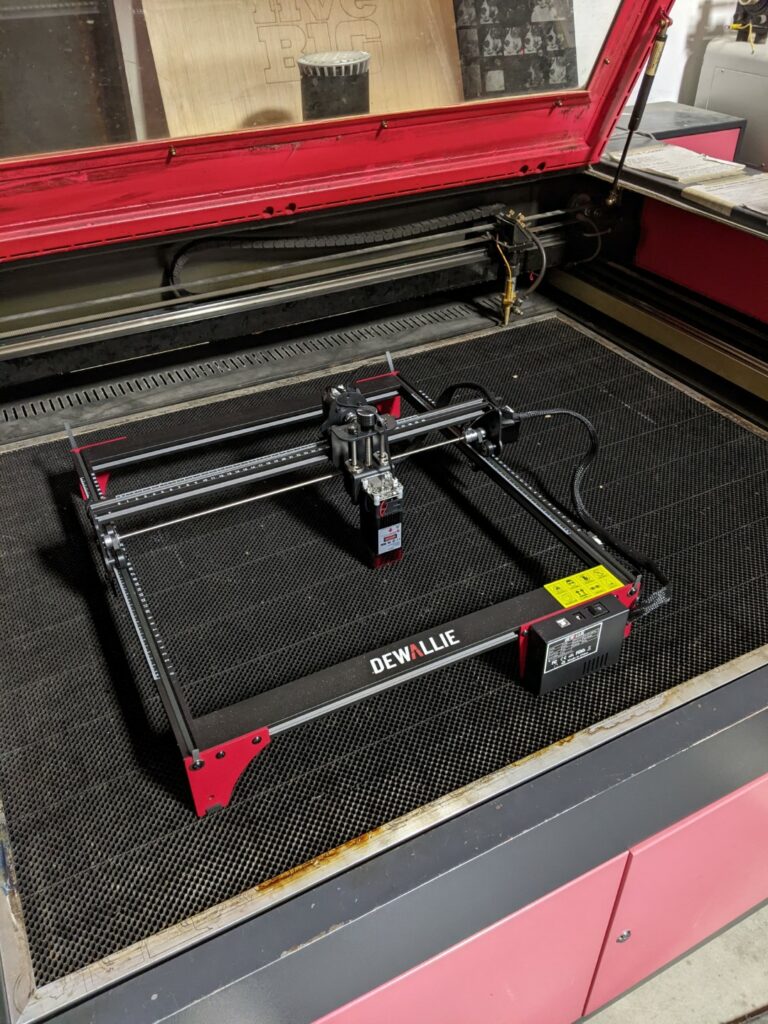
Dewallie was kind enough to contribute a 20W UV laser for us to review and test out. It’s the LA-2 version of the machine with a head rated for 3.8A @ 5V using Pulse Width Modulation (PWM) power control. It’s got a large work envelope of 400mm x 400mm which puts it over twice the size of the popular K40 CO2 lasers (200mm x 300mm). Opening up the package and it’s been broken down into just a few pieces for shipping with a 5 step assembly process:
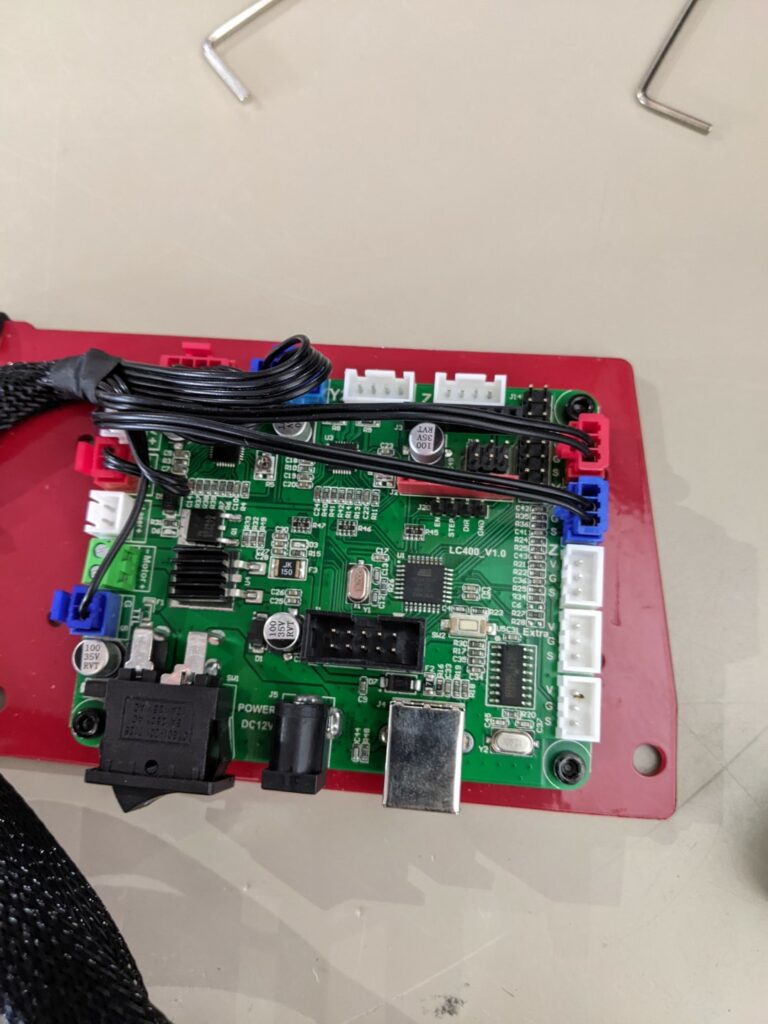
If you have a 3D printer this controller is going to look pretty familiar:
The easiest way for us to exhaust the laser was to put it inside our large CO2 laser, you’ll want to build a downdraft table or some form of fume extraction.
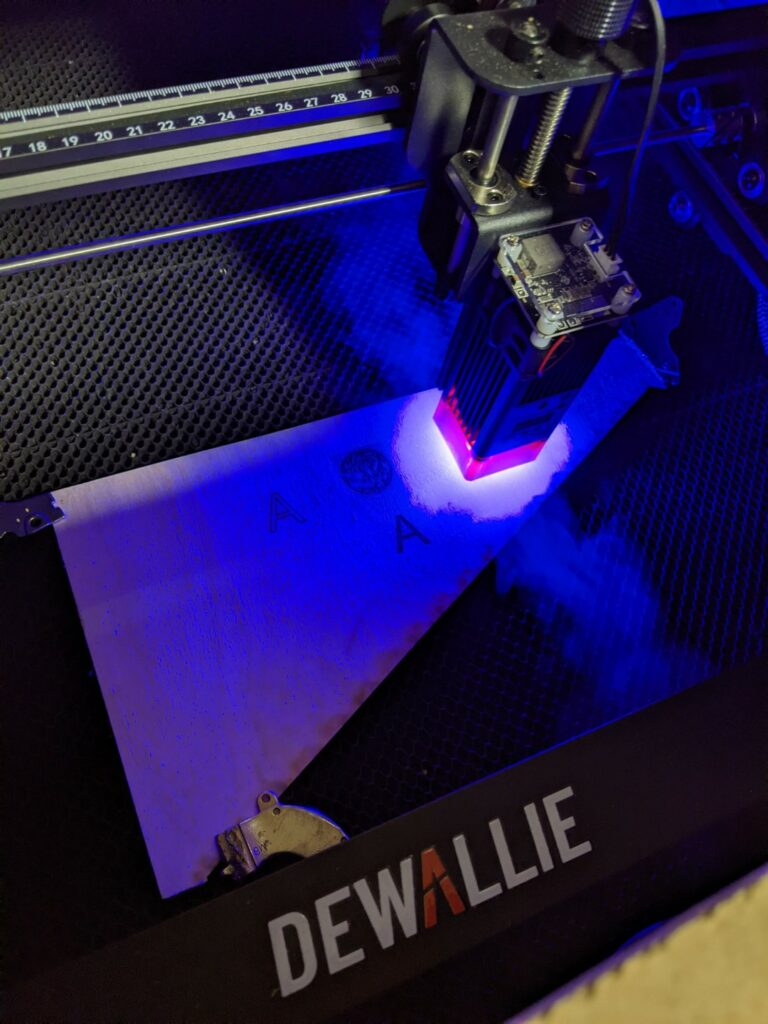
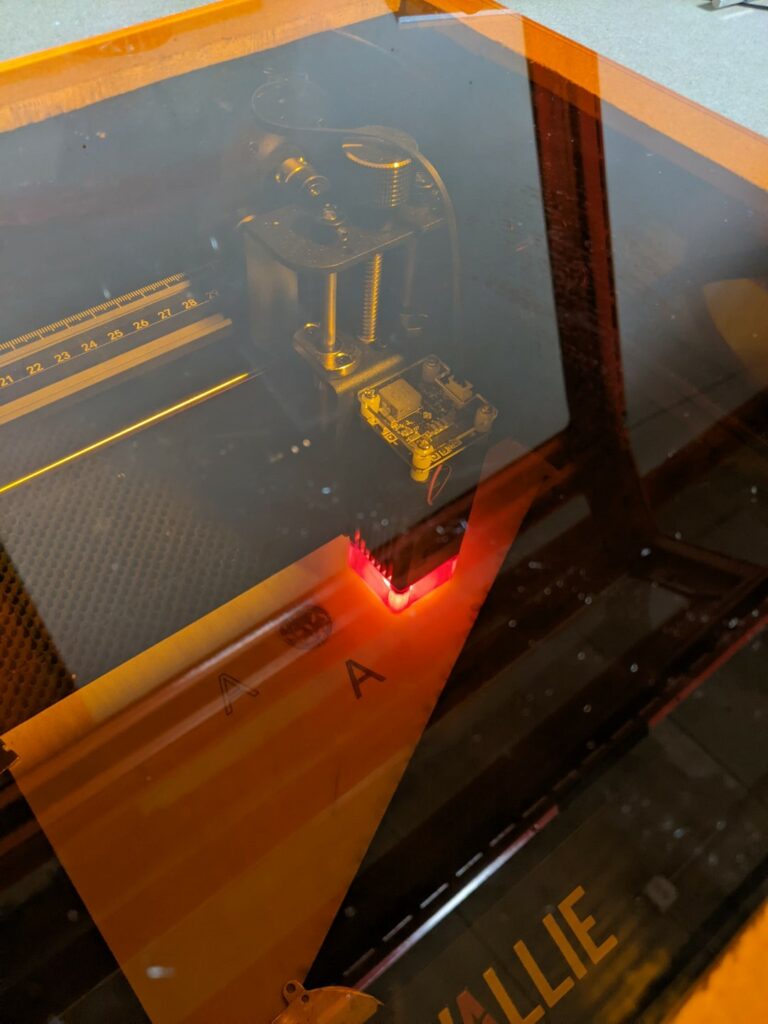
Once we had the machine constructed we needed to set up some better shielding. The machine comes with OD3 glasses, which when coupled with the nozzle/air assist cone they’re supposed to provide adequate reduction in brightness but we wanted to fully enclose the laser and provide a viewing window. $17 and an order to J Tech Photonics and we had a 12″ window with OD3+ protection to keep us a little better protected. It makes a world of difference in brightness:
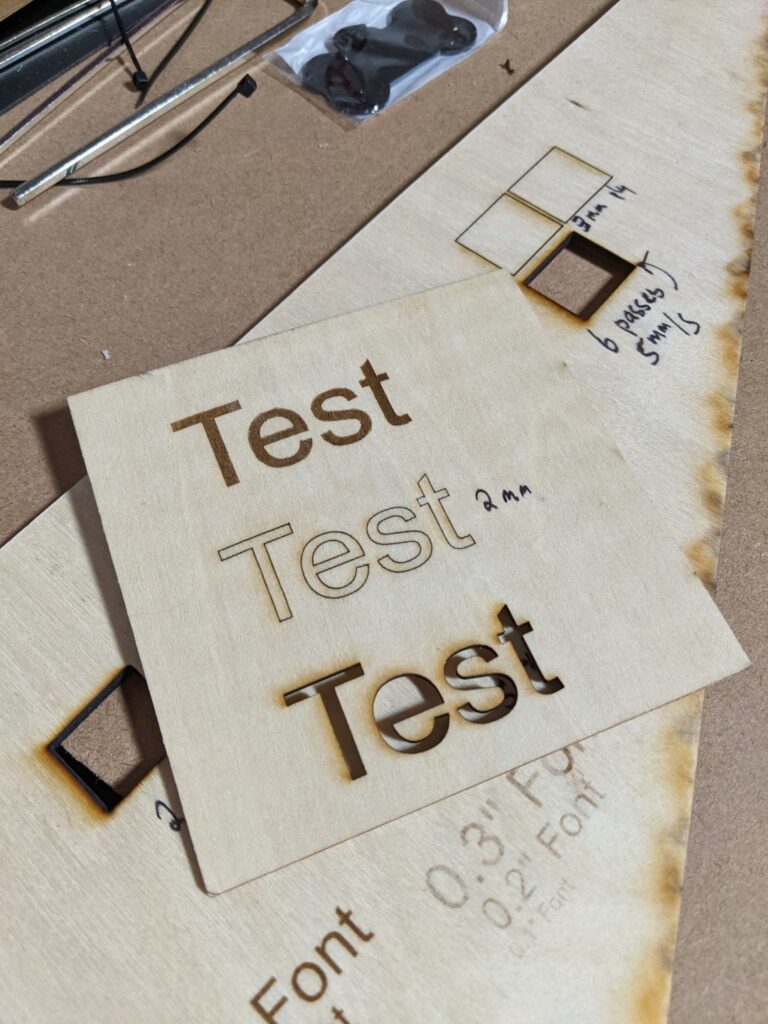
Onwards to some test engraves and cuts. To frame expectations this is a 20W 445nm laser, it’s not going to cut like our 150W CO2 laser but it carries a correspondingly lower price tag and a minimal set of additional equipment required (no chiller/water cooling, multiple power supplies, etc). The machine does well running slowly (<10mm/sec for wiggle free vector cutting and engraving) and will need multiple passes to cut through plywood. Their sample materials give you a quick sense of what to expect: anodized aluminum tags and sheets for engraving, cardboard/tagboard, 2mm plywood, etc.
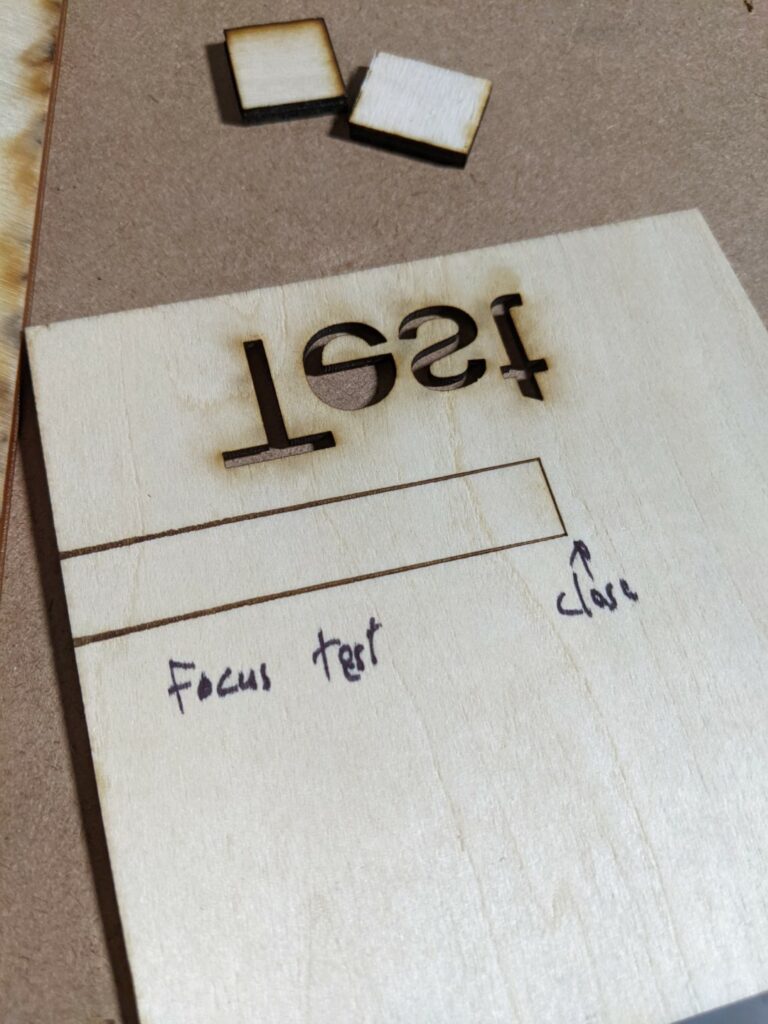
To start off make sure you test and set the focus. An easy way to visualize the focus height is to put a piece of thin wood under the laser and prop up one end to form a ramp. Have the machine cut a line and you can see where the laser is in focus based on how small the line gets:
The thin sample plywood they provide cuts and engraves well:
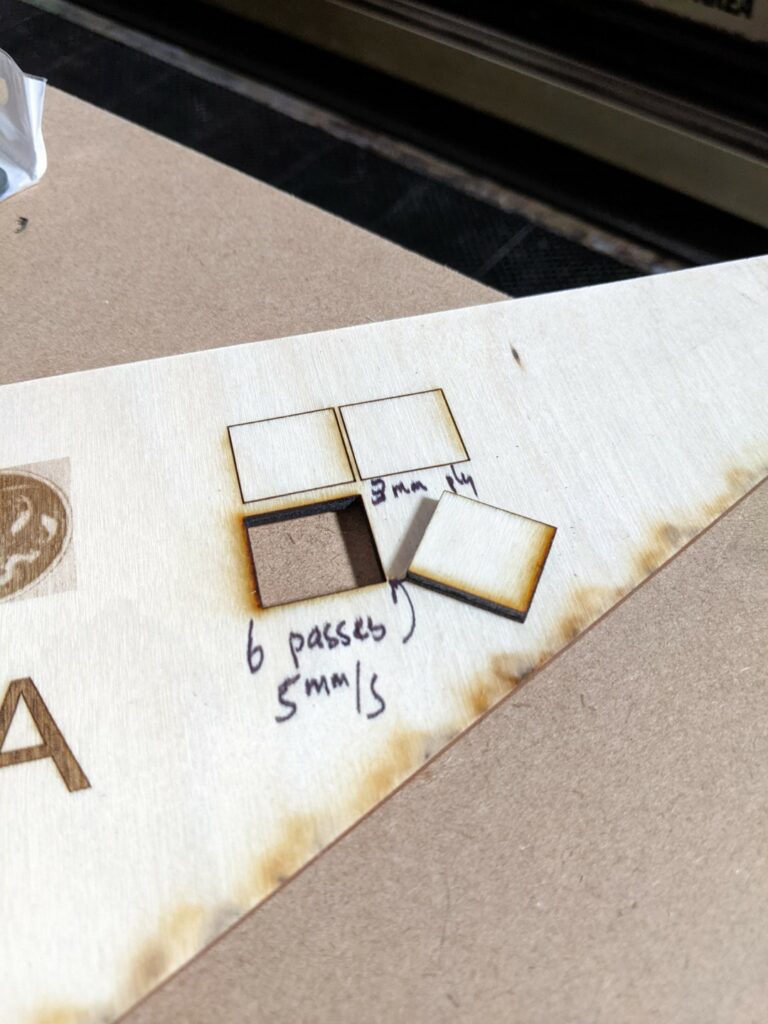
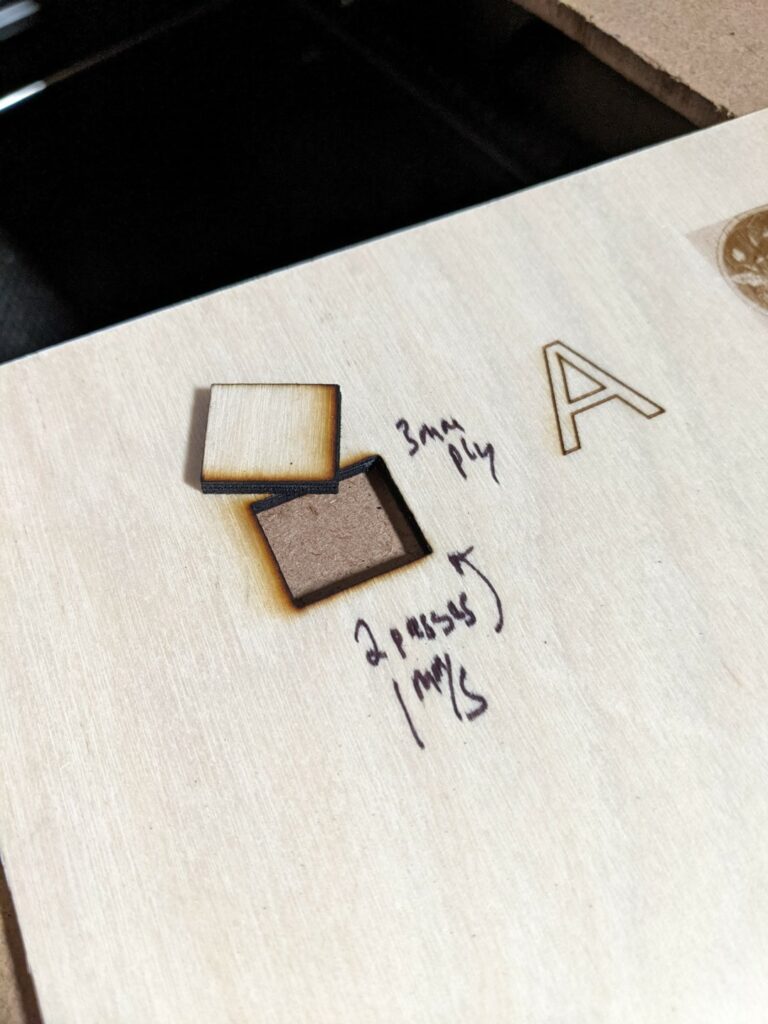
We had some thicker 3mm interior/cabinetry plywood that it had a hard time cutting through:
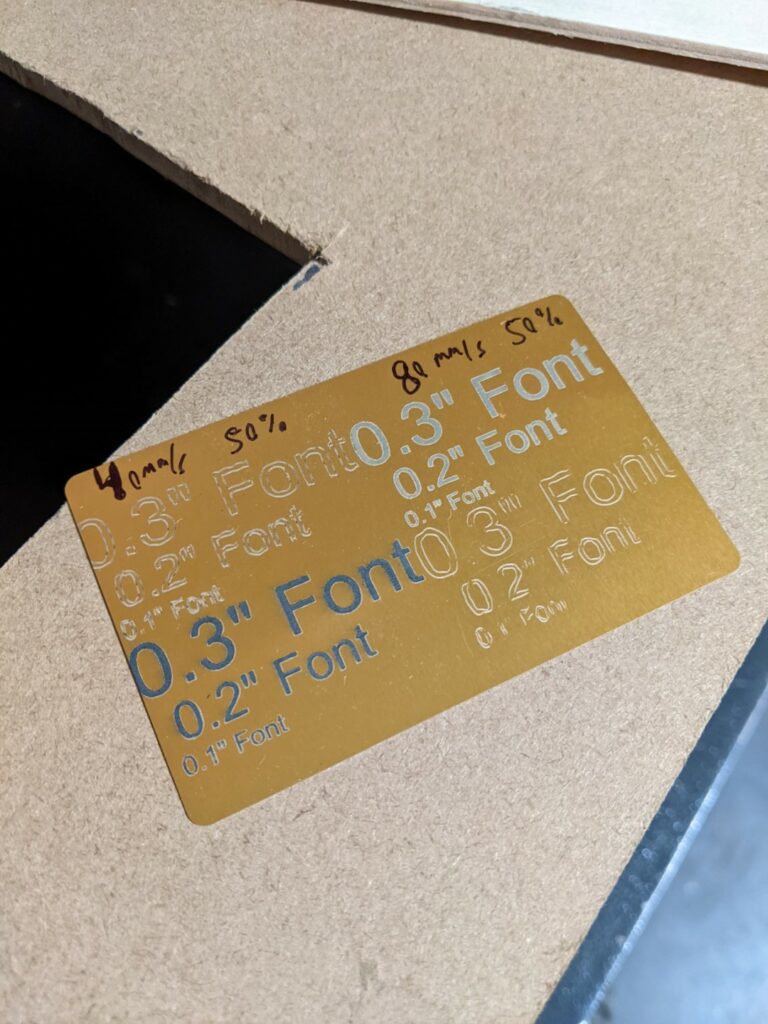
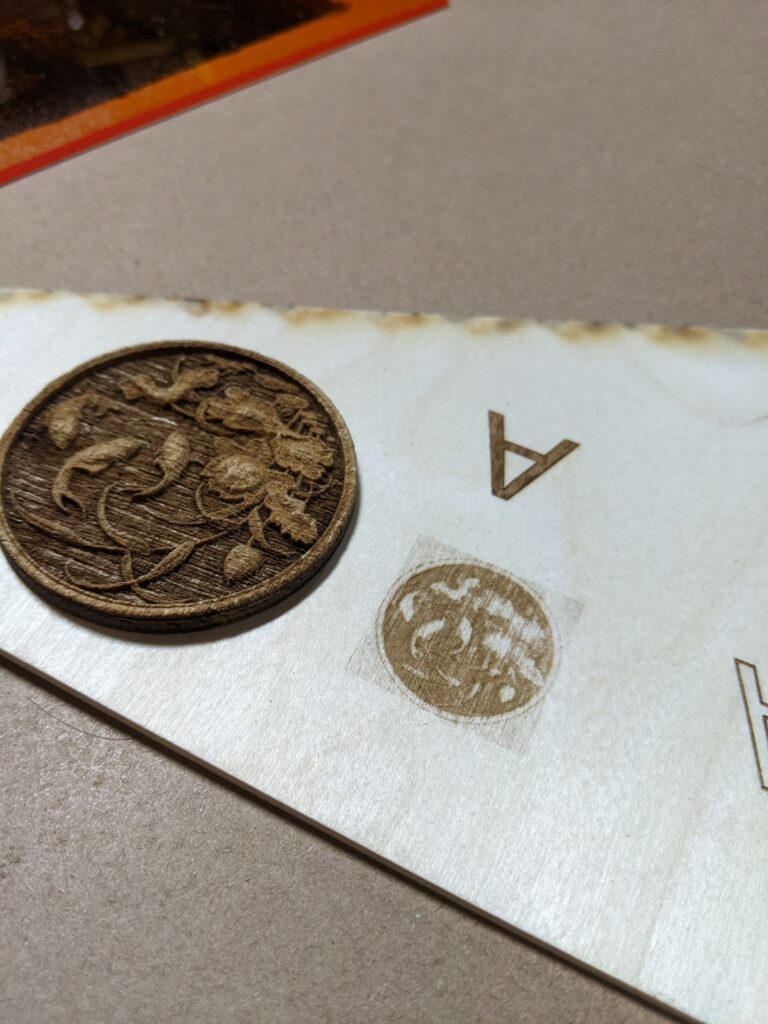
It performs very well at engraving anodized materials:
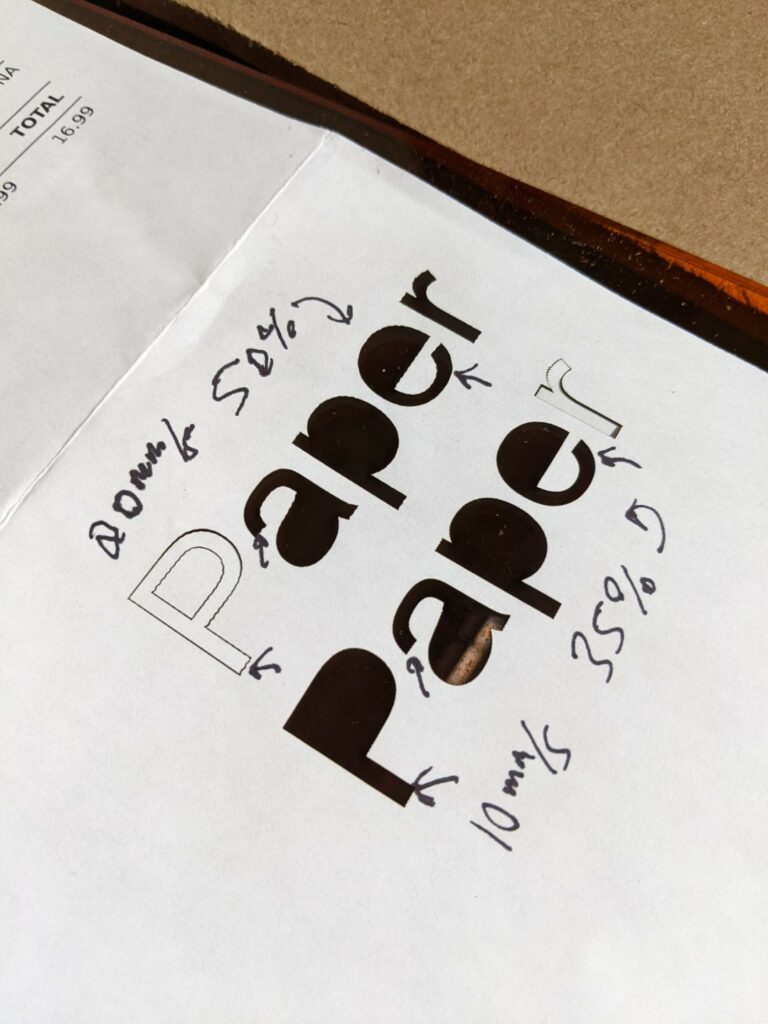
Take a look at the arrows below to get a better sense of the issue, you can see at 20mm/s the paper shows the resonance but when dropped to 10mm/s it’s almost totally gone, paper is a great way to visualize this because it’s cuts so easily.
Where these lasers excel is at raster engraving things
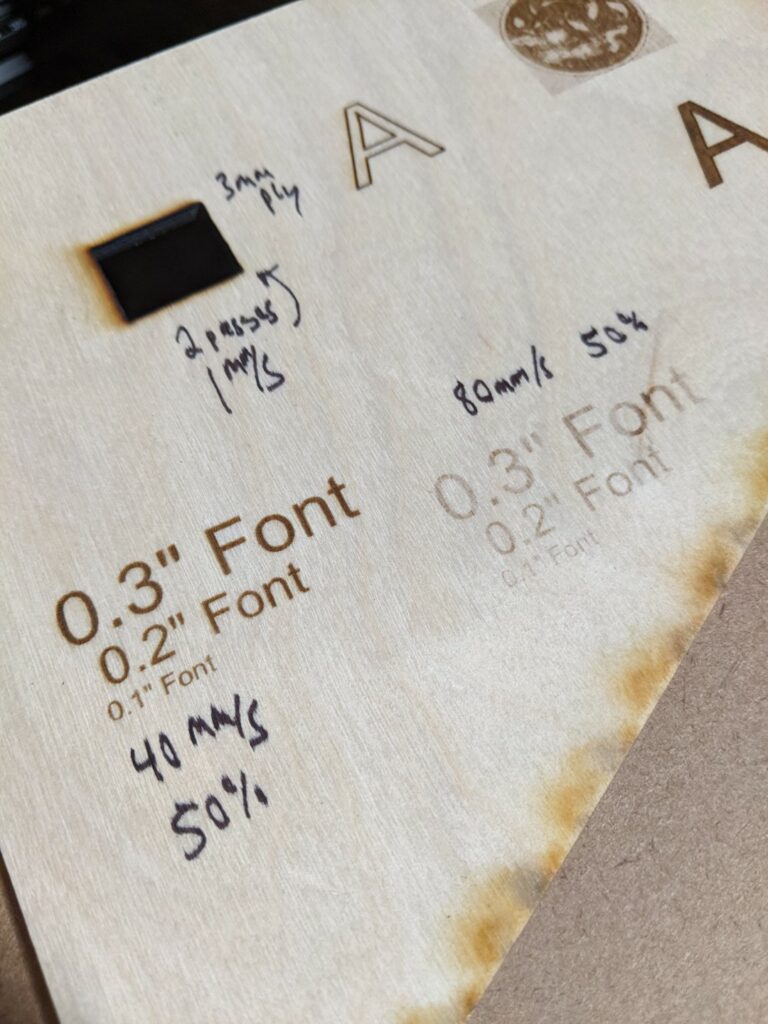
Where performance falls off is engraving at high speed (>80mm/s) detailed objects. The onboard controller is an Atmel microcontroller (Arduino) so the command rate is limited. I’m sure the laser can fire quickly but the controller isn’t up to the task like a much more expensive Digital Signal Processing (DSP) laser controller. Admittedly the DSP controller would cost you more than this entire laser so its far from an apples to apples comparison but it’s worth mentioning:
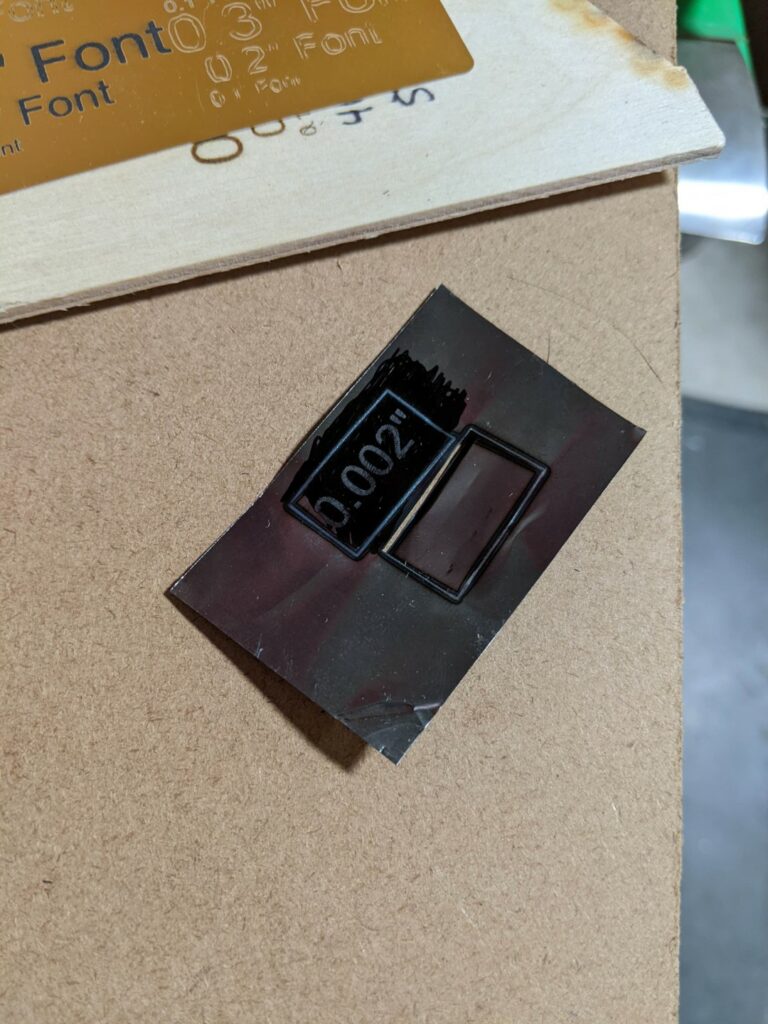
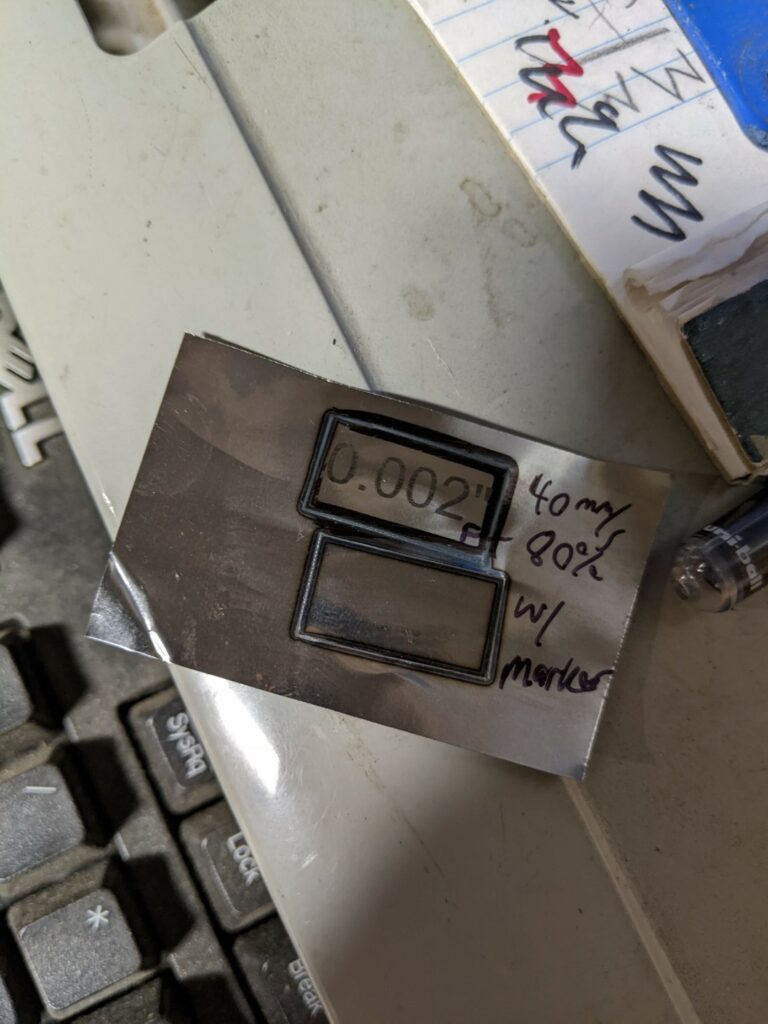
Where we had some fun was taking advantage of the small spot size and wavelength to cut 0.001″ steel shim stock. It is possible to cut steel but not mark it without dying the surface to improve absorption.
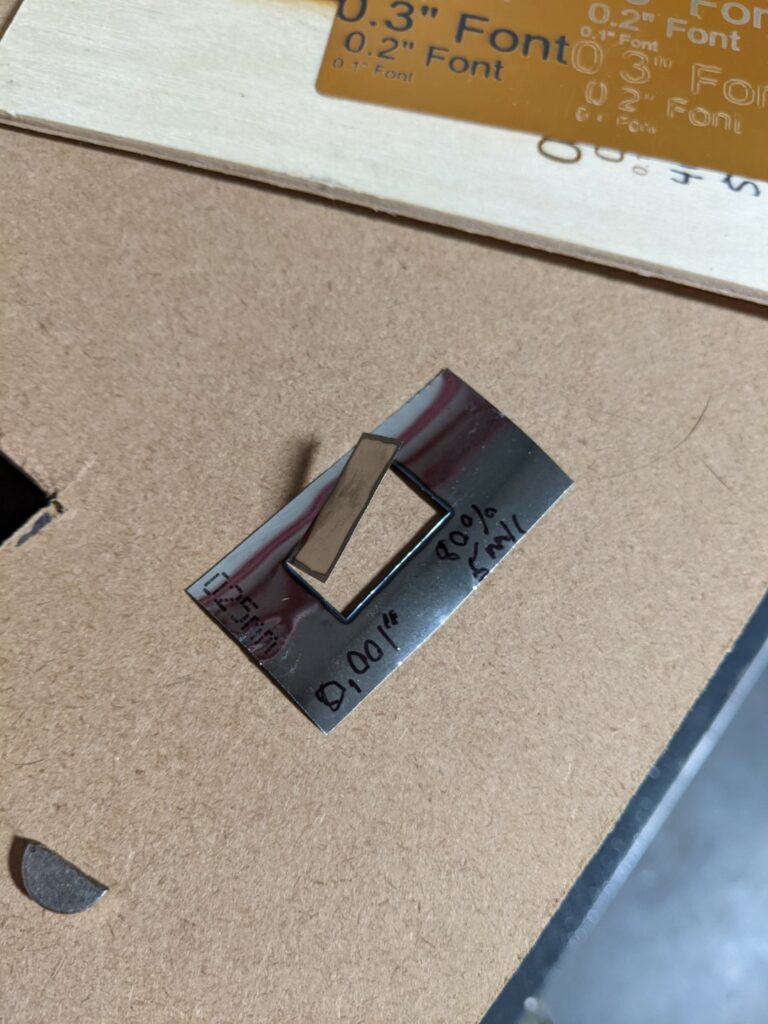
It was able to mark Sharpie coated steel as well, the black pigment increases beam absorption and assists in the heat transfer rather than reflection.
Overall for $310 you won’t find a much more capable machine, the 400mm gantry gives you a large work surface and it’d be possible to run this machine off a battery and do some outdoor/portable engraving since there’s little to bring along besides a laptop and the gantry itself. The downside with the 445nm UV laser wavelength is the heightened eye hazard working in a visible light frequency that can go through glass/glasses/corneas to damage your retina permanently – be careful!