Sector67 Laser Cut Gingerbread Houses

QuFwBh

My family has a tradition of making gingerbread houses for the holiday season, the more elaborate the better. So when we got a 150-watt laser cutter at Sector67 one of the first “practical” project ideas I had was to try and laser cut structures out of gingerbread. To keep things fun and chaotic, we invited a number of other families along for the ride and had our event coincide with “Crazy Cooking Day” at Sector. It was interesting to watch candy-coated houses being erected alongside the preparation of sous-vide food and other delicacies like electrocuted hotdogs.

The good news is that it basically just worked, and the kids had a great time. The laser was in generally able to cut the gingerbread and the designs held up well. I created designs for a simple cottage, castle and barn using Inkscape, and transferred those designs through Corel Draw to the laser cutter in dwg format. Some design tips:

1) Make an prototypical tab and slot and clone rather than copy them in Inkscape so you can easily adjust for different material thicknesses across the design. In the designs I’ll upload, the tab and slot in the lower left are cloned across the drawing.
2) For the final upload, remove the prototype tab and slot and join all the lines you can to keep the cuts contiguous and thus faster.
3) Test cut your design in cardboard first to make sure everything lines up.

6cyExh

CelTqh

We cut at a speed of 15, power 100 and corner power 60 to get a consistently successful cut on properly prepared cooked sheets. These settings are of course dependent on the laser cutter you are using.

jWvNLh

There are plenty of great hacking opportunities when decorating with candy. Licorice shingles, candy cane trees, marshmallow snowmen, life saver wreaths, gummy windows and more limited only by your imagination and the physics of gingerbread, candy and frosting.

The recipes we used are:

Aunt Judy’s Gingerbread
4 cups flour
1 1/2 cups vegetable shortening
1 teaspoon nutmeg
1 teaspoon salt
1 teaspoon baking soda
1 tablespoon ginger
1 cup molasses
1 cup sugar
4 tablespoons water

Bake at 325 for 12 minutes or until done

To prepare this for laser cutting, it is rolled to 1/8″ thick 11″x17″ sheets using 1/8″ round rods to ensure the roll is consistent. You might need to improvise a longer rolling pin. We rolled the dough on parchment paper and transferred the uncooked and cooked gingerbread on the parchment. This kept the dough from sticking. Make sure your rolling surface and cooling surface are flat. The baking time is shorter for a somewhat softer gingerbread.

Gingerbread House Frosting
1 pound powdered sugar
3 tablespoons meringue powder
6 tablespoons water

Mix all and beat until thick with rotary beater. Add drops of water to desired consistency. Forming the structure requires thinner frosting. When attaching the candy, a thicker frosting prevents sliding pieces. Icicles need thinner consistency to drop off edges. In the Madison area, meringue powder can be found at Michael’s and Vanilla Bean.

Things that worked well:

* Testing the designs in cardboard first was a must and gave the kids something to play with so they could get a sense of how to assemble their structures before working with the more-fragile gingerbread. Even 3/16″ cardboard cut nicely
* The laser generally cut through the gingerbread well, although more moist and thick gingerbread sheets did not work. There is a distinctive smell that is not exactly pleasant.
* We cut cardboard bases with tabs for the gingerbread slots in the bottom of the walls. This made the designs much more stable and portable when the kids took them home.

Things that did not work well:

* If the gingerbread was moist or too thick, it definitely hampered both the cutting process and the assembly process. With thick dough, tabs would not fit into slots, and with moist dough drooping made the structures unworkable.
* The cut gingerbread has a charcoal smell that sticks with it for days afterward. I’d recommend airing the completed houses out for a while outside if possible.

Things that I might try differently next time:
* Using a pasta roller or slab roller to get a more consistent starting roll.
* 11″x17″ is about the biggest practical gingerbread sheet to work with. I’d make the designs for 10″x16″ to give a little more breathing room on the cooked sheets. Broken corners made whole sheets unusable because the tolerances were so tight. A smaller design would let us crank out more cottages more quickly.
* Re-roll the dough to 3/16″ after taking it out of the oven to make the thickness much more consistent for the laser cut.
* Instructions or details could be etched into the gingerbread.

Now that the basic process has proven successful, we have big plans for next year. Imagine gingerbread flying buttresses, a complete village and moving trains!

804wuh
The gingerbread laser cut source files for the cottage, a barn with a silo and a castle are available at:

http://www.thingiverse.com/thing:38422
 

Posted in Hardware, Laser Cutter Tagged with: , ,

Big 3D Printer Complete!

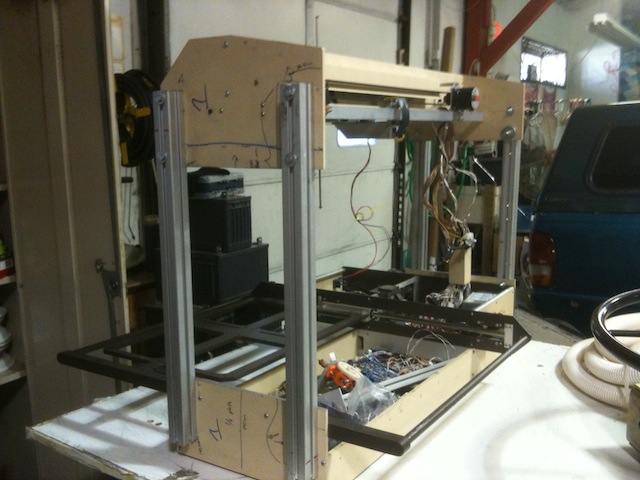
I’ve finally finished (more or less) building a very large 3D printer! Here’s a photo of the frame:

frame

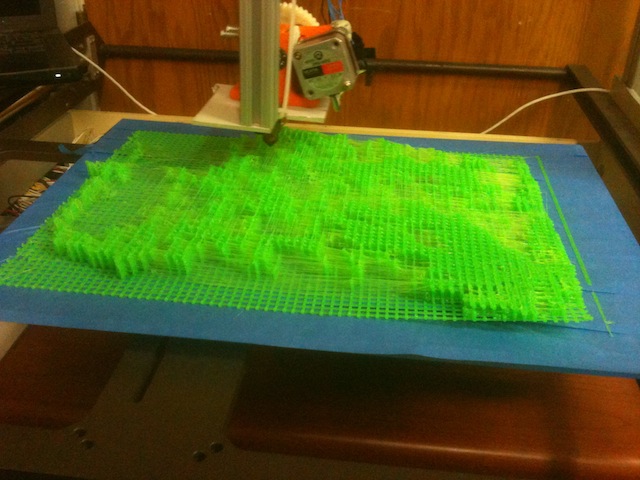
This machine was originally designed to test the blood of newborn babies for pathogens, and with the help of Chris Meyer and the denizens of Sector 67, I have converted it to a big, fast printer. Here’s a photo of an in-progress print:

in_progress

And the same print completed (with bike helmet for scale):

big_3d_score

I embarked on this project with the goal of creating large-ish representations of the algorithmic music that I compose, and the above print is the first such representation that I’ve printed at such a scale. I also ended up writing my own G-code generator, which accounts for the distinctive grid structure of the print. This grid structure will be particularly amenable to nifty dynamic backlighting (thanks Scott and Jim for this suggestion!).

Next step: buy more plastic.

Posted in Uncategorized

Electric Porsche Conversion

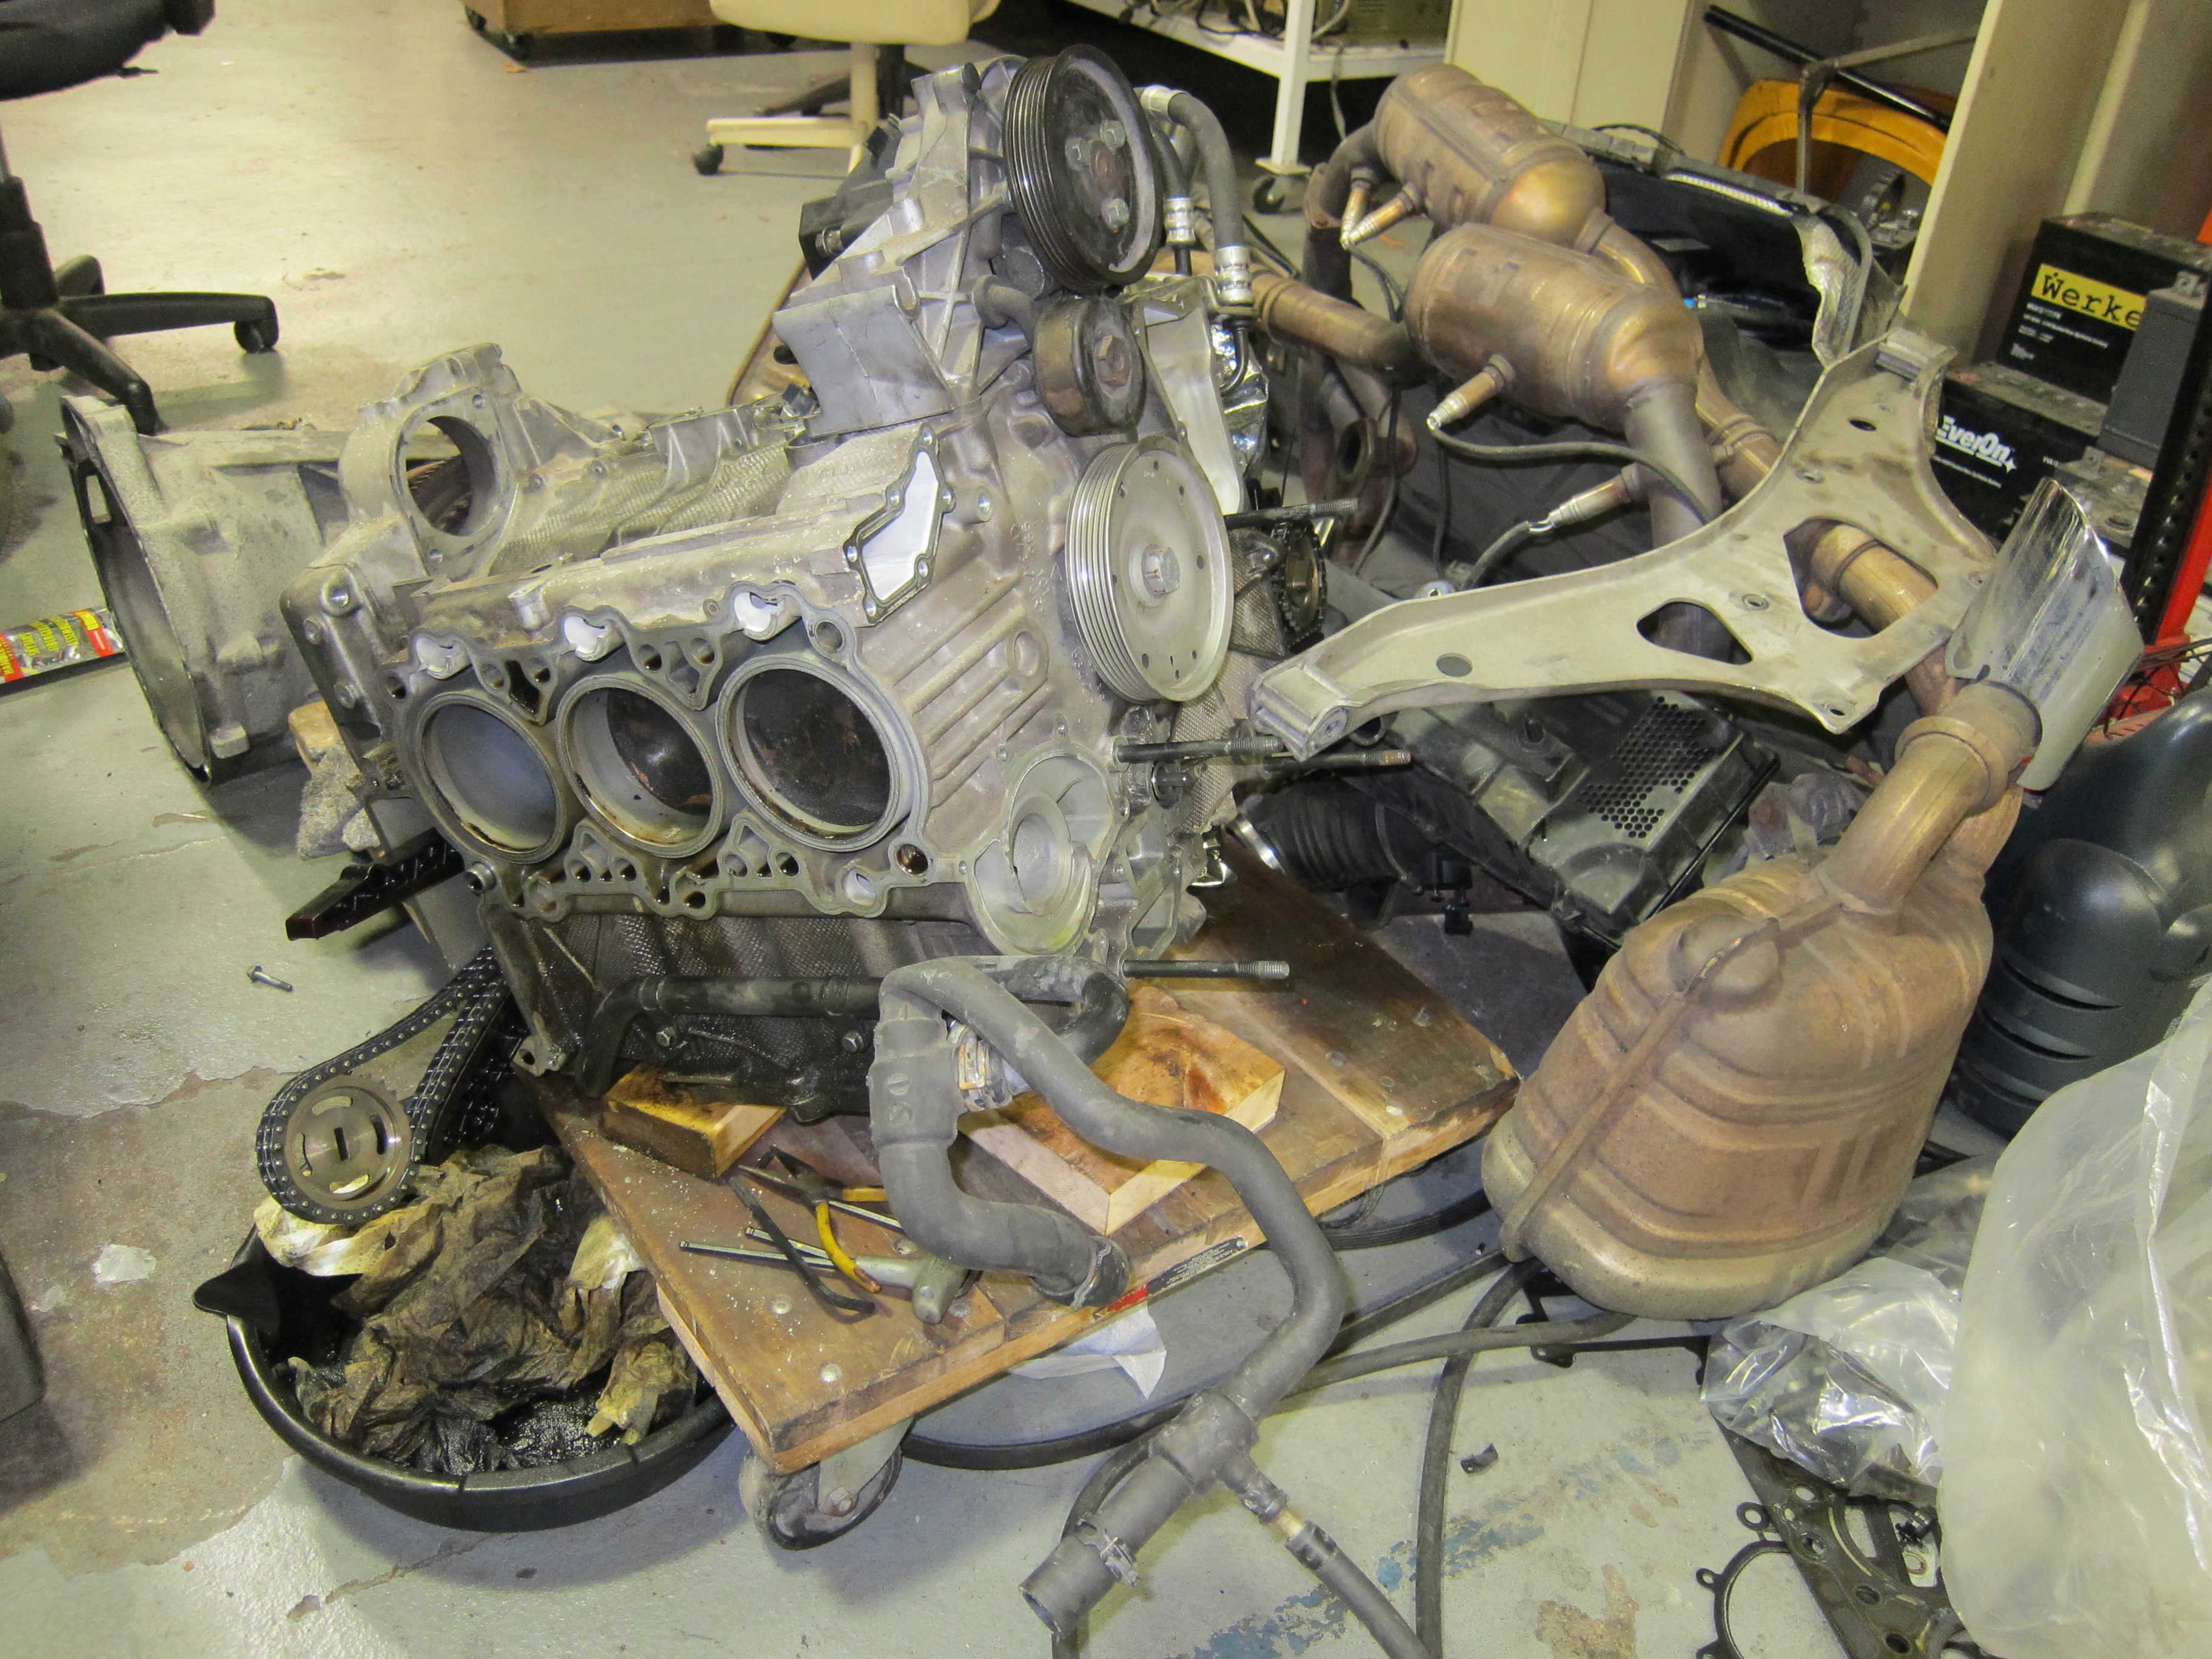
Well it didn’t technically explode, but the engine died. And is ridiculously expensive to rebuild so this is the perfect opportunity to turn it into a new project. Making it into an electric car!

The engine is currently getting ripped apart to recover some money on ebay

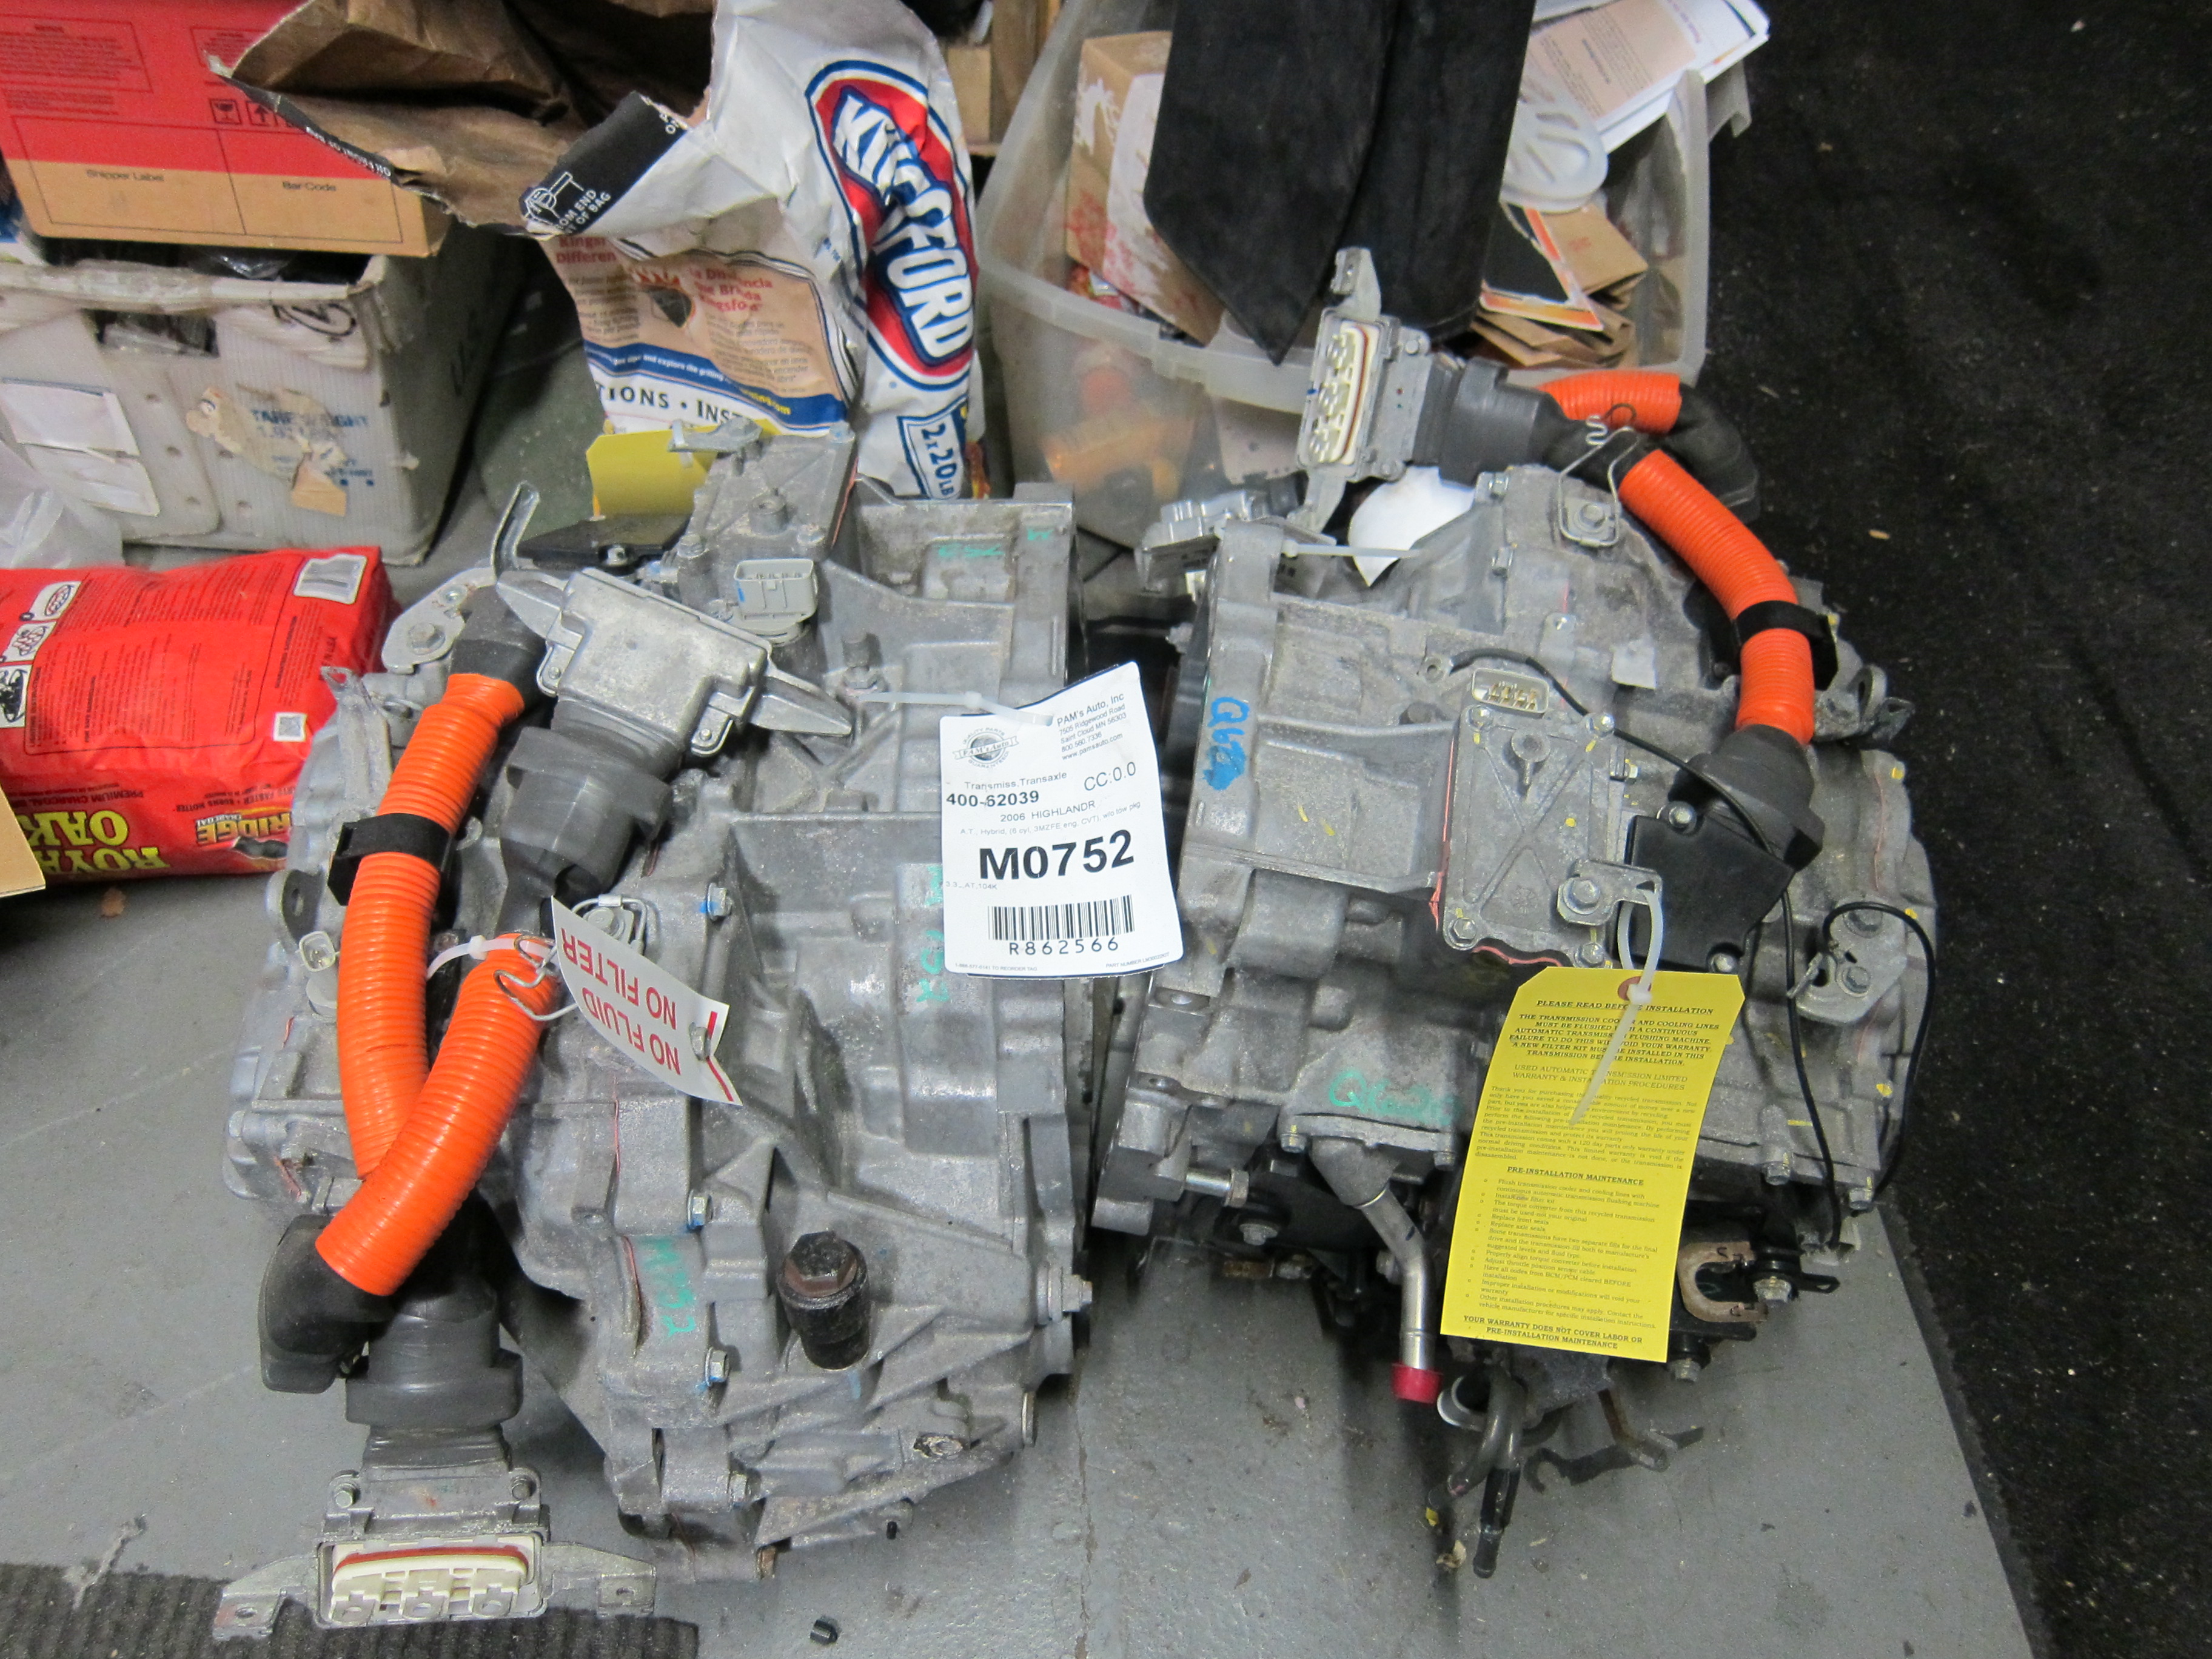
2 Toyota Highlander transmissions which contain electric motors. They will be disassembled and put in the back of the Porsche to make it electric plus a motor controller and a custom built battery pack. Hopefully a short winter project 🙂


Posted in Uncategorized

The Ultimaker is working!

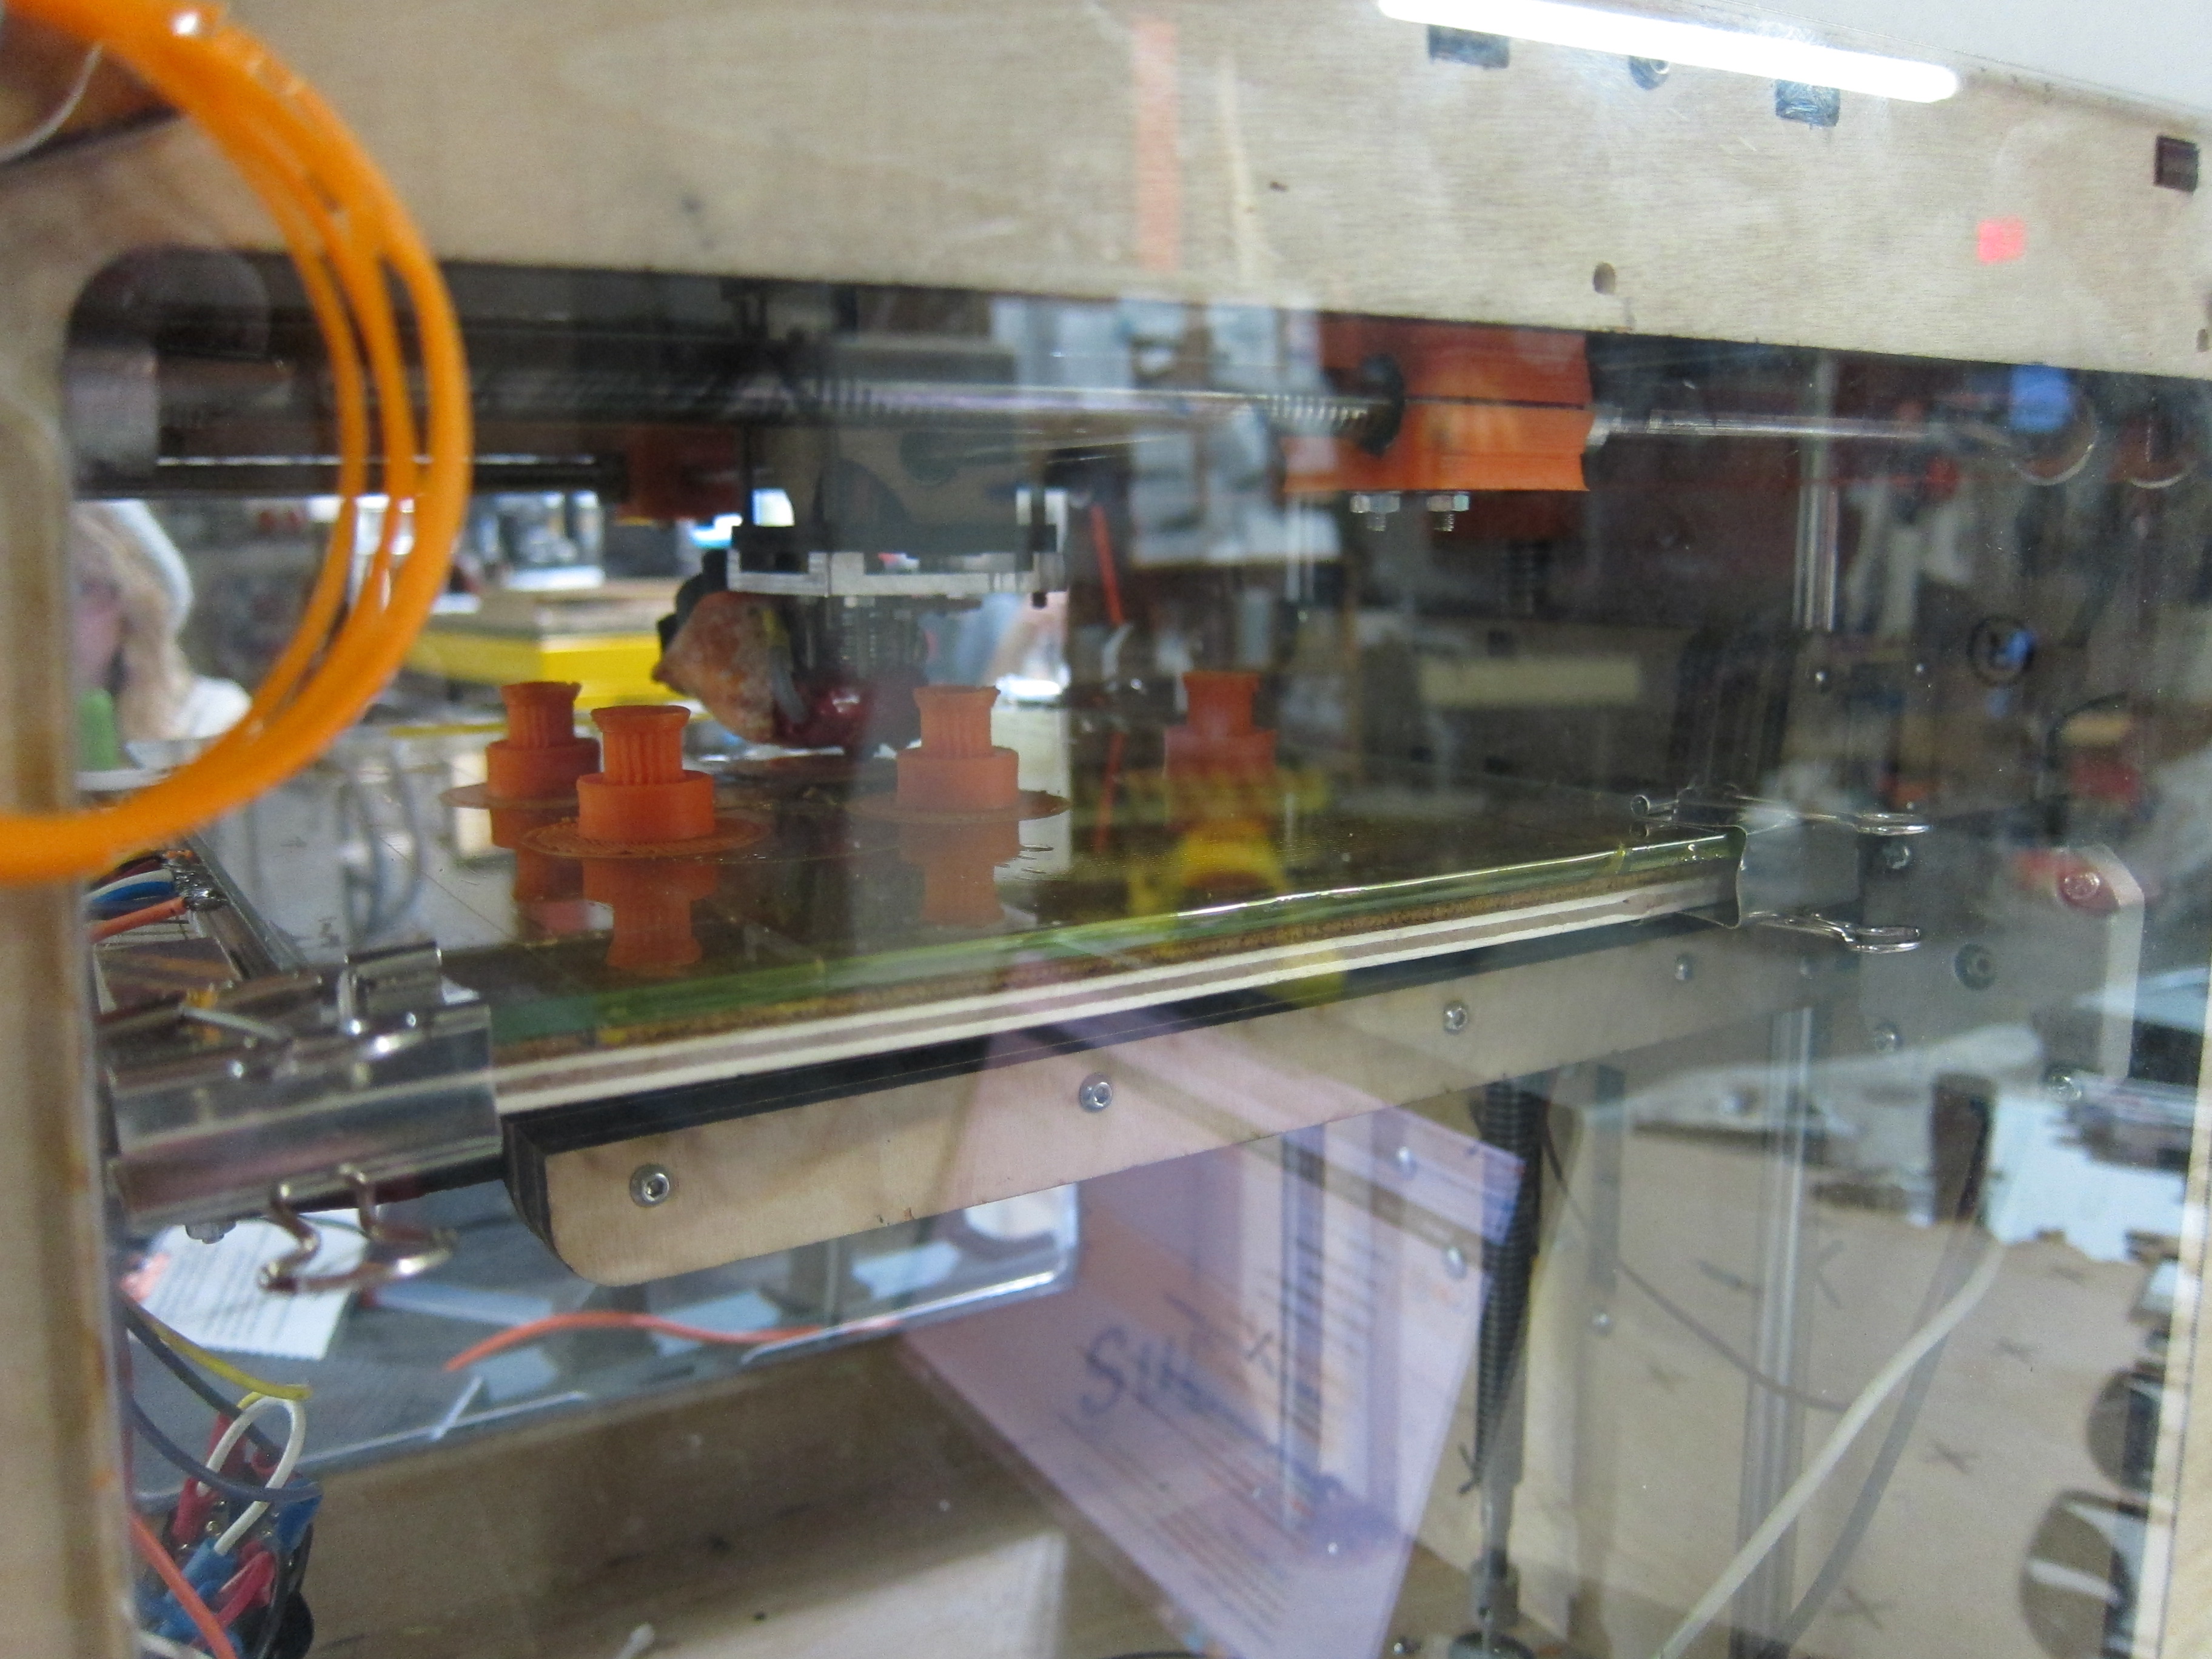
We finally got the Ultimaker working

Posted in Uncategorized

Build Madison Inspiration to Reality

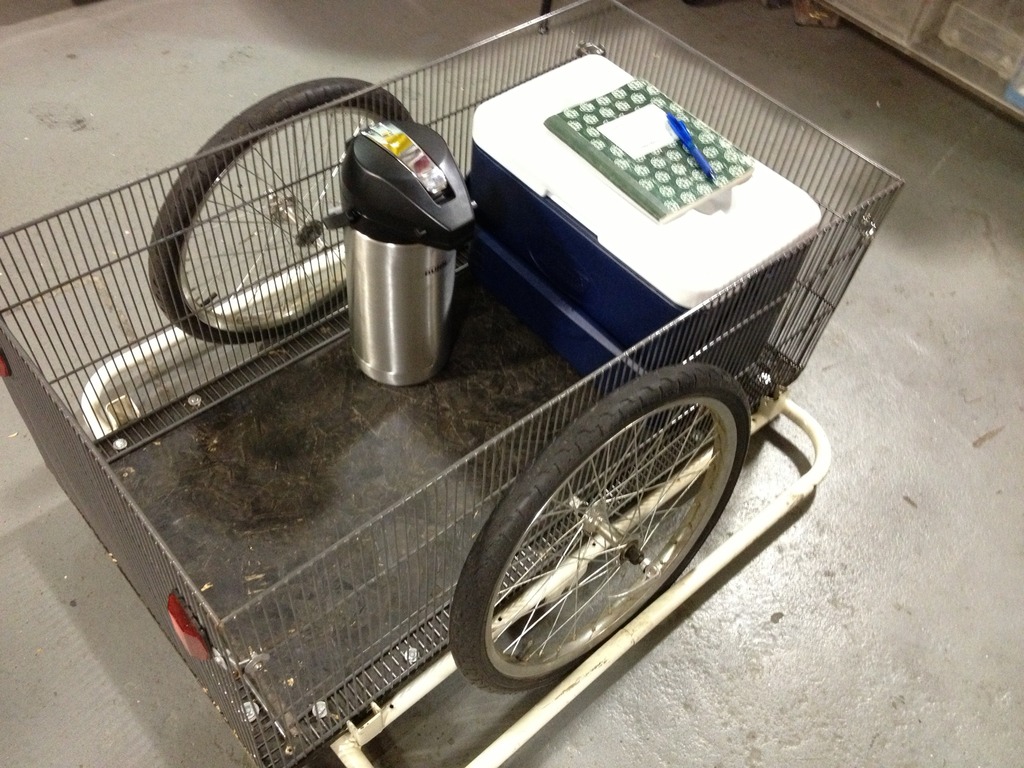
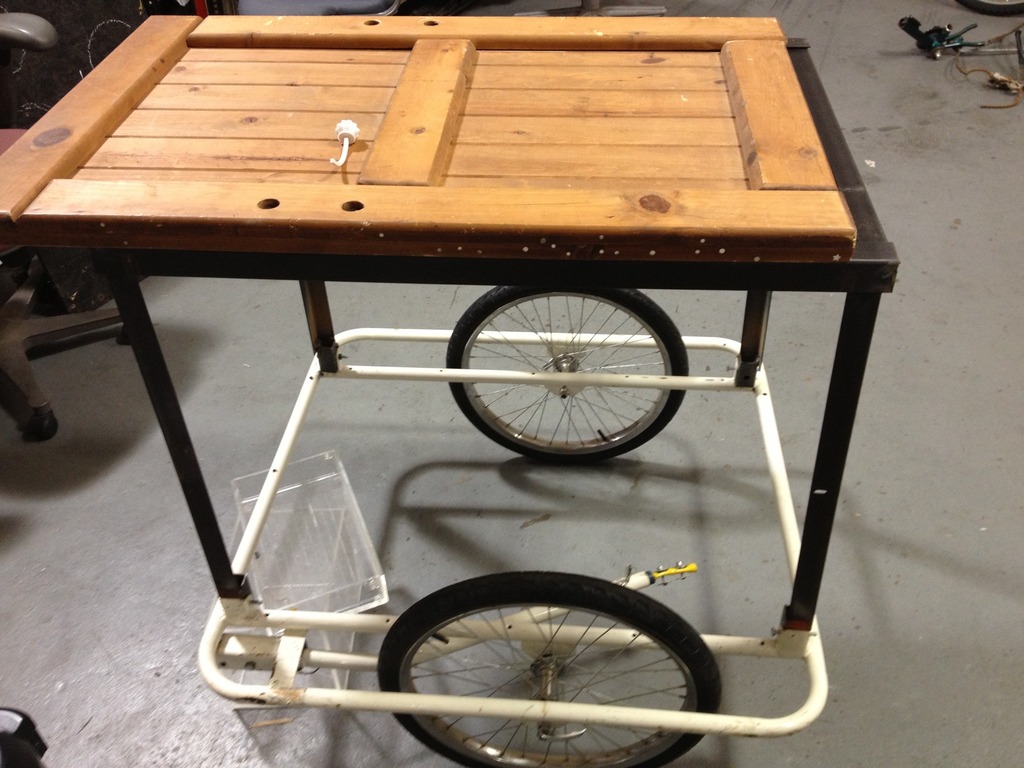
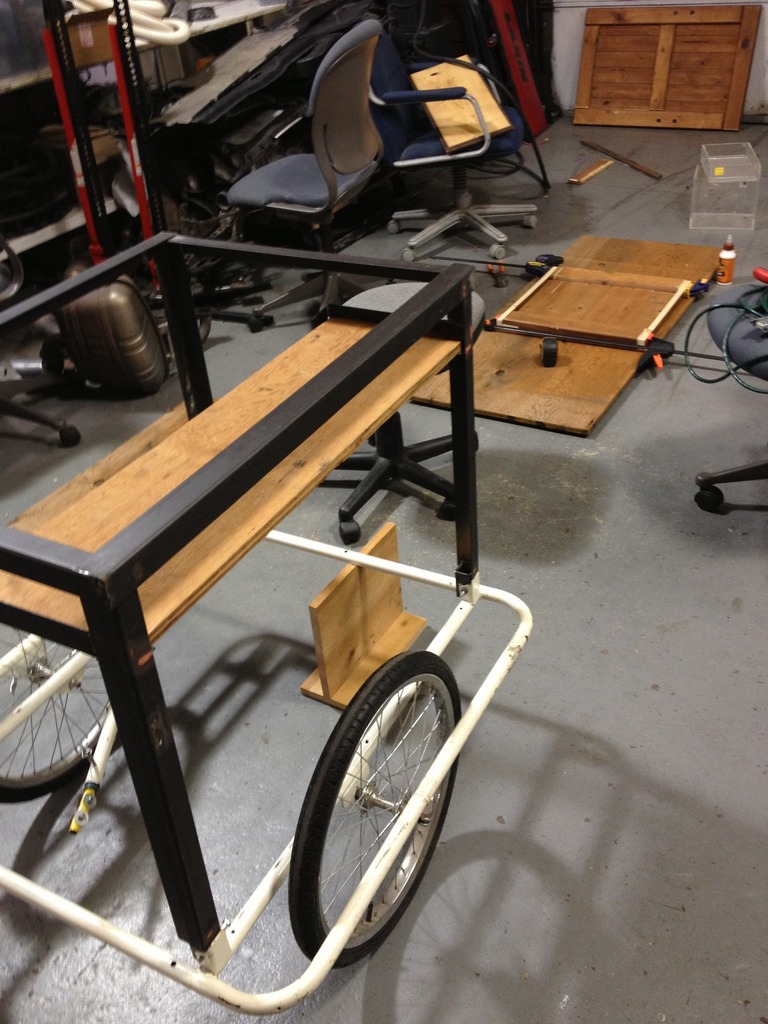
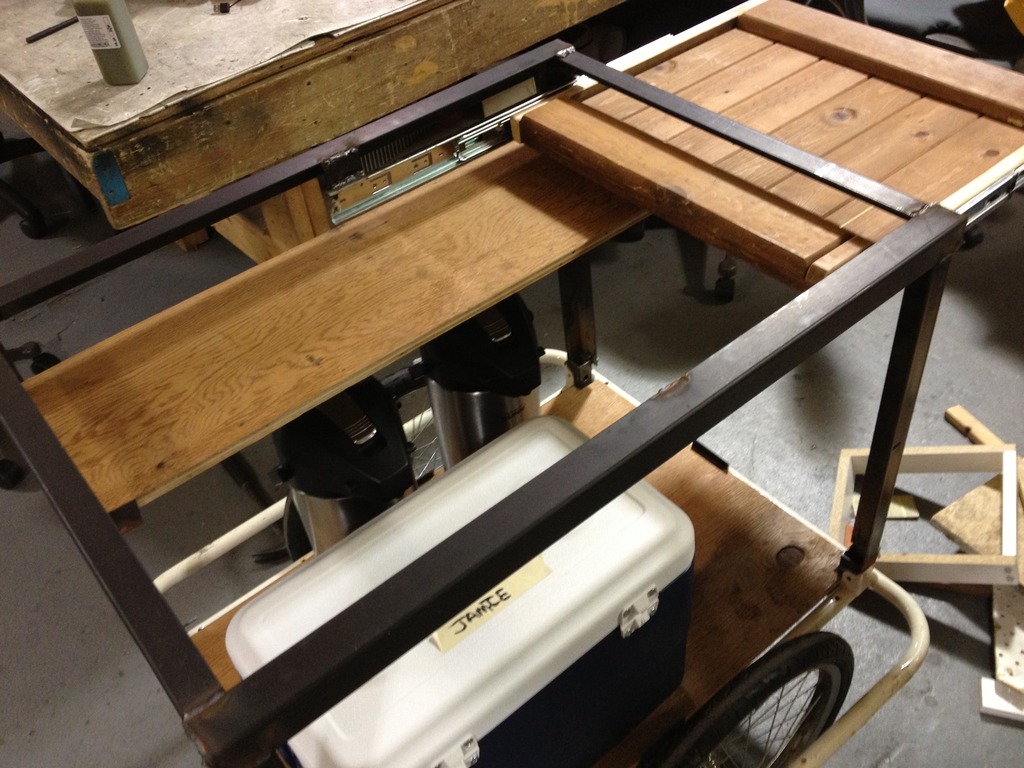
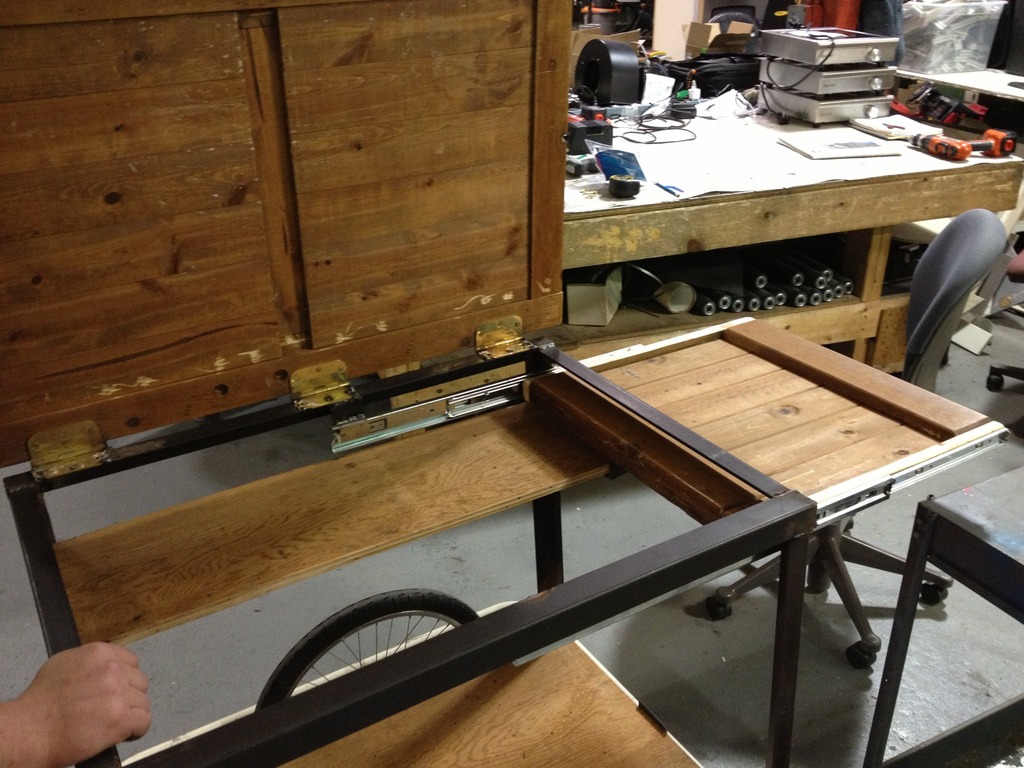
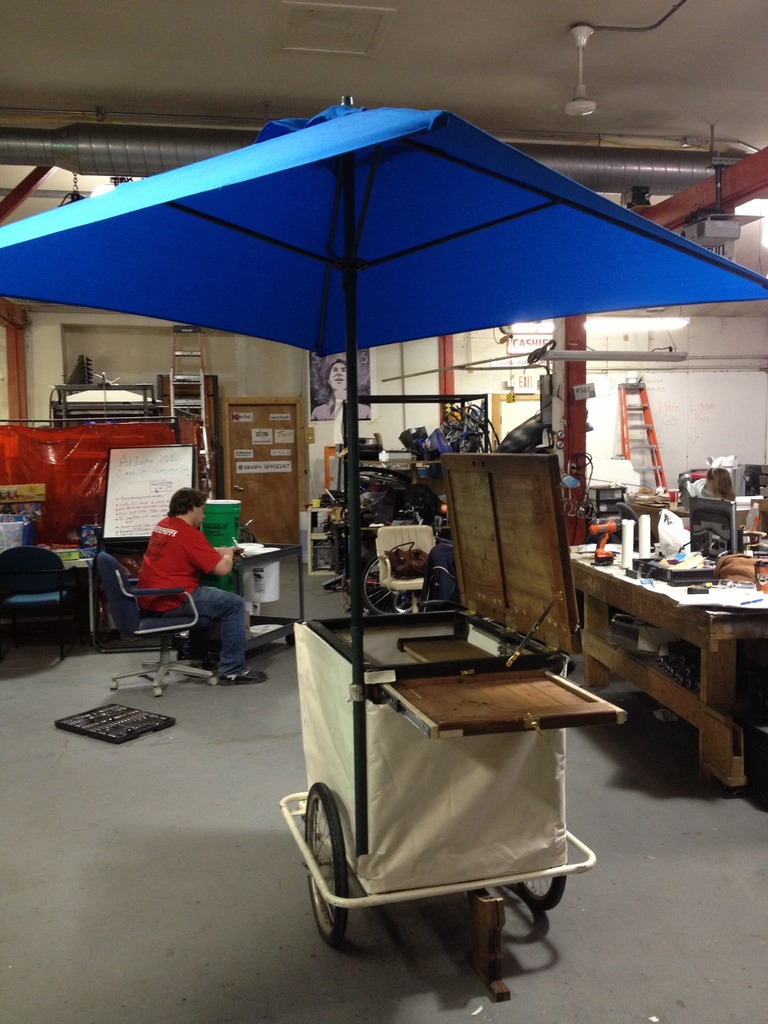
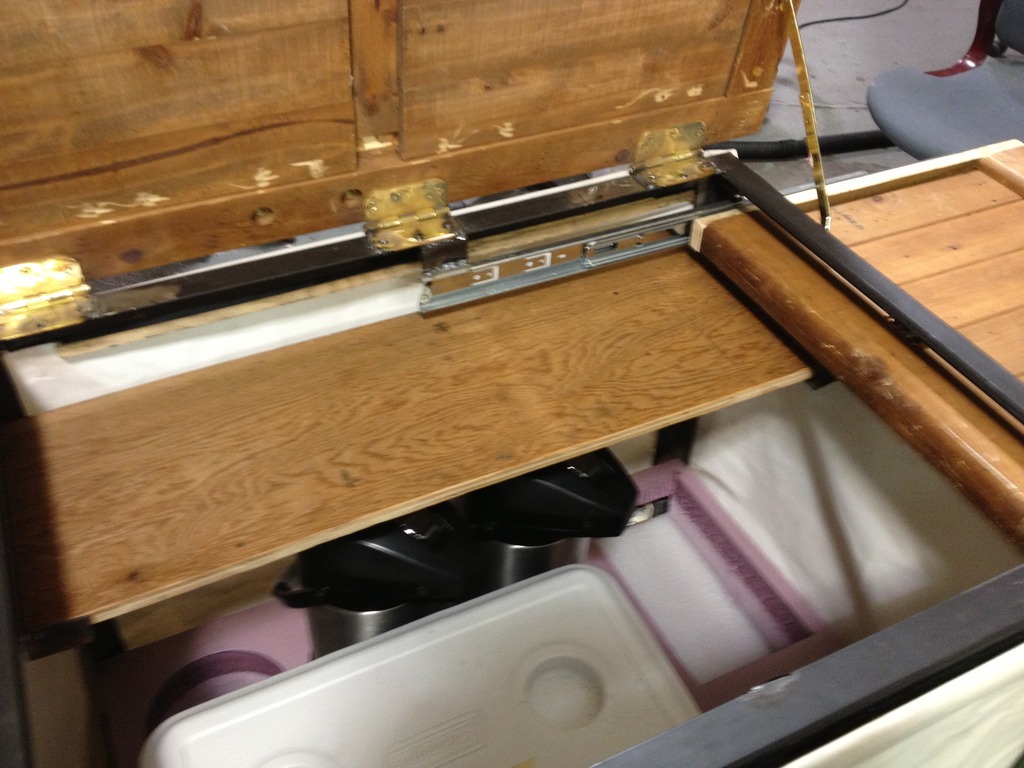
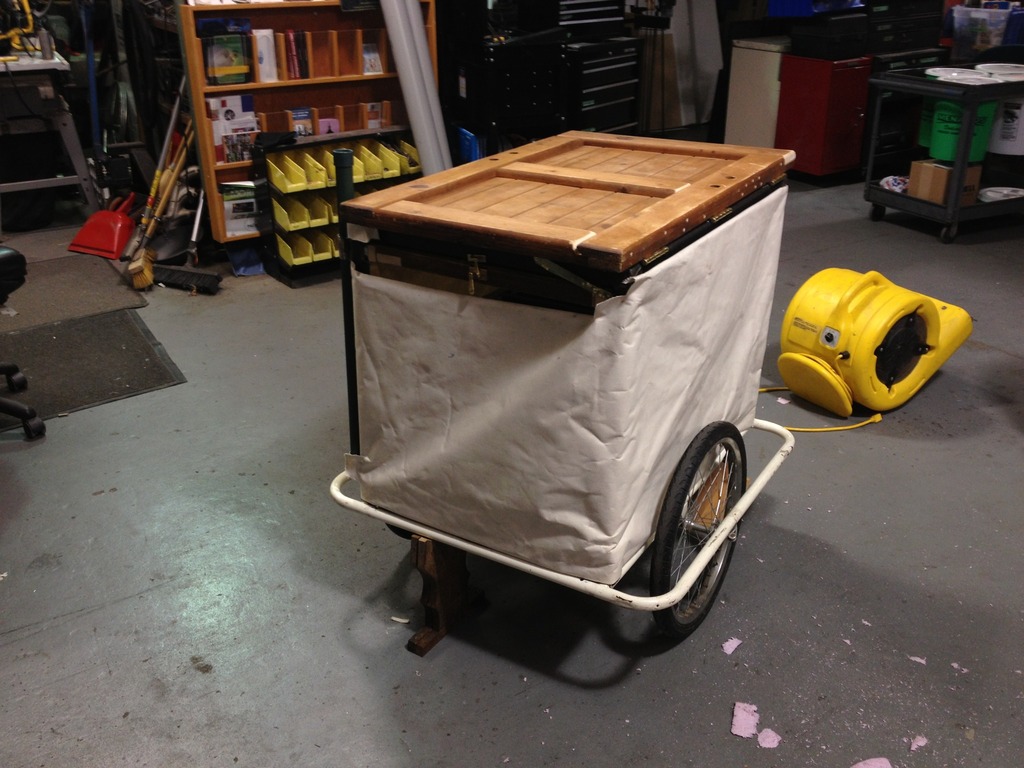
Jamie has been working since the Build Madison hosted at Sector67 in September 2012 on his concept for a bicycle pulled kitchen in Houghton Michigan.  He’s moved from a “napkin sketch”, in this case meaning a small scale LEGO brick prototype, to a ready to go kitchen complete with umbrella, just in time to start thinking about skis in upper Michigan.

Slightly less colorful than the lego model, but it is more functional.


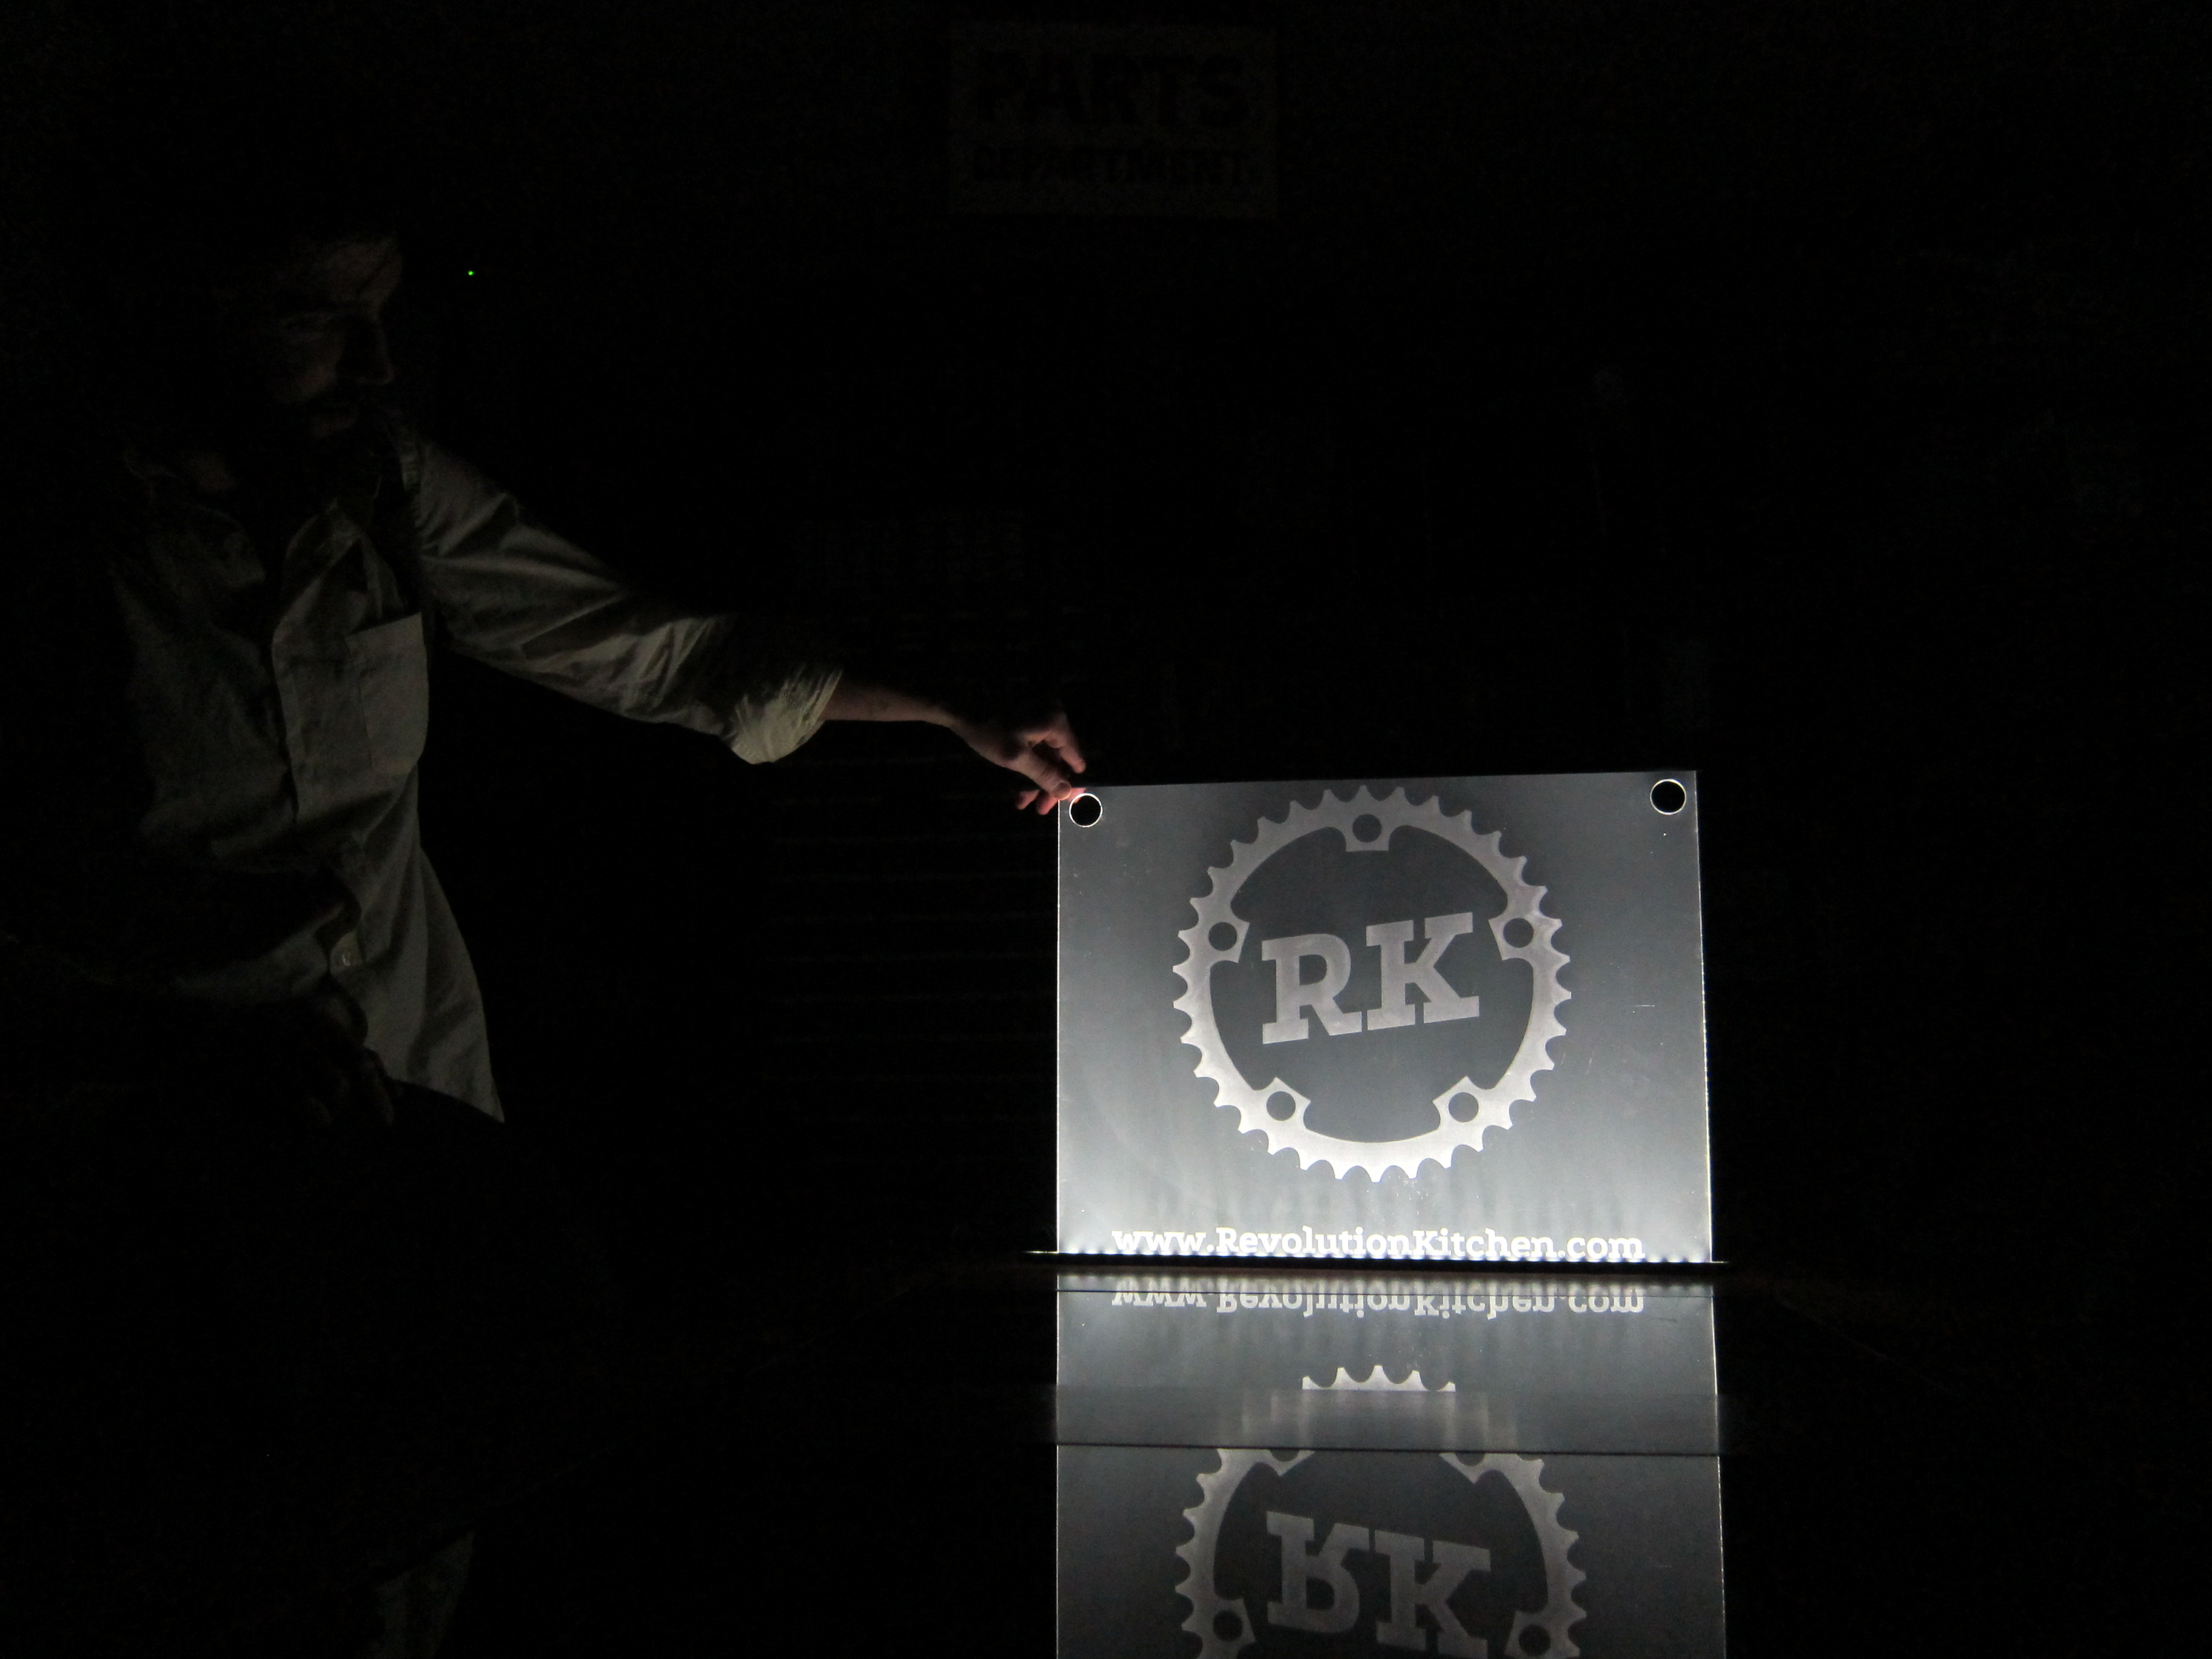
Check out more about Revolution Kitchen on their website.

Posted in Uncategorized

November Updates – Record Bowls

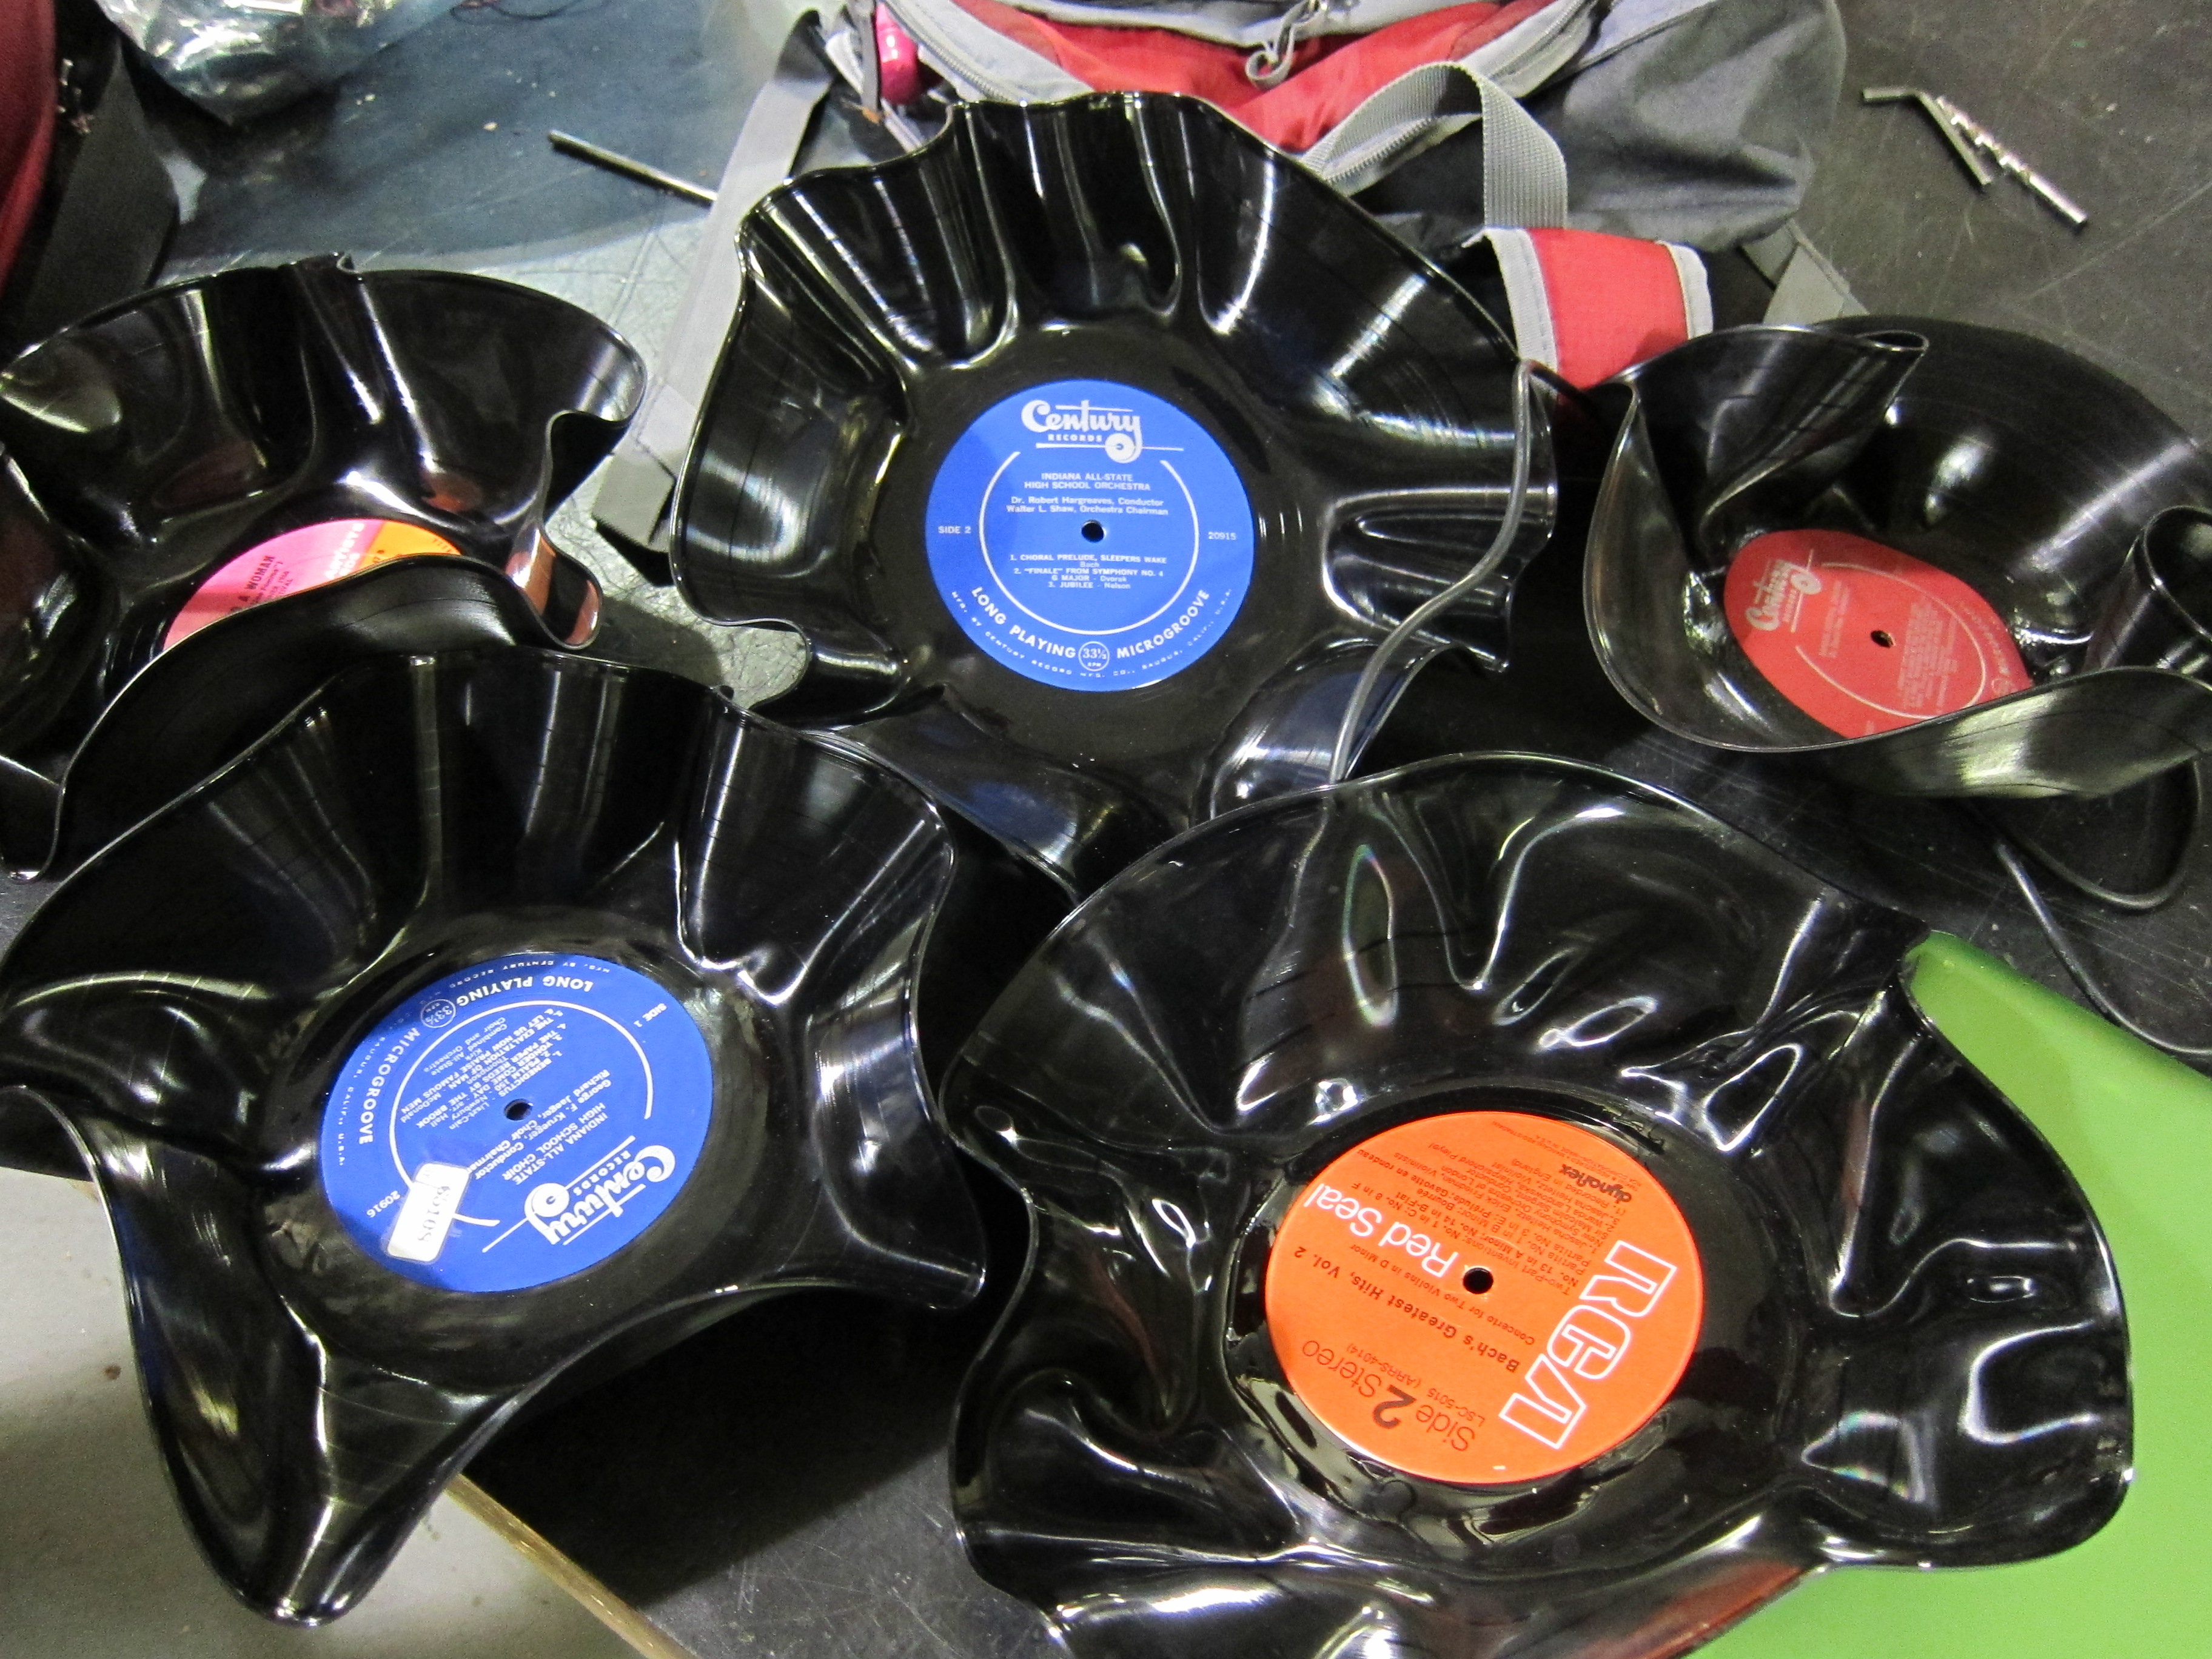
If everyone on your Christmas list is sick of getting random engraved pieces of junk from the laser cutter you can always make them a sweet record bowl (not recommended for soup or other hot liquids).

We vacuum formed ours but you can use the oven.  

Posted in Uncategorized

November Updates – Laser Cutter

Our new laser cutter.

It can do some pretty cool things like engraving this granite

or this glass

or any other junk you have lying around.

We group bought this we the Detroit Hacker Space and got them shipped to us directly from China.

Posted in Uncategorized

November Updates – CNC Wood Router

We’ve got some cool new toys here and members are making the most of them.

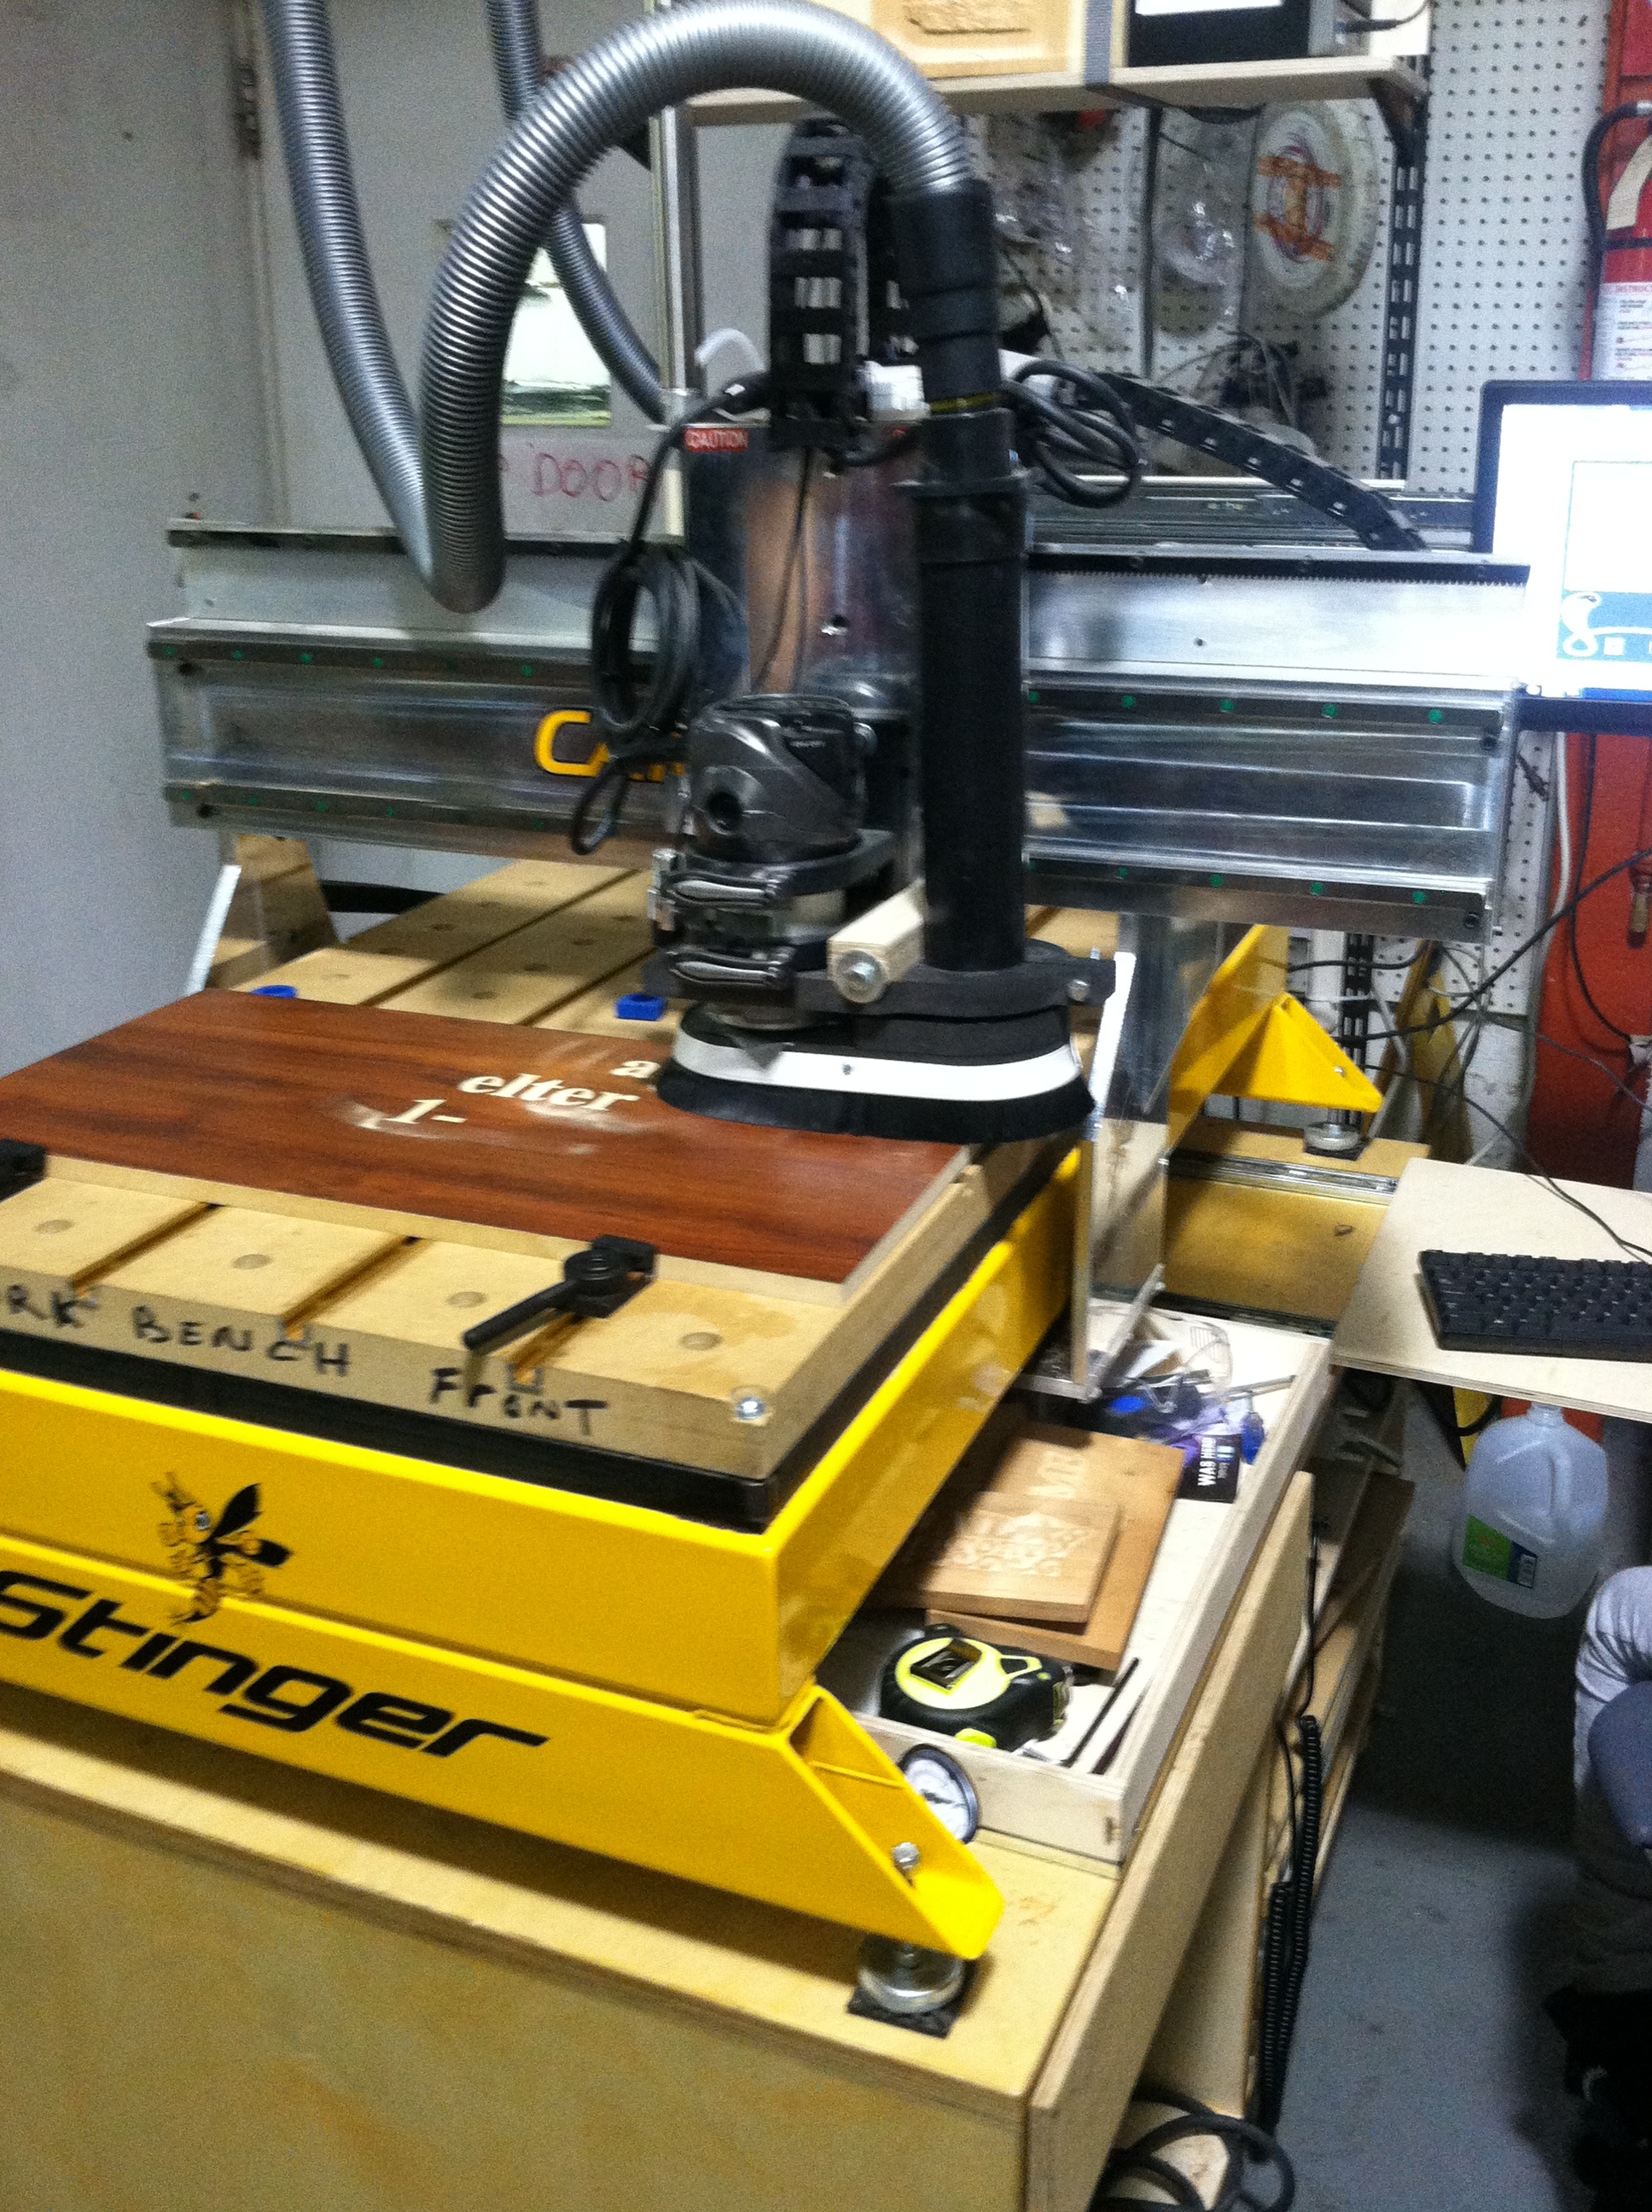
Mike messing around on the CNC wood router.

A finished product from the CNC wood router, a sign for a warming shelter.


Posted in Uncategorized

Warming Up the Laser Engraver

We’re still learning about our laser cutter (which inevitably draws a crowd):

and testing a variety of materials including engraving Jade:

Granite:

and an awesome guitar pick made from a soft stone:

We need to up the vertical resolution and test out our narrow focus lens (these were all engraved using a 63.5mm lens, really should be using the 38.1mm lens)

Posted in Hardware, Projects

Welding Pictures

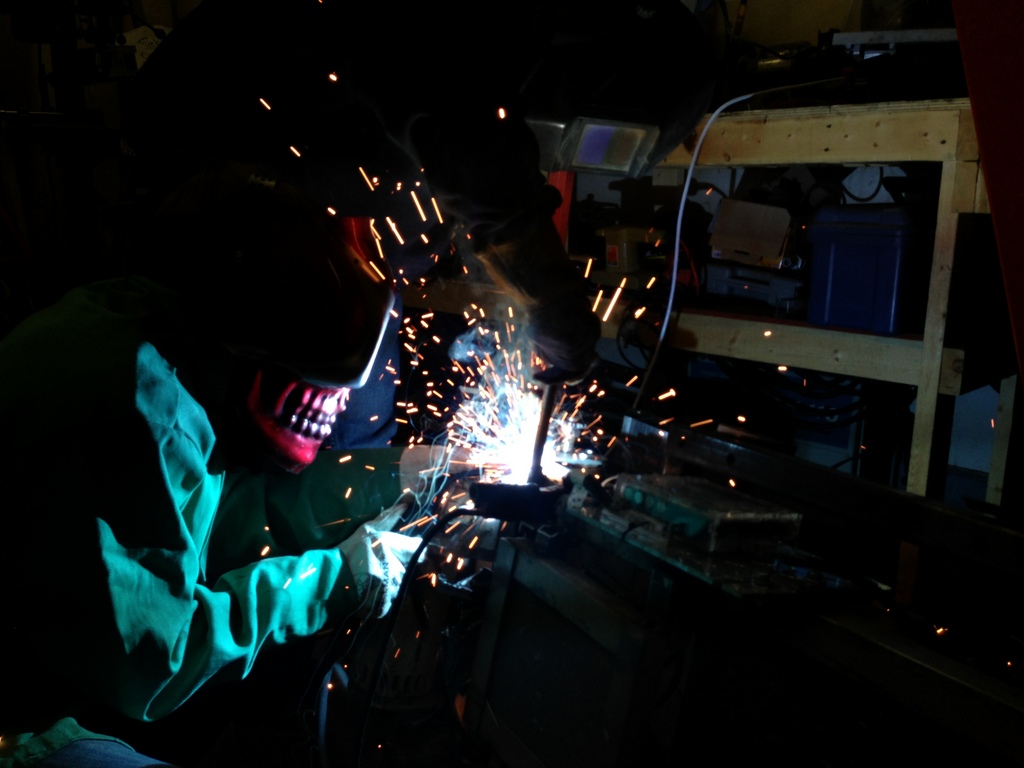
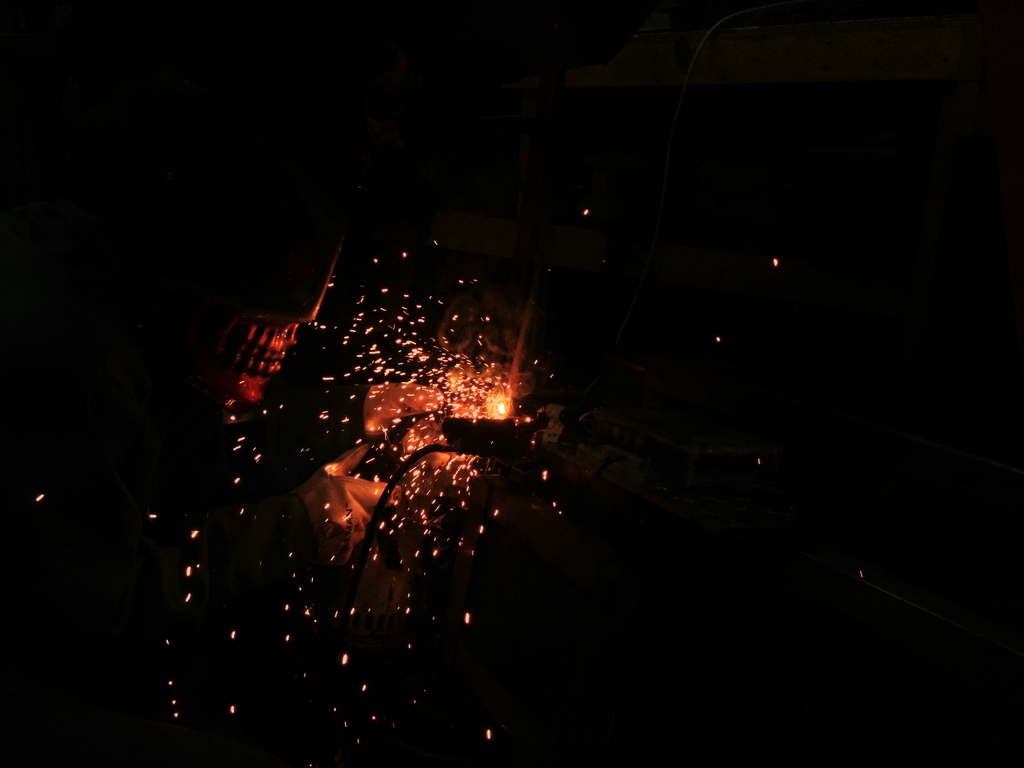
One of the Power Racing Series vehicles broken an “axle” the other day (giant sized bolt).  While they were repairing the axle, Alex shot a couple of pictures from a modern phone camera, these have gotten amazingly good at taking cool pictures!

Posted in Uncategorized

Madison SOUP – December 9th 6-8PM – Get Tickets Today!

Sector67 will again be hosting MadisonSOUP this cold, dark, December! We hope to have a full house so please join us for some great food and Madison area project proposals. SOUP can’t happen without your support, so please register today.

***

Madison SOUP‘s December event will be held at Sector67-2100 Winnebago St. on Sunday, December 9th from 6-8pm. Tickets are now available via Madison SOUP Eventbrite and are $10. There is also an option to donate to the event; so if you know you won’t be able to attend but would like to pitch in some money please use this option instead of reserving a ticket.

There is still time to submit your idea! Projects and ideas can be submitted until 11:59 on Tuesday, December 4th via the Project Proposal form. Past presenters who weren’t awarded the micro-grant may submit their project or idea again, and may continue to do so until you’re awarded the micro-grant. Anyone is able to submit their idea as long as it provides some sort of positive impact for the Madison community*.

Please contact [email protected] with all questions or comments!

***

Hope to see you there 🙂

Posted in News, Projects Tagged with: , , ,

Laser Engraving a Laptop

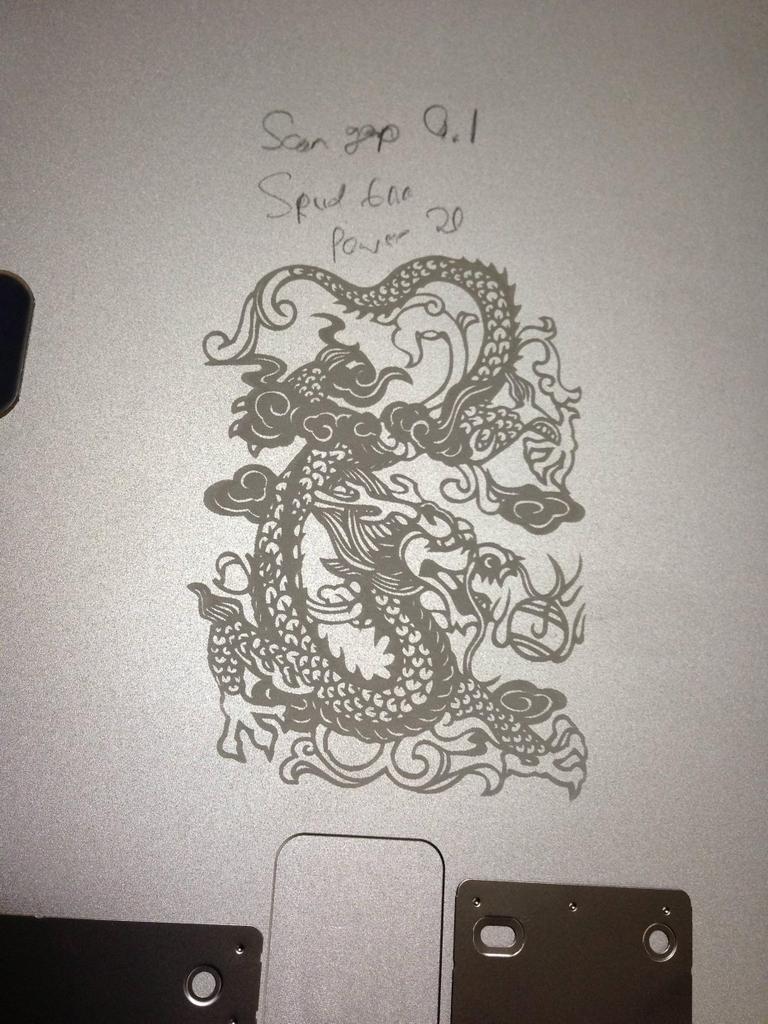
Not as scary as it sounds, we started off with a test on a dead laptop panel:

Which yielded beautiful results on the first try.  Next up was preparing the artwork (in this case XKCD.com comics) and test engraving a chunk of wood.  After that it was squaring the laptop and shim time:

Then the scary “hit go and hope you got it lined up right”

And finally a happy Brendan and his permanently altered laptop case:

In other news, we now own a giant laser cutter/engraver, we’ve had the good fortune of having access to three laser cutters over the past year, but had a great opportunity to go in with our sister hackerspace i3Detroit on a very affordably priced machine!

Posted in Hardware, Projects Tagged with: , ,

Cart


Upcoming Classes:
Adding with Electricity