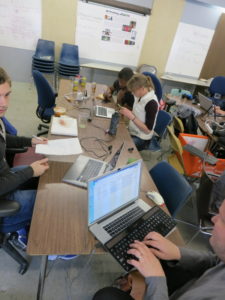
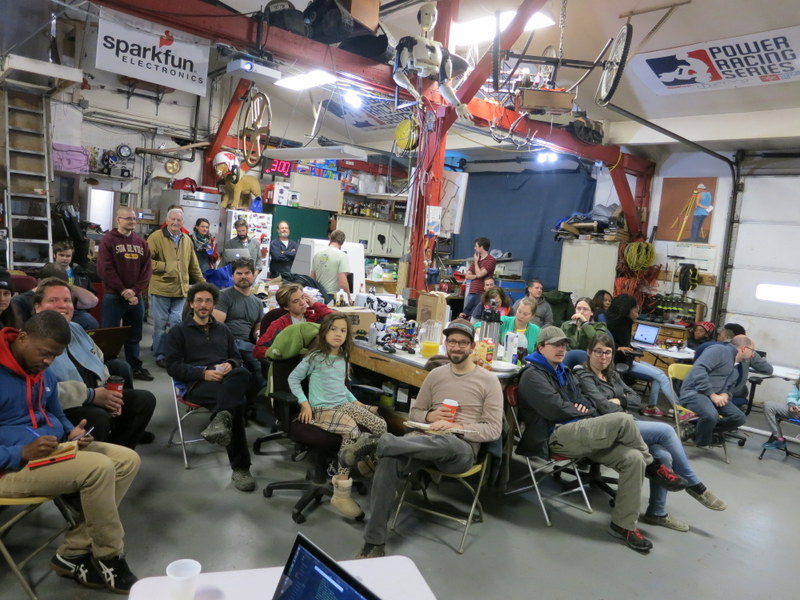
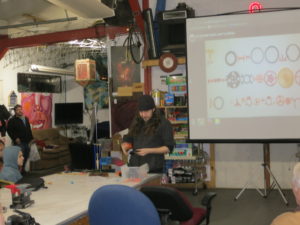
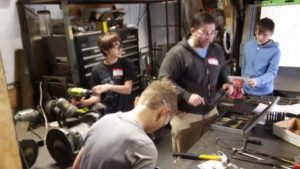
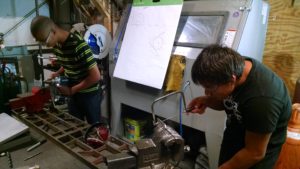
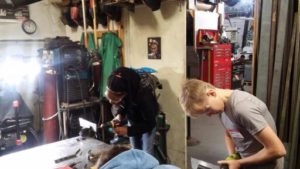
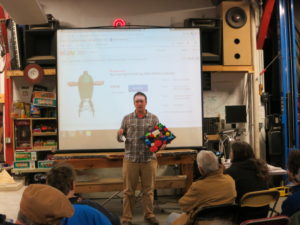
Build Madison had a great turnout and a wide variety of ideas pitched at the start this year:
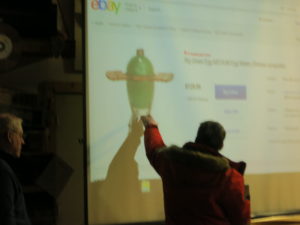
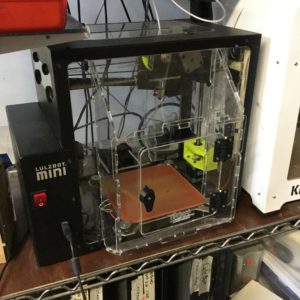
- Brian – Kegerator dispensing system
- Greg – Prosthetic 3d scanning (handheld scanner for ear/other body parts)
- Kate – Combination lock laser cut puzzle
- Joe – Using recycled skateboards to make artwork, looking to make a block of skateboard deck
- Xavier – Building a virtual reality system to simulate being taller (camera on top of your head)
- Antonio and Lola – Learn 3d printing, build a homeless shelter – portable shelter/rolling cart for homeless
- Elizabeth – Building cribbage boards out of reclaimed wood
- Jamie – Responsive email templates using Foundation and Sass for Nerd Nite
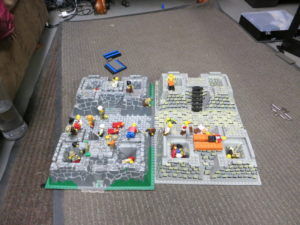
- Jeff – Lego Rubik’s cube solver, light up bat signal, embroidered patches
- Olivia – Create an augmented reality treasure hunt app/game
- Rob – Make a Halloween skull respond to noise/microphone and move the jaw automatically
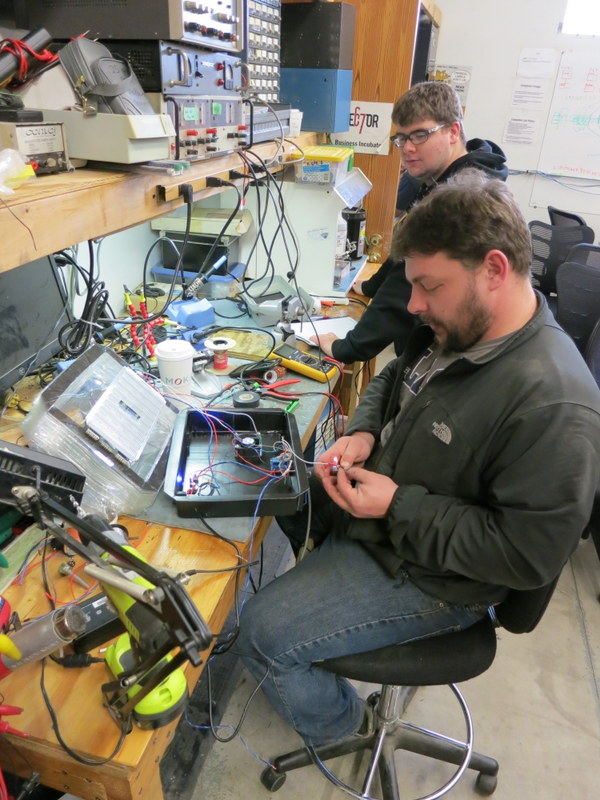
- Jim – Create a peristaltic pump with no output oscillations/spurts of liquid
- Andrew – Software developer with no projects but happy to help others
- Jesse – Terrarium project, some kind of bicycle project
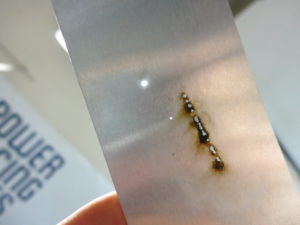
- Joe – YAG laser project to make it run and burn holes in metal

- Don – Telegraph operator looking for a telegraph playback machine/digital version to run like a player piano
- Brad – Cat door with lock to keep the cats from eating each others food
- Mark – Hopper for a wood stove to keep it feeding pellets overnight
- Elizabeth and Family – Building Lego robots with retrofitted motors

Finish
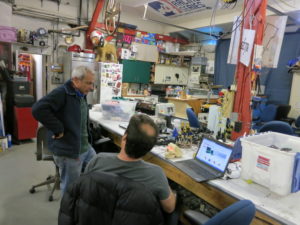
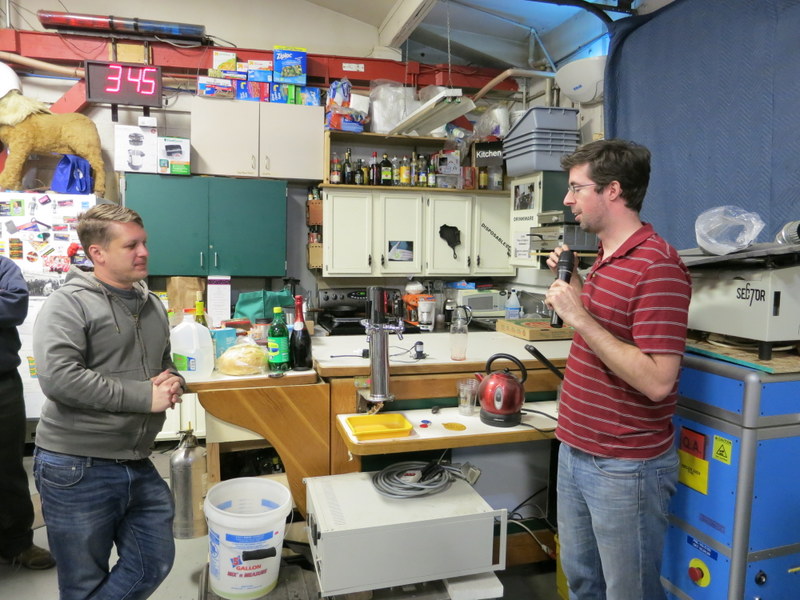
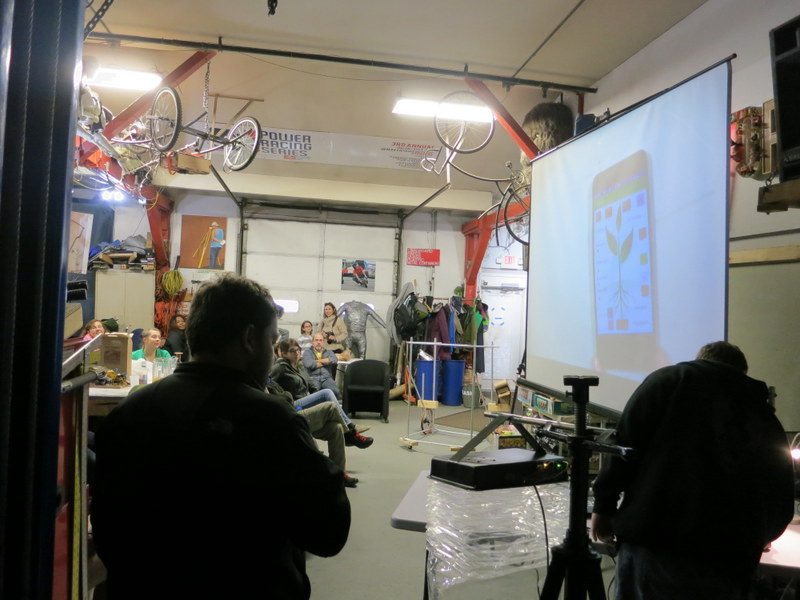
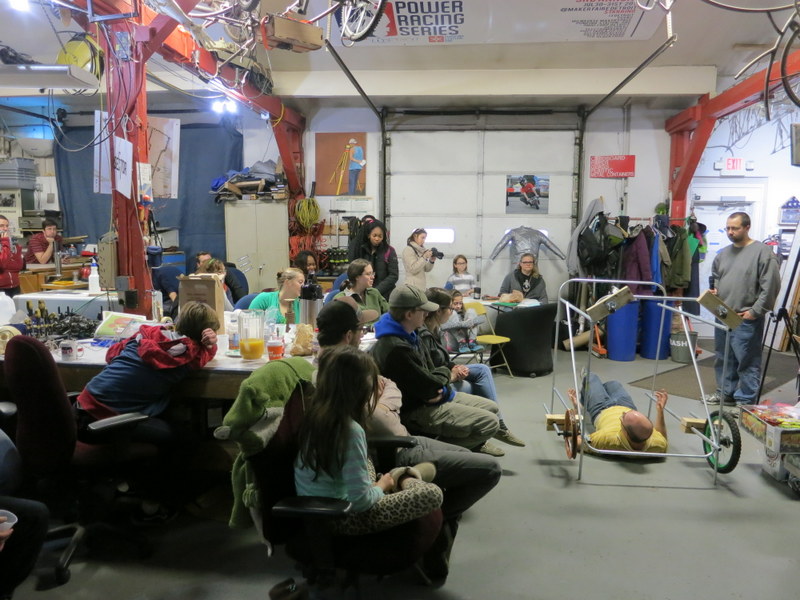
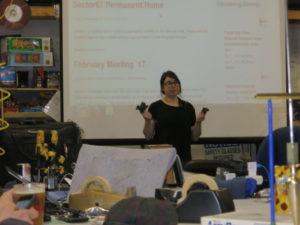
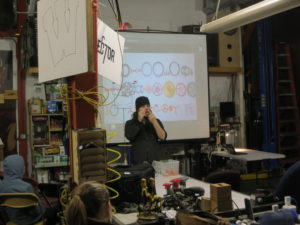
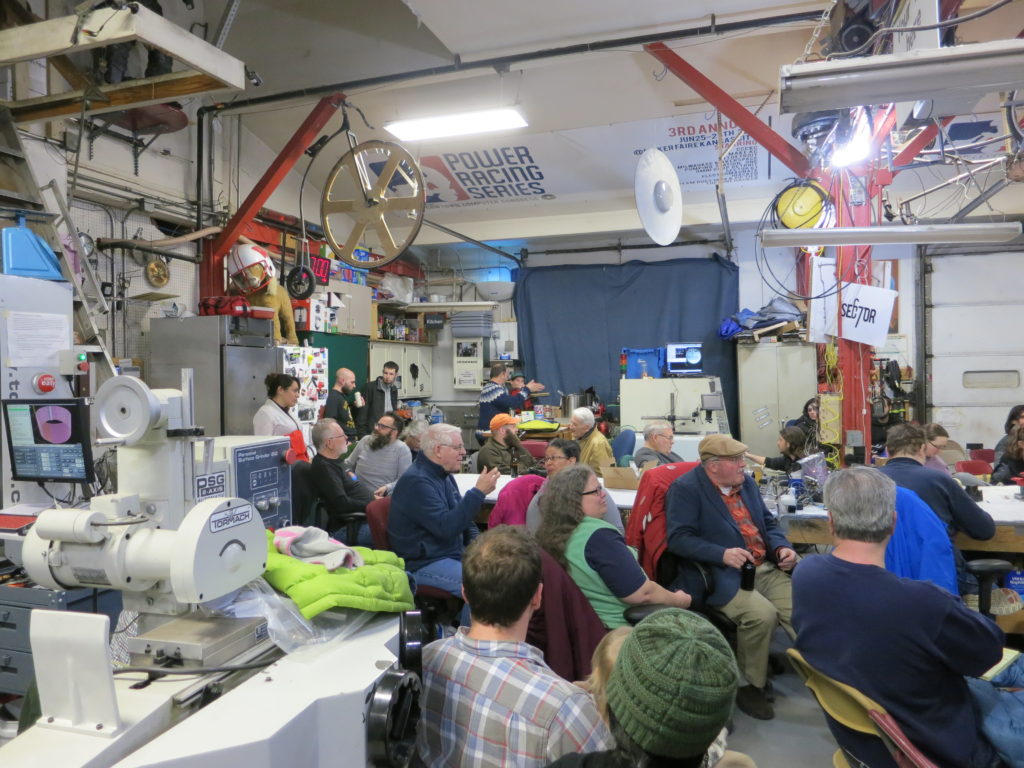
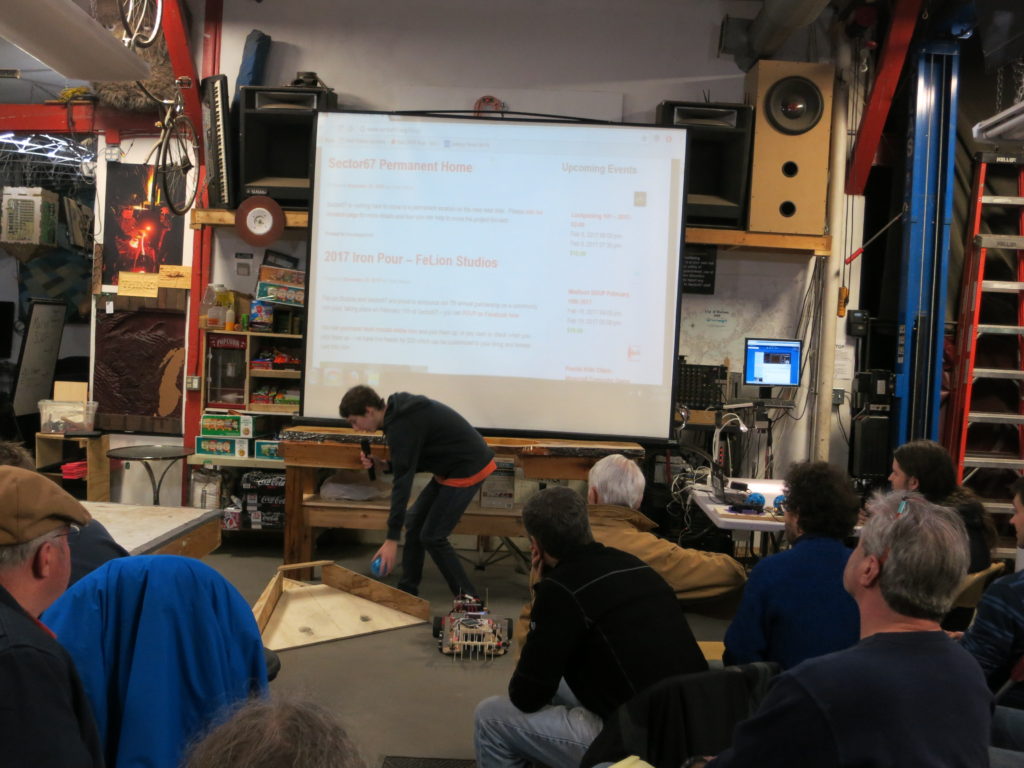
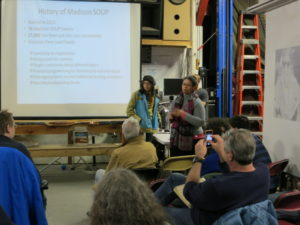
At the end of the event we had a lot of great presentations (2 hours worth!), here’s a summary of “completed” ideas. We had a great turnout for the finale:
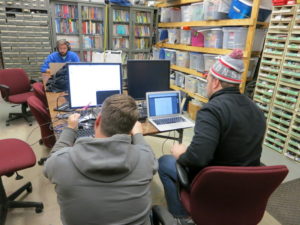
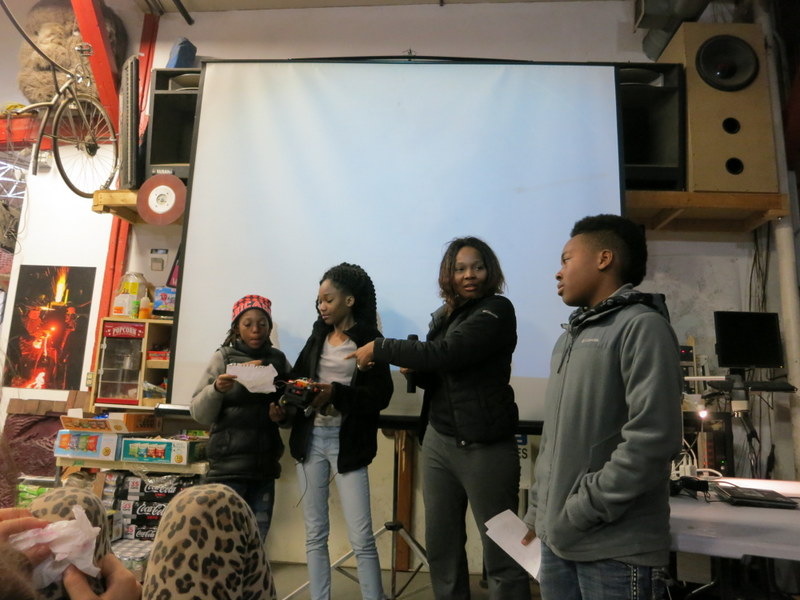
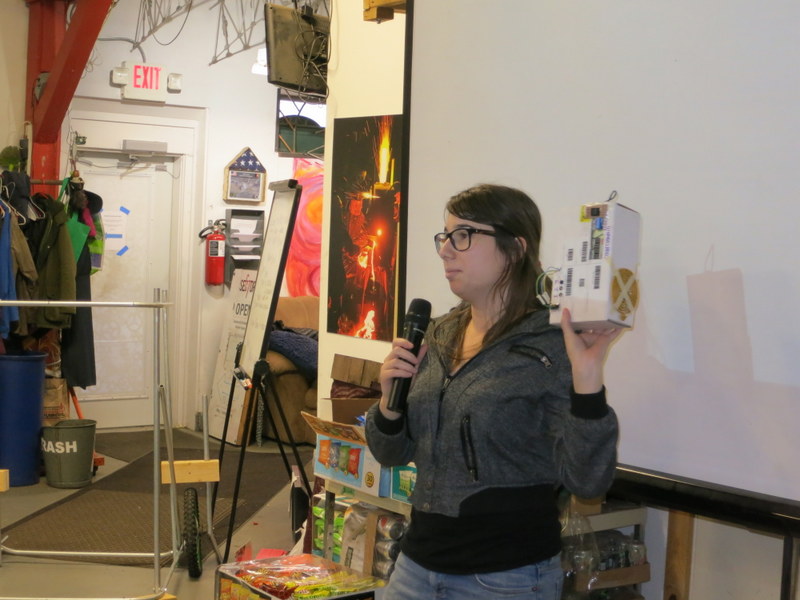
Olivia and team were up first to demonstrate their augmented reality game that you can find here:
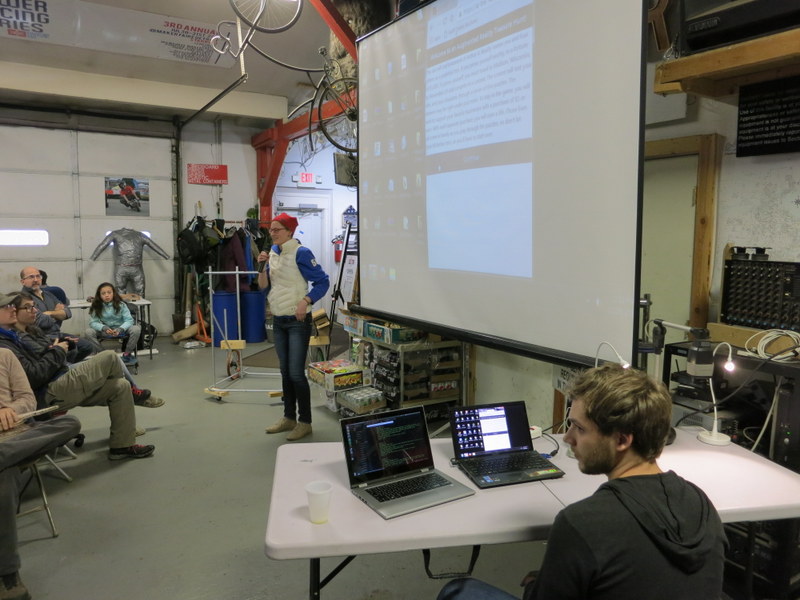

They spent their 24 hours building a working app using GPS gates/targets to only allow players to advance when they were in the right area. They had some trouble with the GPS accuracy but were working through it. They were able to demonstrate a working website with a storyline and rewards at the end of the game!
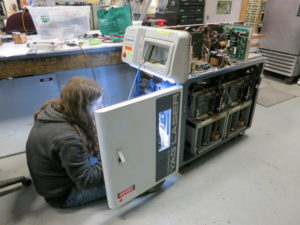
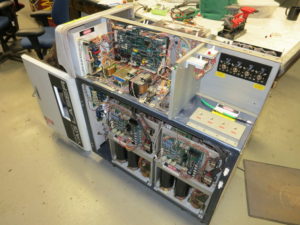
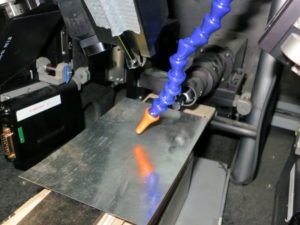
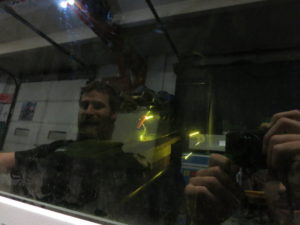
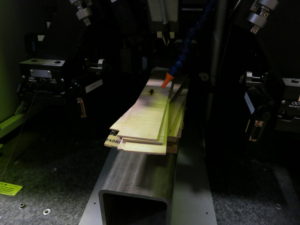
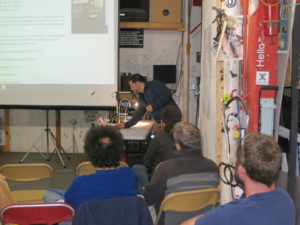
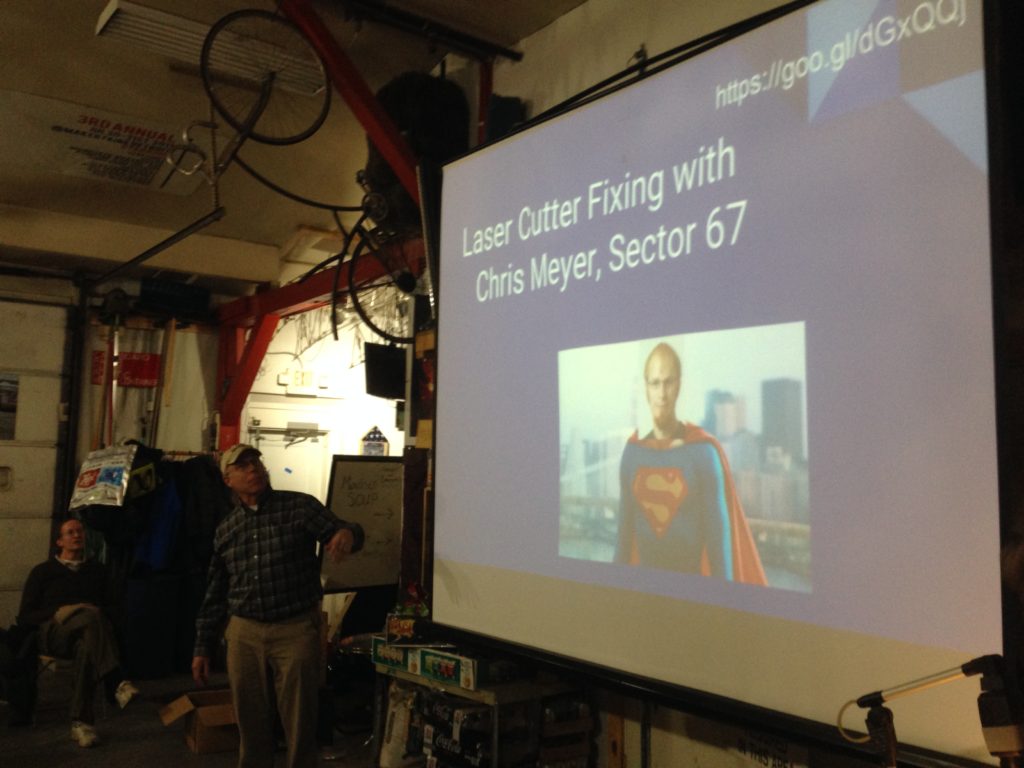
Next up was Joe and Ethan to demonstrate their progress with the YAG laser:
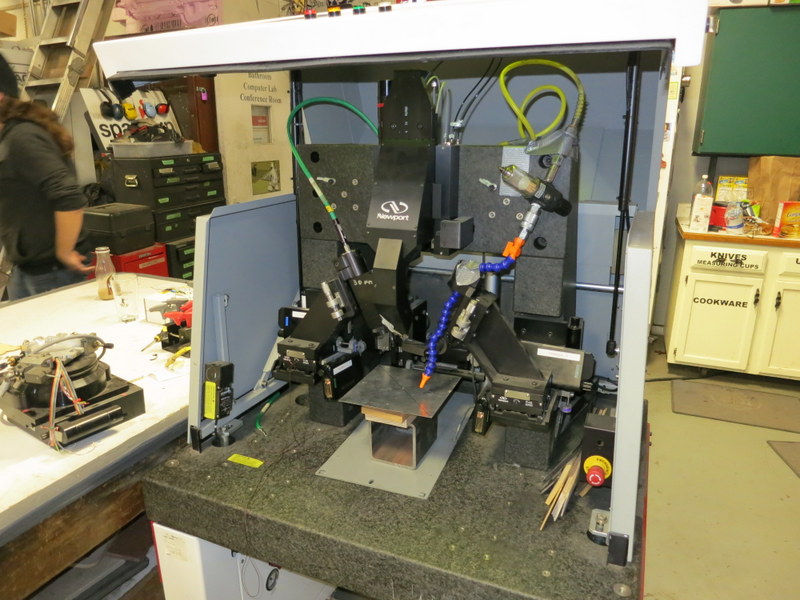
They were able to get a 100W Unitek Miyachi LW100 YAG laser and a Newport LaserWeld Series 4000 cabinet up and running in 24 hours. The next step is to mount the laser head to an old CNC machine we have so we have a metal cutting CNC laser.
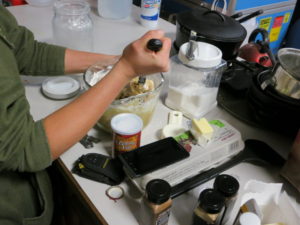
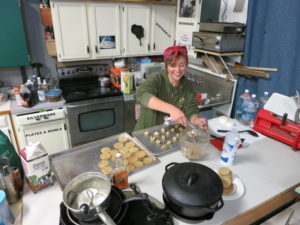
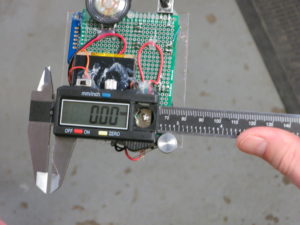
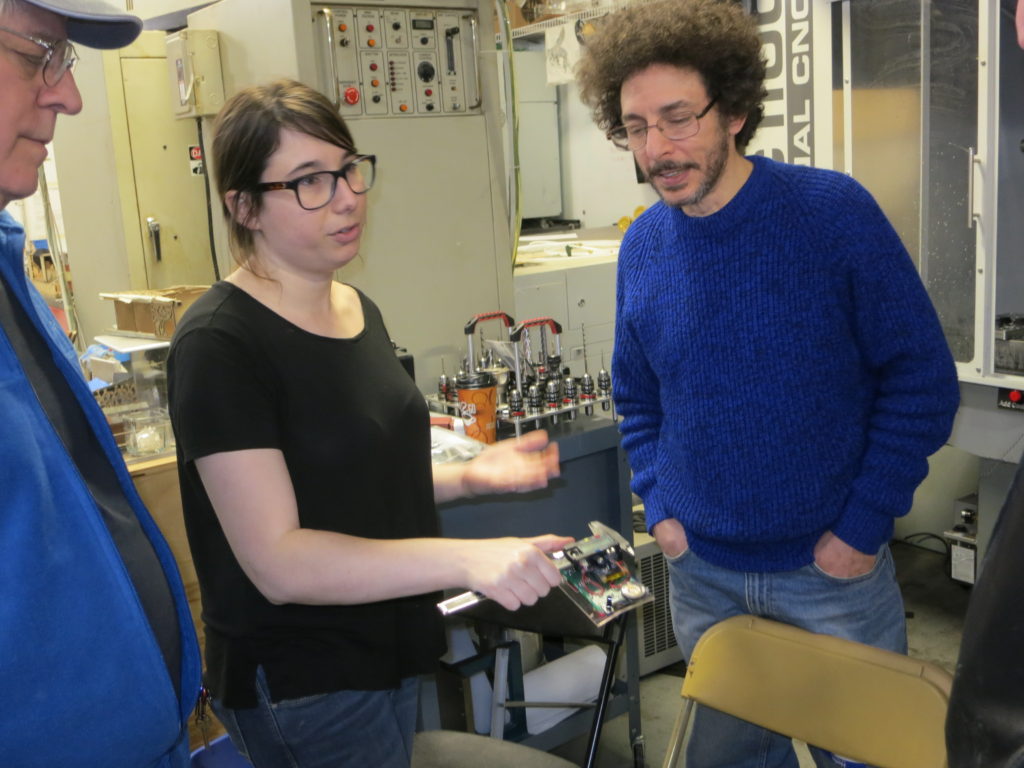
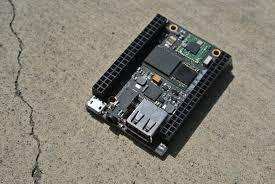
After the laser team, Bob, Brian and Casey talked about setting up a kegerator dispensing system using a Raspberry Pi and a simple LED indicator:
They were able to 3D print a custom top of the existing tower, program the RPI, and create the electronics needed to interrupt flow to the tap on demand.
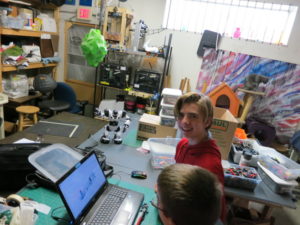
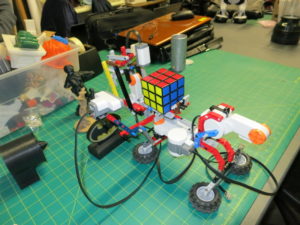
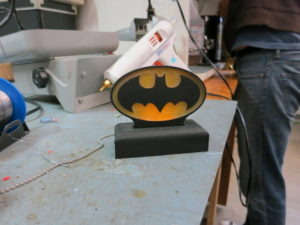
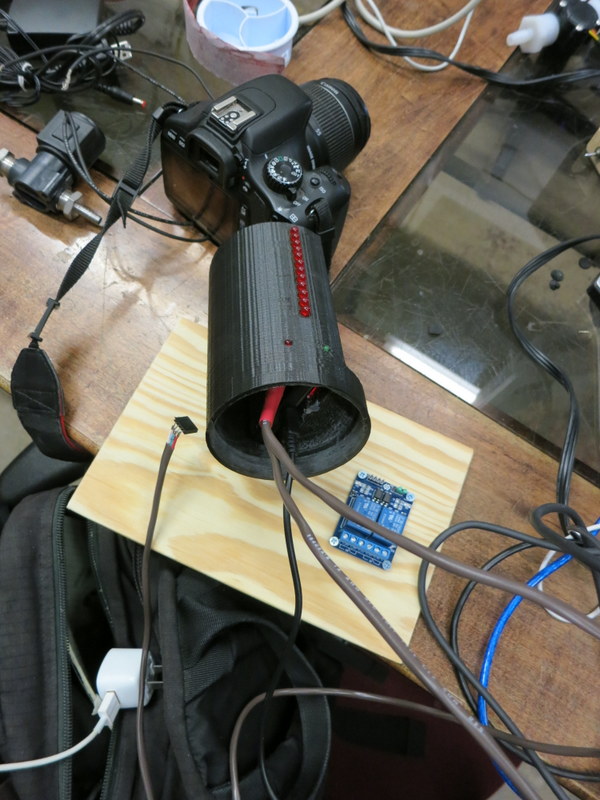
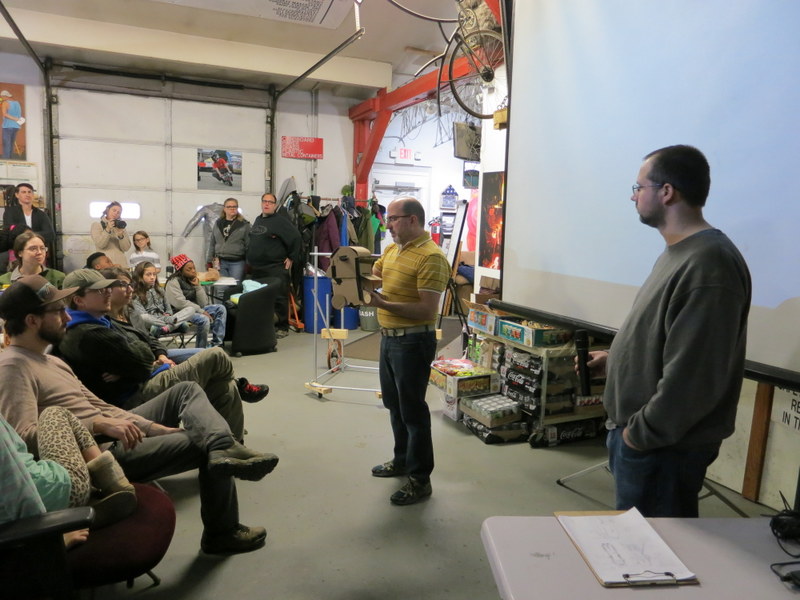
Next up was Jeff, never one to be too ambitious:
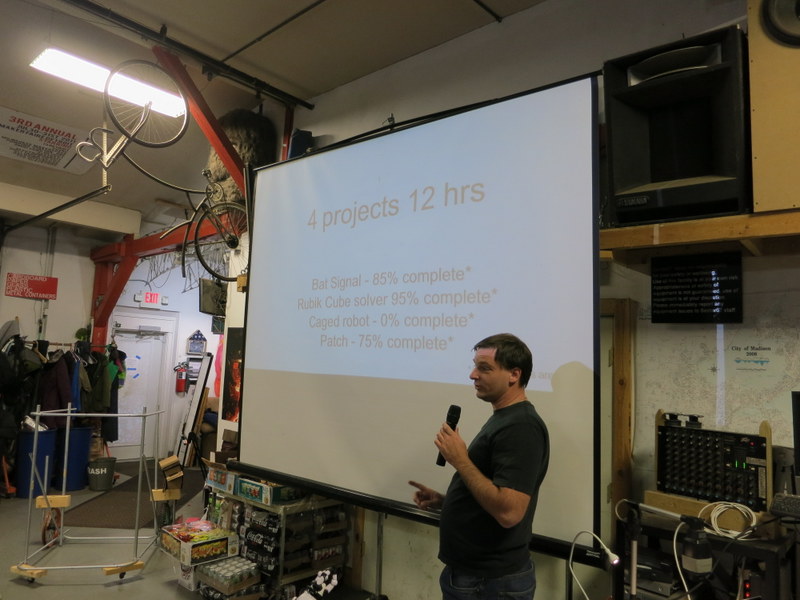
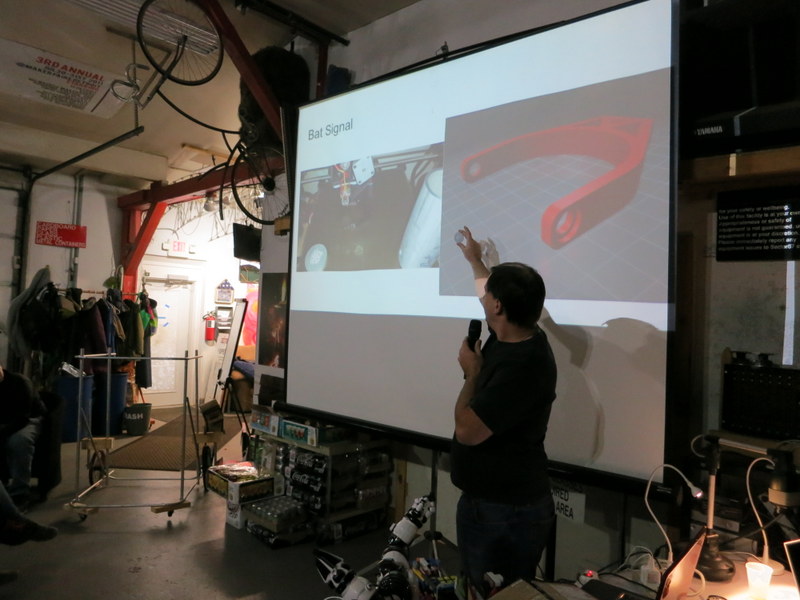
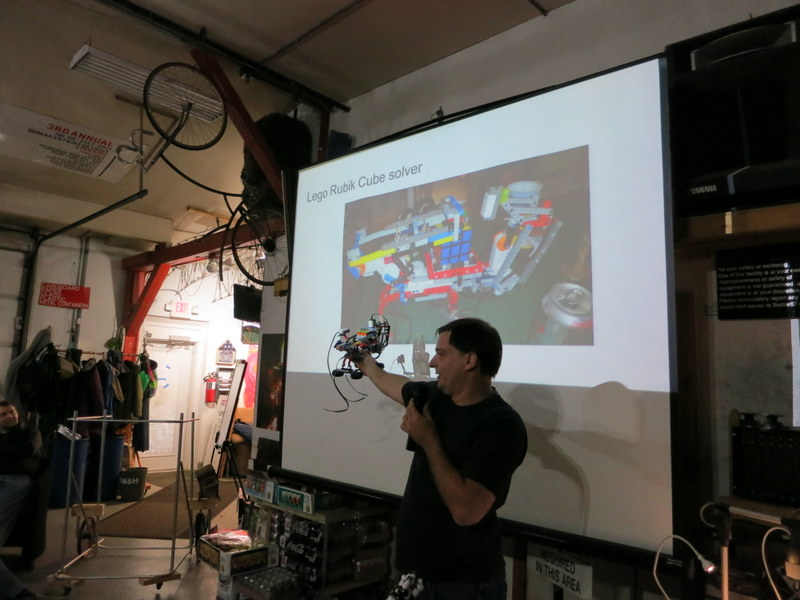

Jeff worked through a custom made bat signal (LED flashlight projector), a LEGO Rubiks Cube solver, and a custom patch. He didn’t quite get started on his caged robot prop, maybe next year!
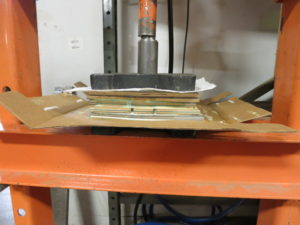
Joe took the floor next to show off his glued up skateboard deck artwork:
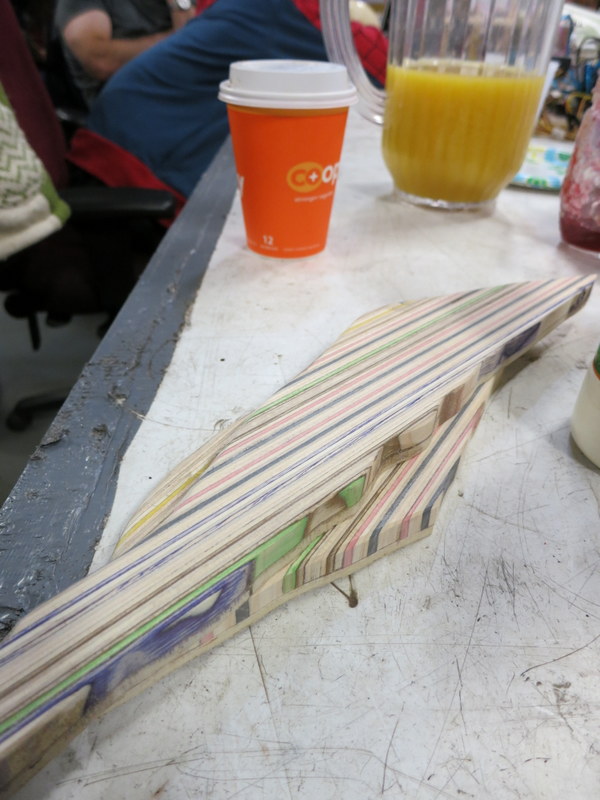
He used the CNC wood router to “plane” down the edge-glued panel of deck sections and the hydraulic press to make an easier-to-work-with larger block of skateboard decks.
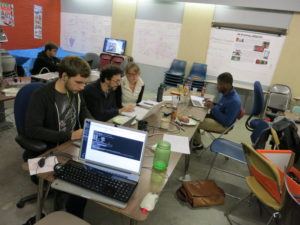
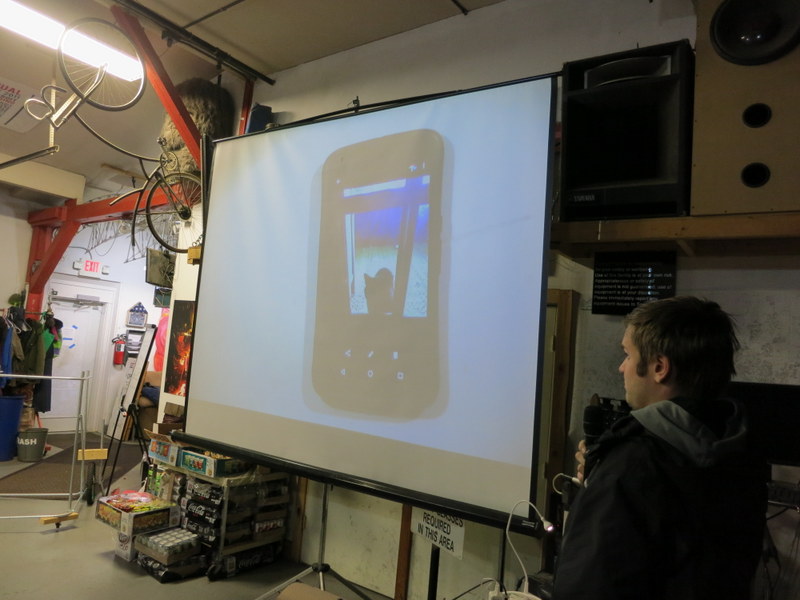
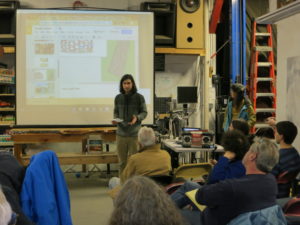
Jesse and his friend showed up with an ambitious goal of building a bluetooth phone-app controlled greenhouse system:
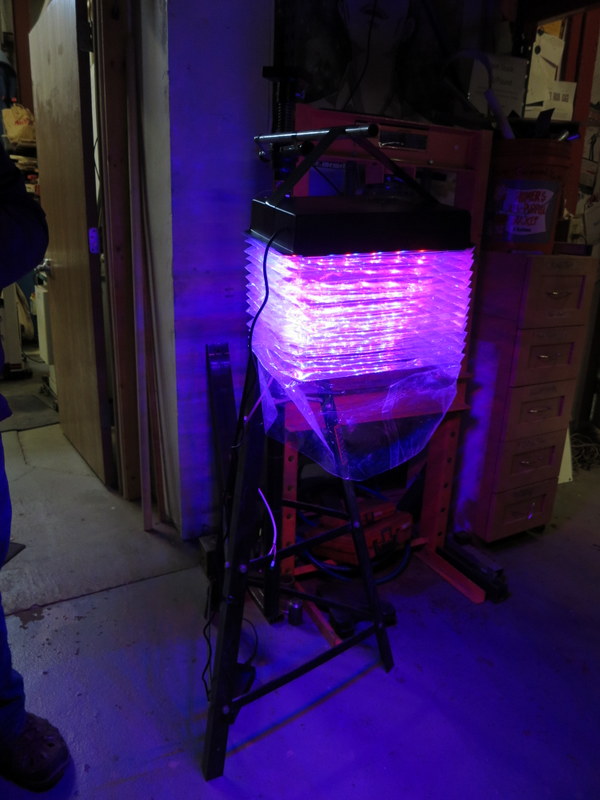
They delivered with a nice looking application (visible on the projector in the background) and a humidity/temperature/air/light controlled environment – next step is to install some plants and see how it works!
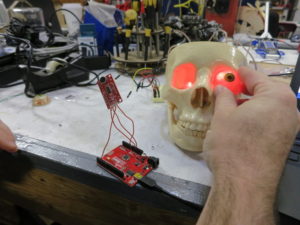
Rob and his son delivered a jaw dropping performance:
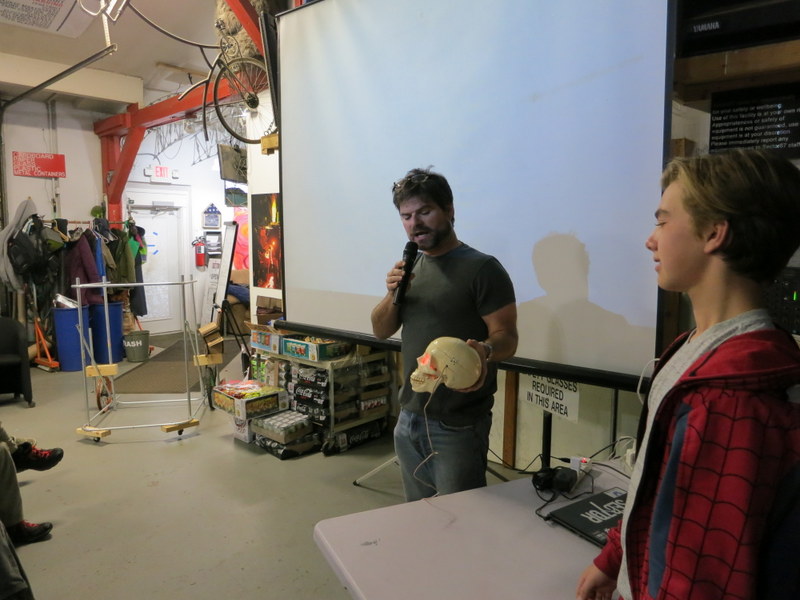
with their Arduino controlled, sound reactive, skull. They used a Sparkfun sound module wired to an Arduino to gather in ambient sound level. They then mapped the sound input to a servo that was connected to the jaw, so every time the controller heard a loud sound the jaw would react. Their next step is to tune the jaw response and experiement with a variety of microphone set ups.
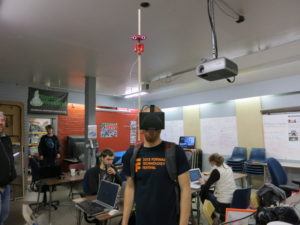
Xavier decided that vertically challenged folks should be able to see if the top of your refrigerator is clean or not:
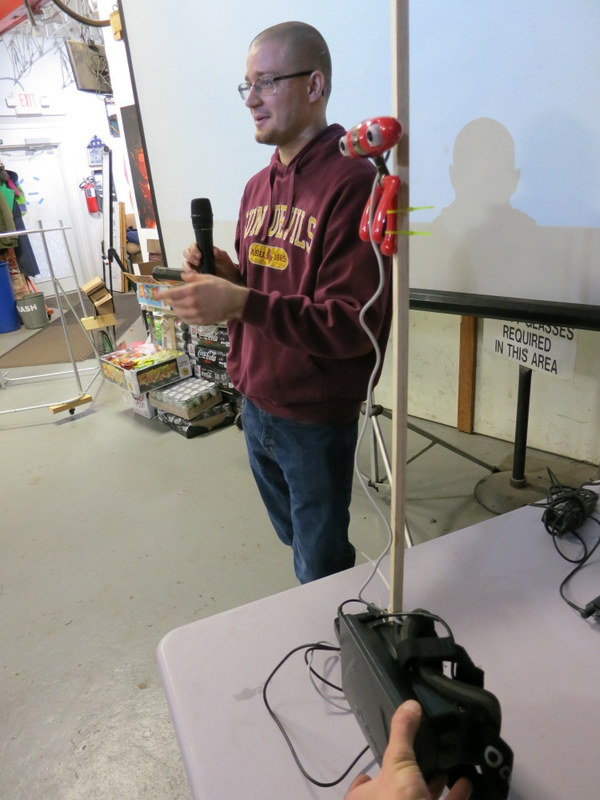
While a relatively simple build – total build time was tightening 3 zip ties to an Oculus, a stereo webcam, and a stick, the software took a little longer to iron out. He used the Oculus as an external monitor and just full-screened a Chrome browser window to update the images on the browser, but it turned out a browser wasn’t designed for the abuse to piping the images in was a bit of a challenge. Having personally tested it, I think it may double as a nausea tester 😉
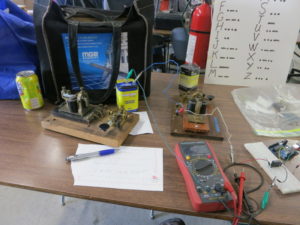
Xavier and his friends also doubled down on a second project – Don came in with an early 1900’s telegraph key and sounder – these would have been state of the art communications devices about 100 years ago. Don came into service as his town’s telegraph operator at the onset of WW2 and spent the next 17 years as a full time operator. Needless to say, he’s more than a little attached to his hobby! He wanted to create a telegraph sounder that could play back a recording or a pre-determined message:
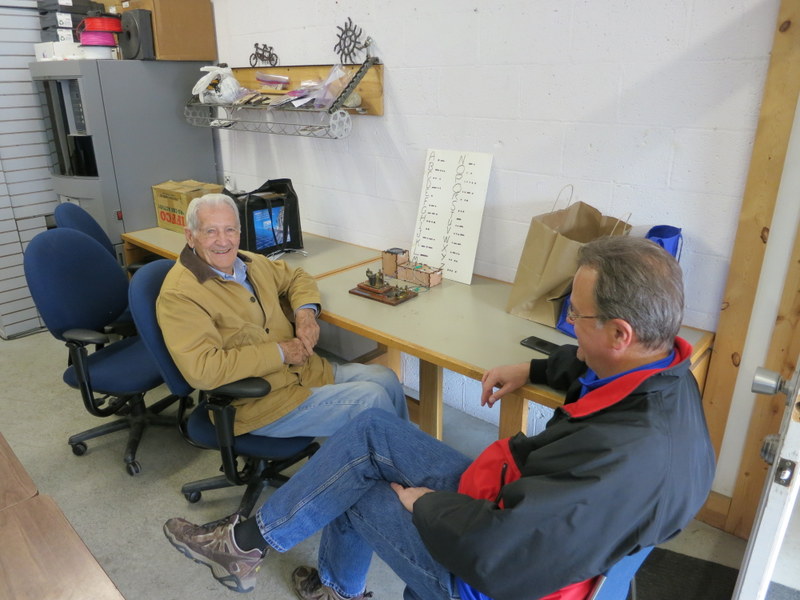
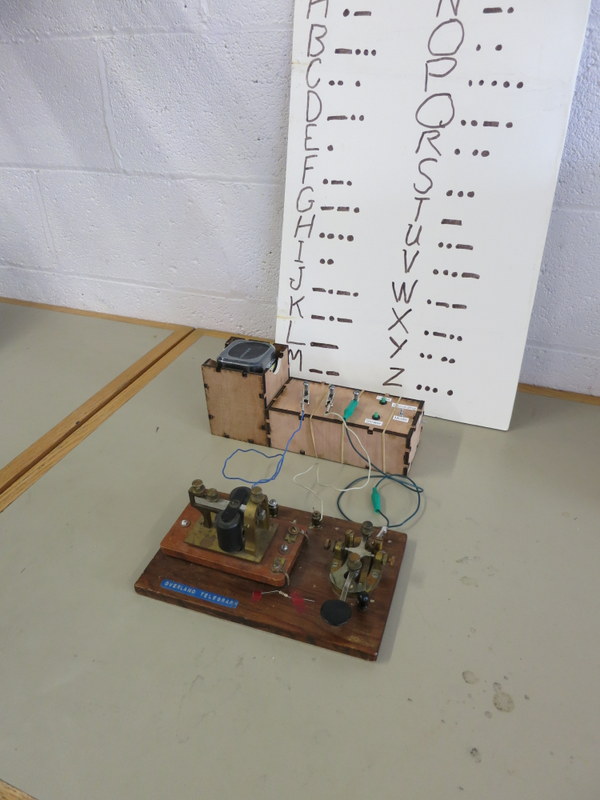
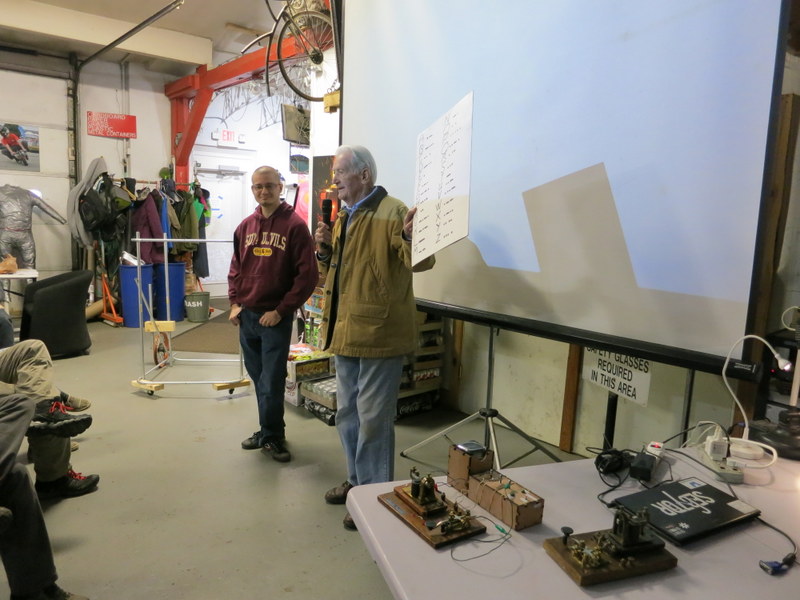
They succeeded in building a model with a case to contain a 6V battery, an Arduino, and a relay to allow the sounder to play messages or use the telegraph key to key-in input for playback. Don’s enthusiam is contageous and everybody had a lot of fun helping out with the project.
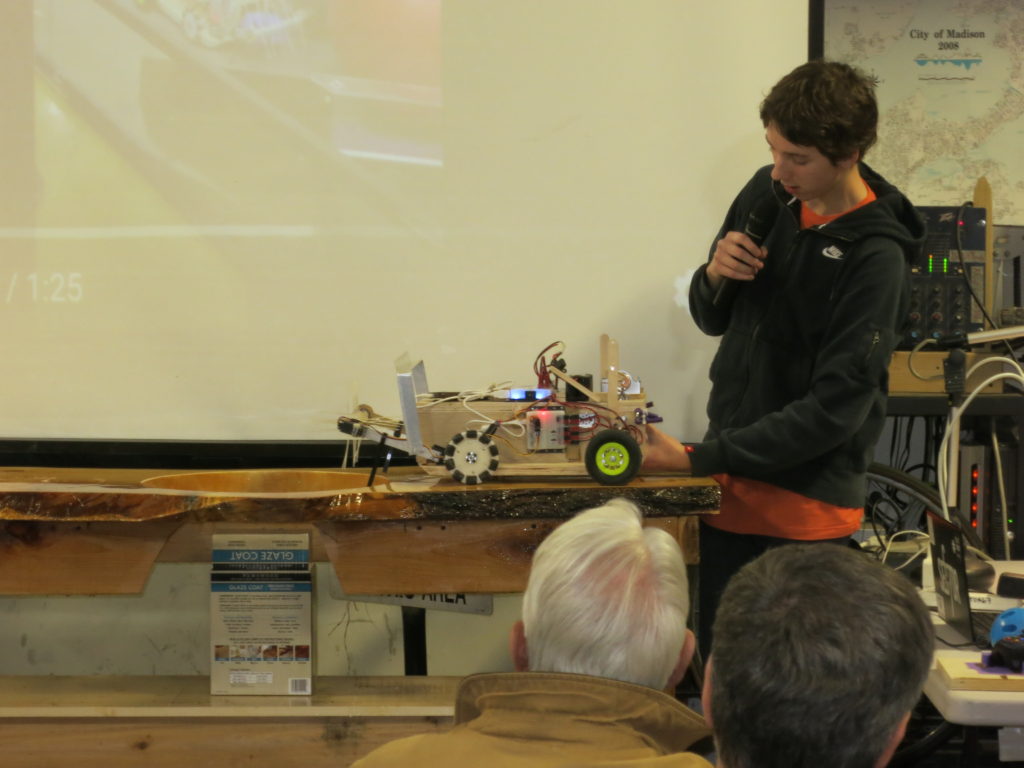
Elizabeth and her family spent most of the weekend alternating between the LEGOs and the hot glue guns. With some help from Shira, their vision of an Arduino controlled RC car built from LEGOs came together over course of the event:
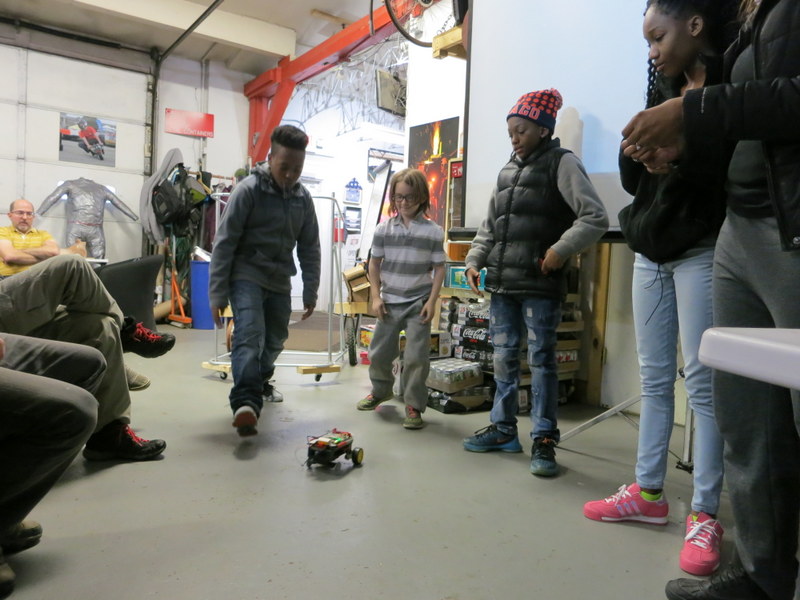
Ultimately they were able to build out a chassis, mount some gearmotors to it and set up an Arduino and a battery pack to make it stand-alone. Now that it’s running they’re looking to add steering, remote control, and sensors to it as a great project to learn Arduino development from.
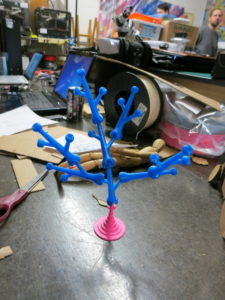
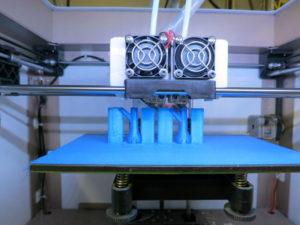
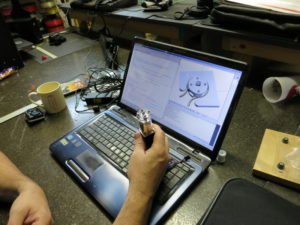
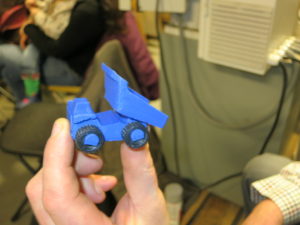
Antonio and his daughter set out to create something on the 3D printer this weekend:
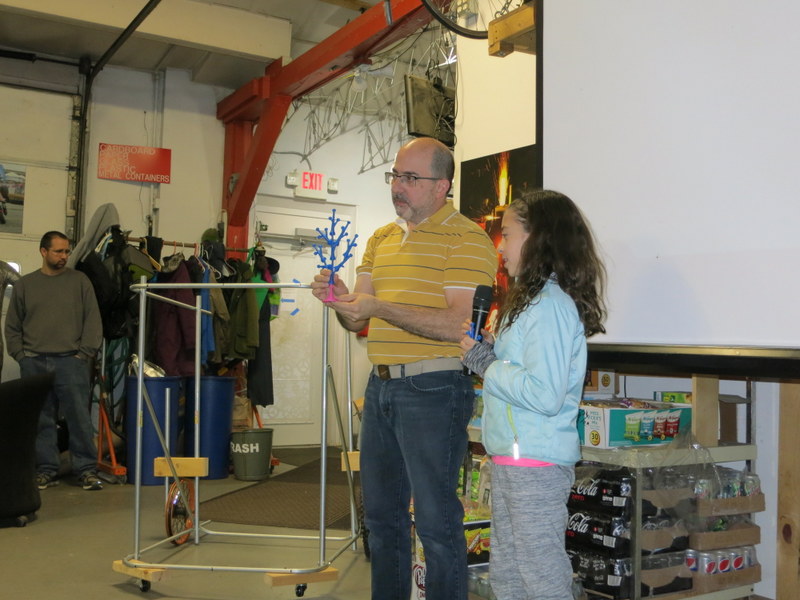
They looked around on Thingiverse and found a cool branching tree with snap-lock segments and printed off about 10 sections. They realized they didn’t have a base to hold it up, so they recruited Jeff to mashup a few things and made a trumpet-like base with the correct joint to hold it to the branch sections.
Continuing on our LEGO theme, Brett and his son spent some time putting together a lot of bricks:
Lovingly coined “The Poking Machine” it featured a reciprocating bar powered by a small DC motor and plug in power supply. Planned improvements hopefully feature a Saw-Z-All blade and a pitch to LEGO’s sales department.
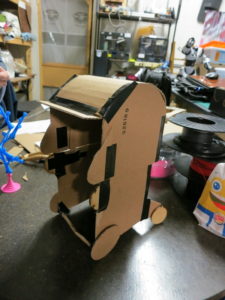
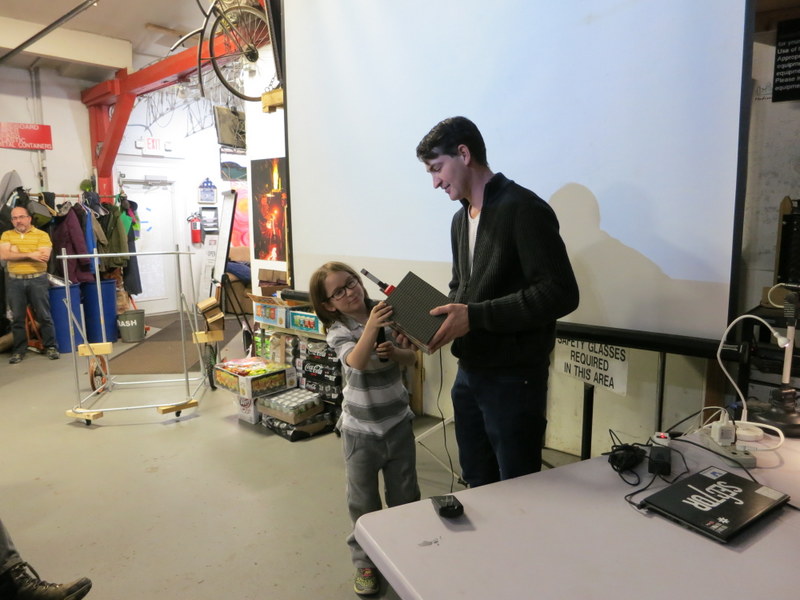
Nate and Antonio partnered late on Saturday night to prove out a portable shelter concept:
Working from a cardboard prototype and starting at 3AM they managed a conduit prototype as a proof of principle. They’re going to continue to work on it and see if they can get it out to help someone through the winter.
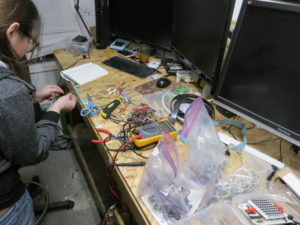
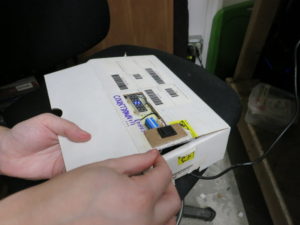
Shira wanted to build an interactive game based on “Keep Talking and Nobody Explodes”:
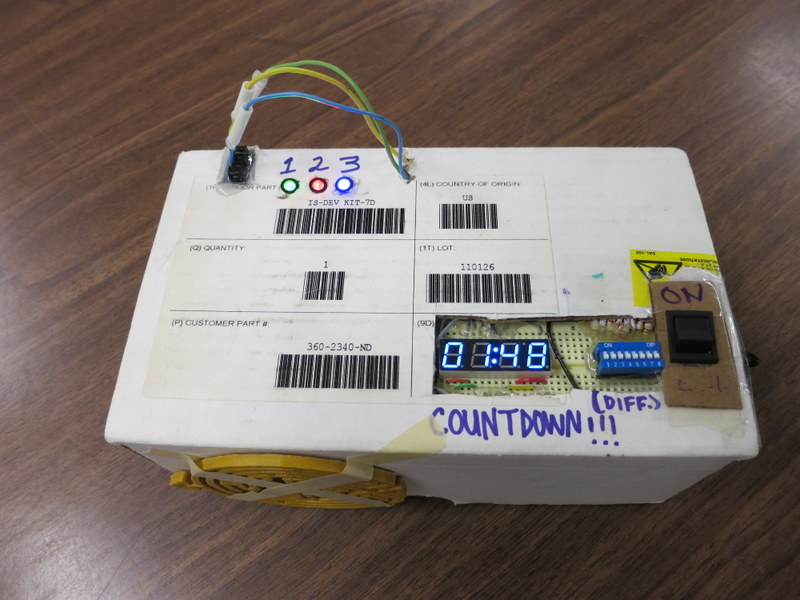
She spent a few hours digging through the junk bin to find the parts and several hours with the hot glue gun to build out a functional game. The cardboard box certainly adds to the “this isn’t a bomb, maybe. . .” factor.
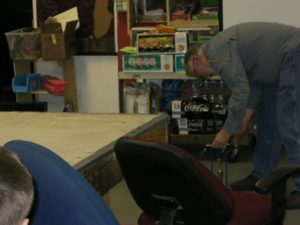
Serial Build Madison alumni Brad (of cat exercise wheel fame) needed to construct a door to his porch to prevent one cat from eating the other cats food. Originally headed in the direction of a facial recognition system and a lot of electronics, it turned out a more elegant solution was in order:
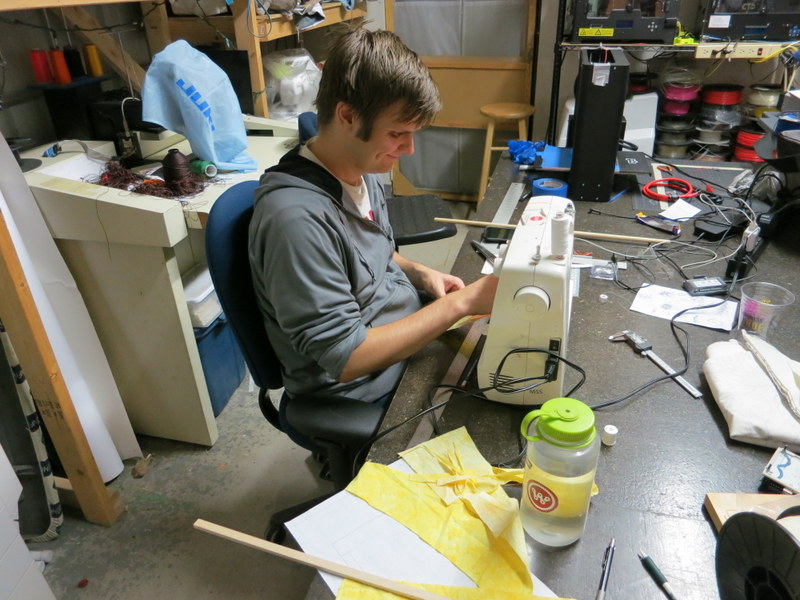
He ended up using the sewing machine (for the first time) and some balsa wood to make a simple cat door. One balsa wood rod can control flow (to allow or lock out access from the porch) and ultimately keep the cat off the porch during feeding time.
Aaron was in need of a mannekin to hold his latest Halloween costume:
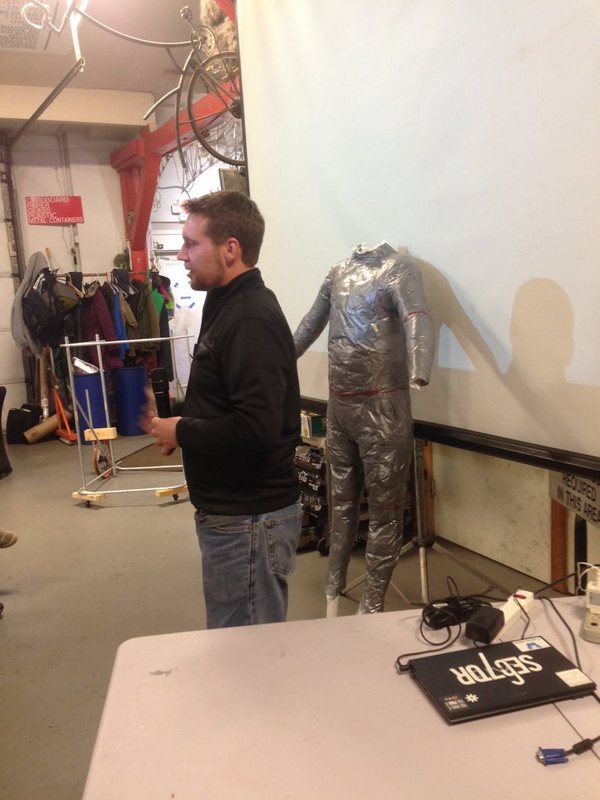
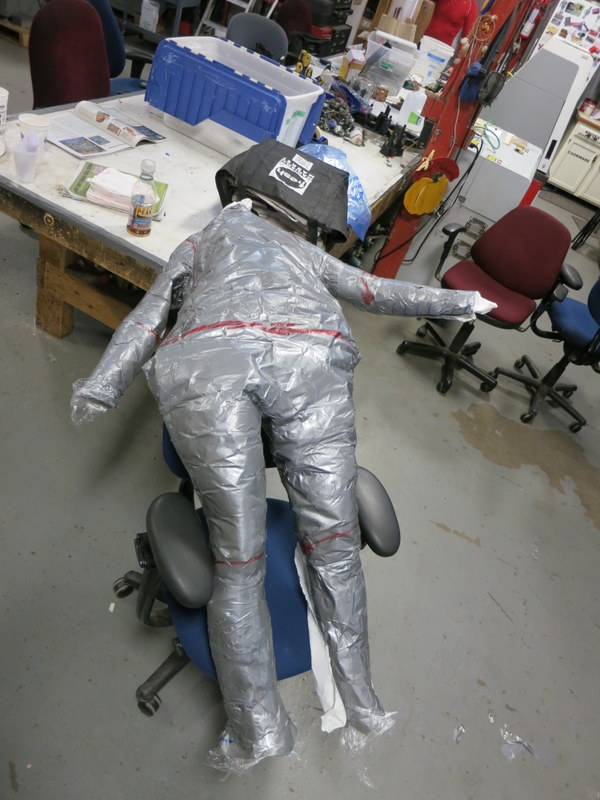
So he was wrapped up in saran wrap and then duct tape was applied liberally. Once the form was cut off, he stuffed it with paper and inserted PVC pipes to hold the form. Now he’s got a stand in to support his Halloween creations in the off season.
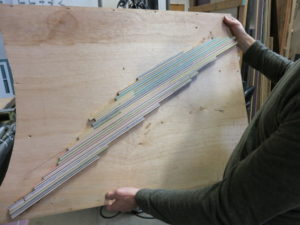
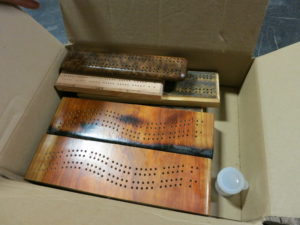
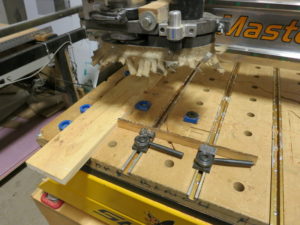
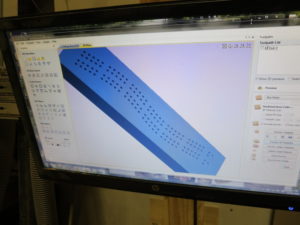
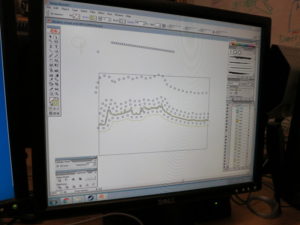
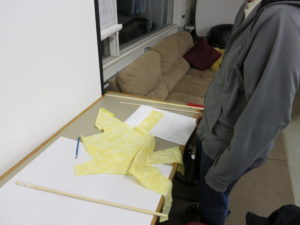
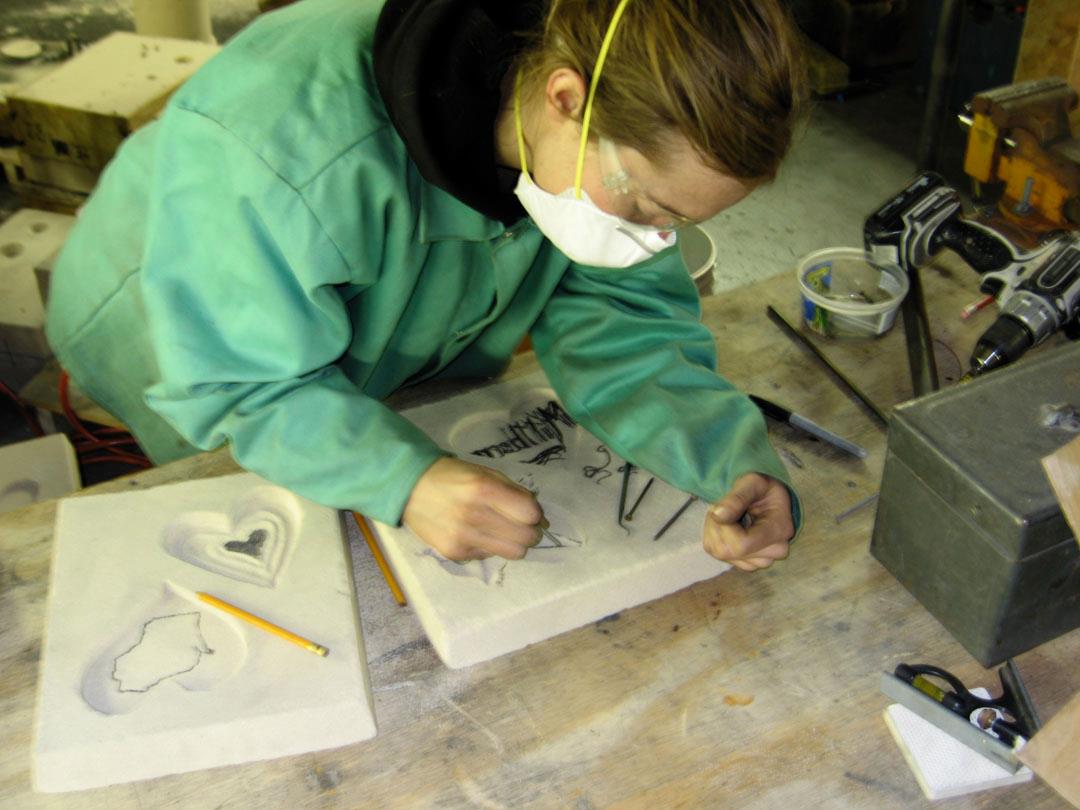
Elizabeth’s goal was to repurpose some wood significant to her friends’ weddings into cribbage boards. Starting from having little experience in woodworking and vector graphics she was able to make some quick progress this weekend:

Ultimately she used Adobe Illustrator and VCarve to create the patterns for the laser cutter and CNC wood router to follow. She varied from the CNC wood router and table router to laser marked and hand drilled depending on the appearance of the wood and surface quality.
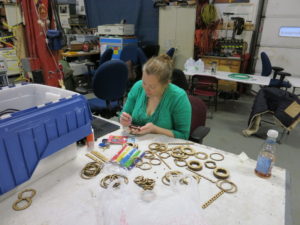
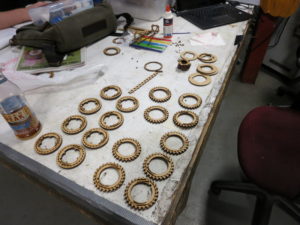
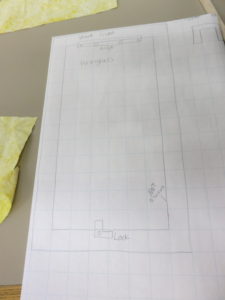
Laser extraordinare Kate whipped up a laser cut cryptex puzzle with the help of an Instructables project:
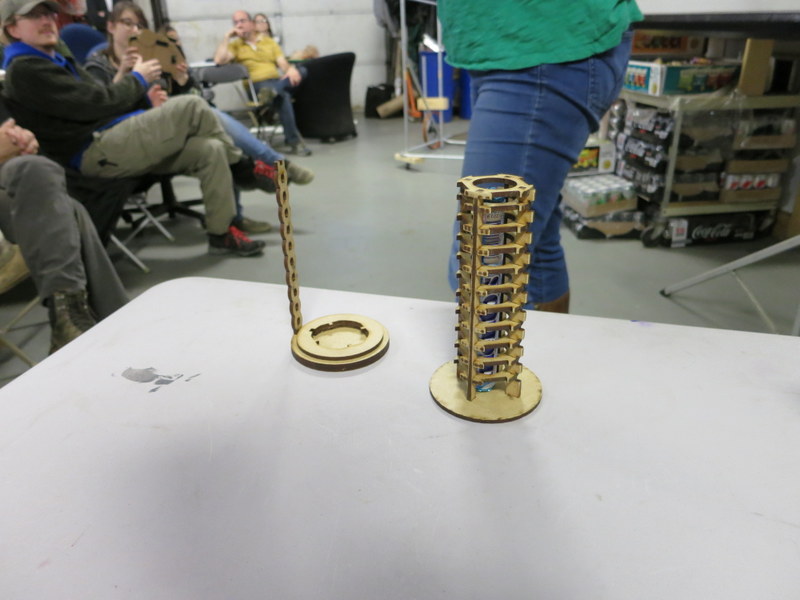
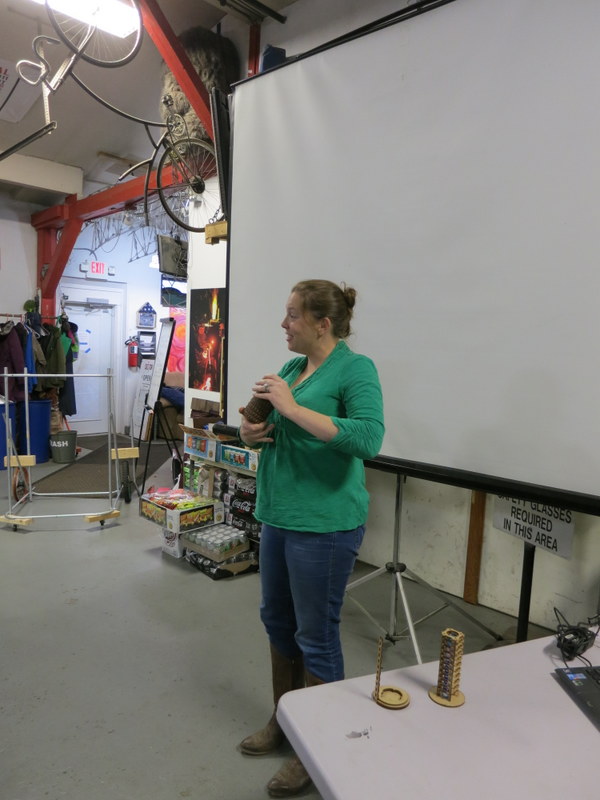
As is typical, the “looks easy” project turned out to be lacking details in all of the assembly steps, and the instructions were way out of date compared to the design interations resulting in a substantially harder build than expected. It didn’t help that each ring had every character individually glued on. Some say they can still hear the glue bottle wheezing and the quiet swearing as the glue lands in the wrong place. . .
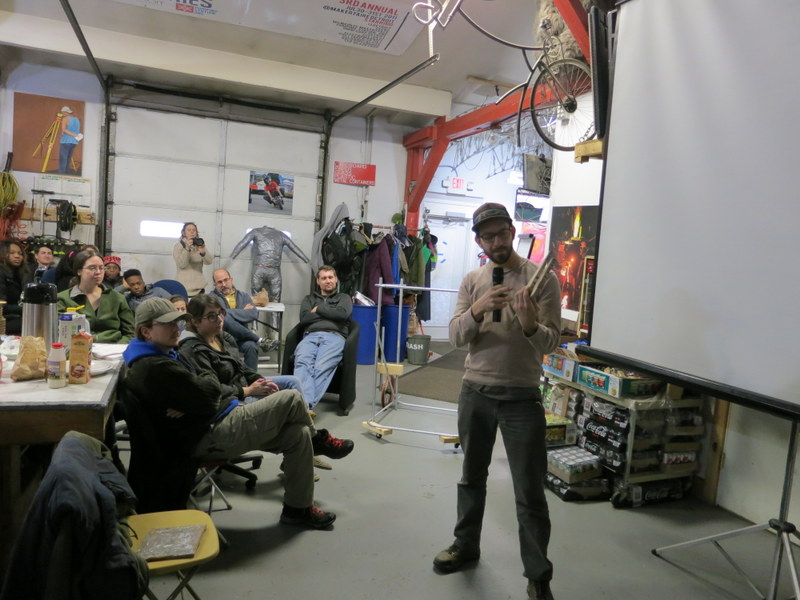
Our second to last presenter was Jamie, he spent the weekend in the exact same pose:
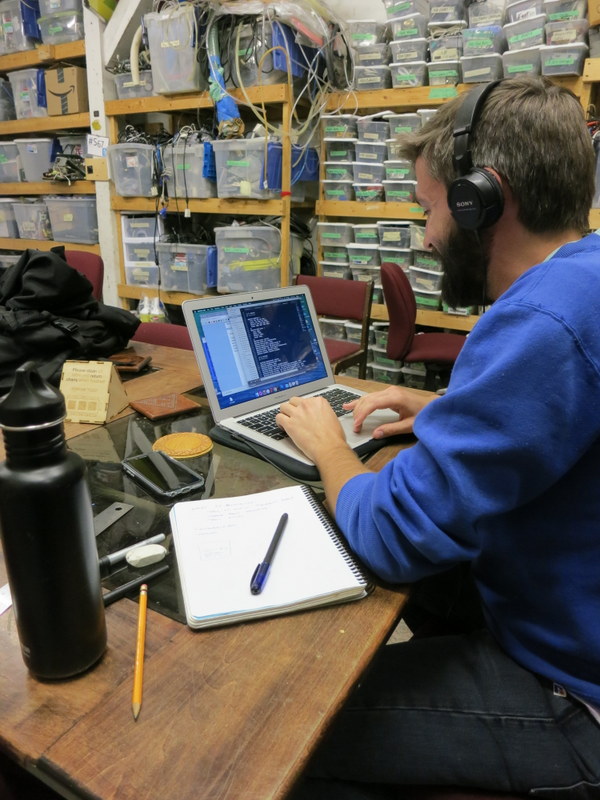
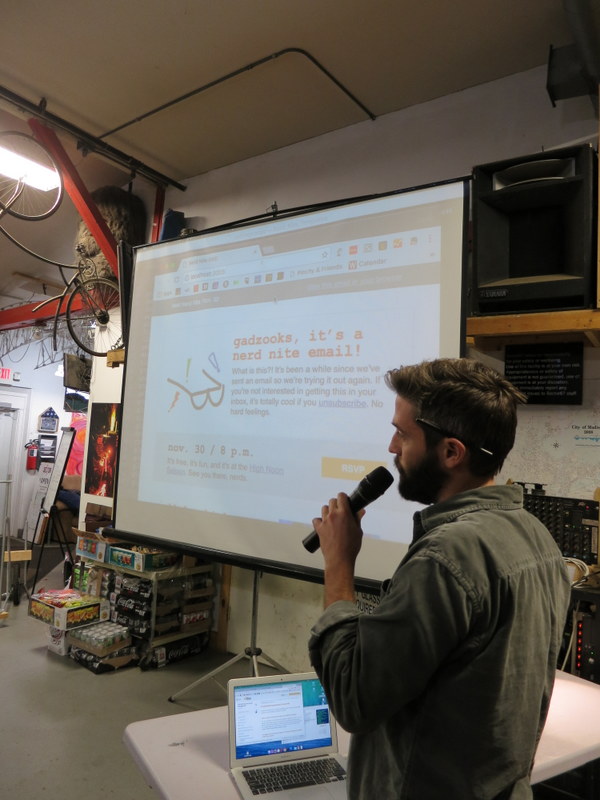
He had to be prodded occasionally but he was indeed alive, he’s just that focused! He spent a lot of type pulling together a responsive e-mail template for Nerd Nite and ultimately was successful. E-mails resize automatically depending on screen size and the message drops features based on compatibility so phone readability is just as good as a desktop environment.
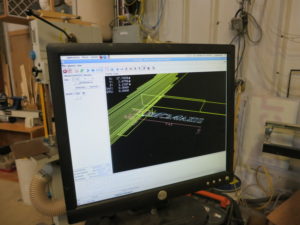
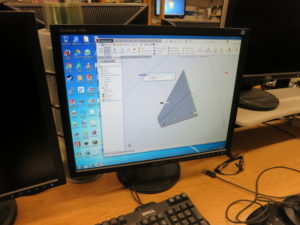
Lastly, Mark moved from concept to reality on a pellet stove hopper:
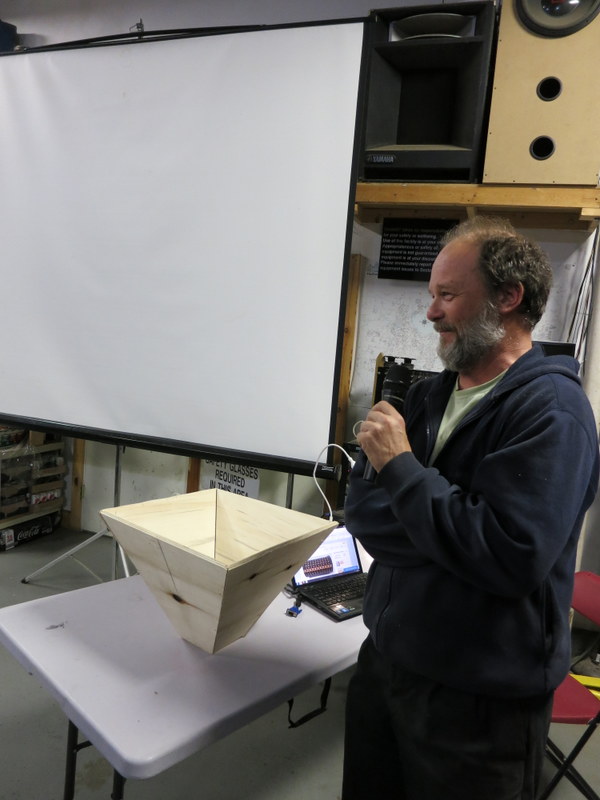
He used Solidworks to create a template for a folded version of the box, but ultimately decided that plywood would be a lot simpler and worth prototyping with first. He used a sheet of 3/4″ plywood on the CNC router to cut out a pattern and then mitered it on the table saw. The box went together afterwards and is ready to be stacked on top of the existing feeder to add another bag of capacity. This means going away on the weekend won’t result frozen pipes.
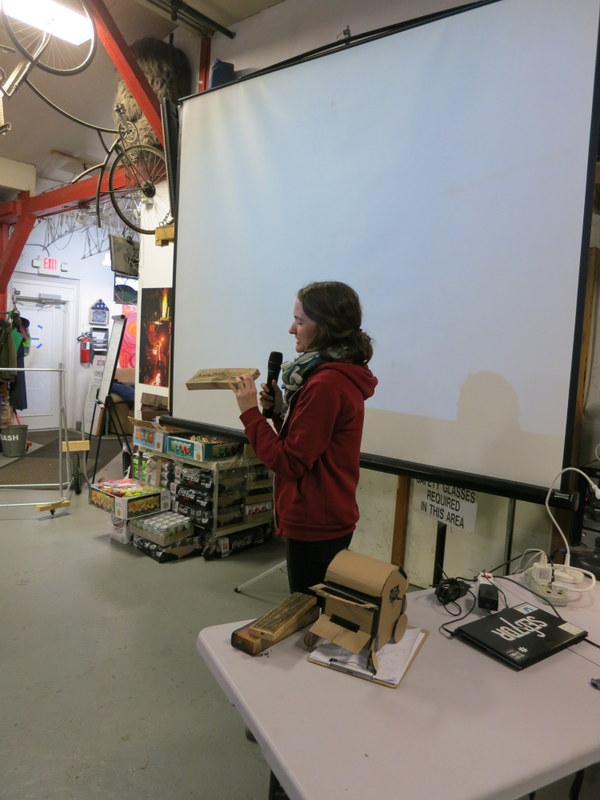
Thanks to Capital Entrepreneurs for the event sponsorship and great pizza that was throughly enjoyed!
Overall everyone had a great time! Build Madison is intentionally a low structure event, meaning participants are free to explore their projects and help one-another through out the 24 hours. We hope to see you next year and hope you enjoyed the projects people were able to make in a short period of time.
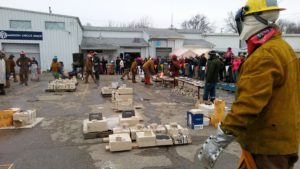
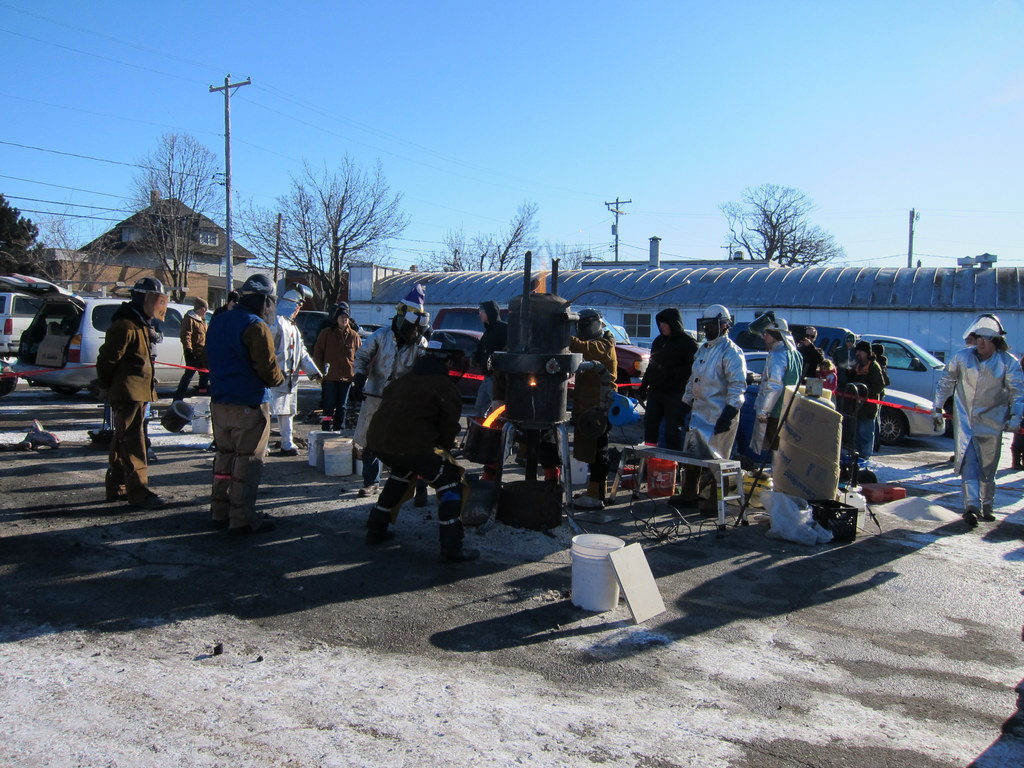
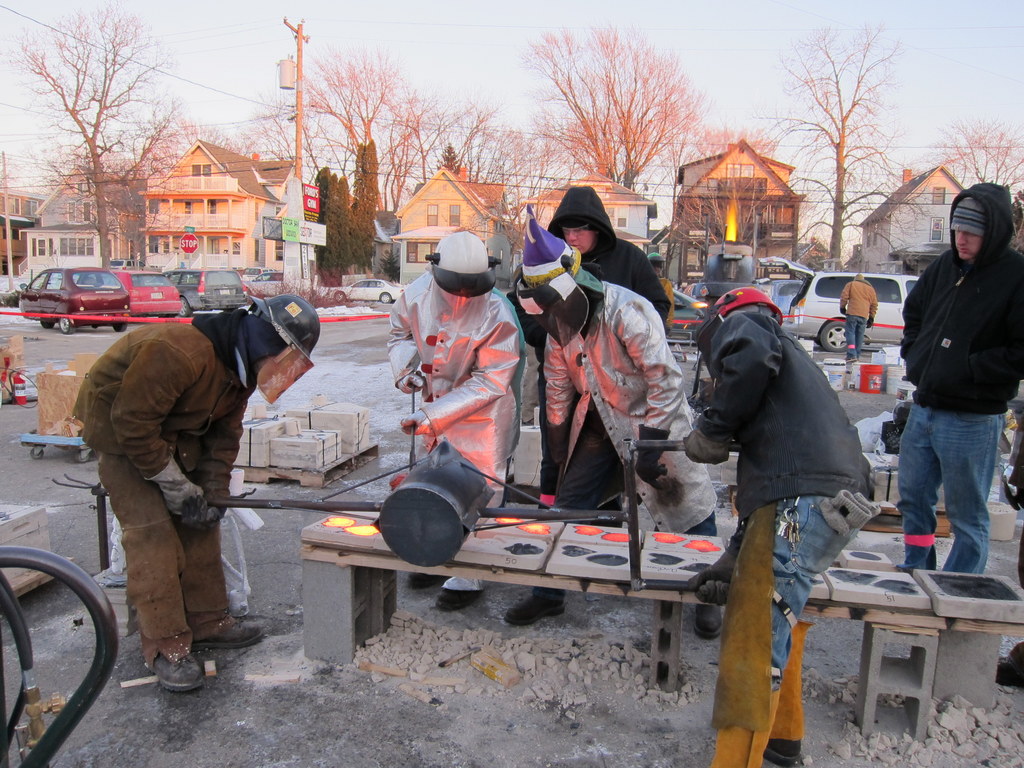
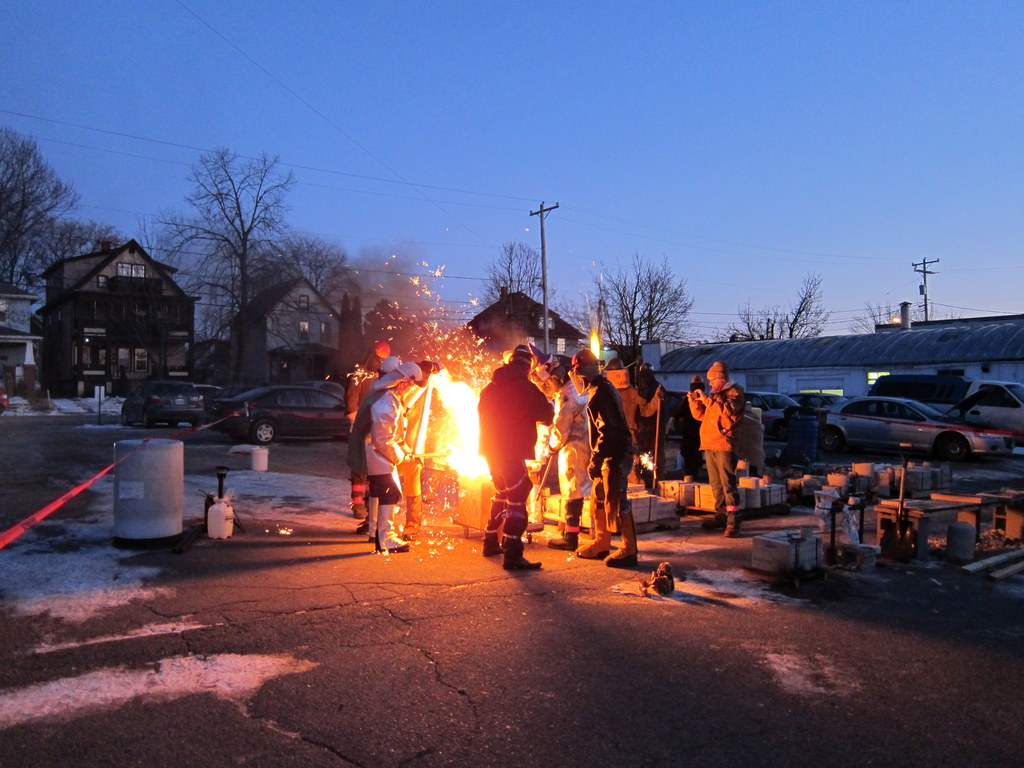
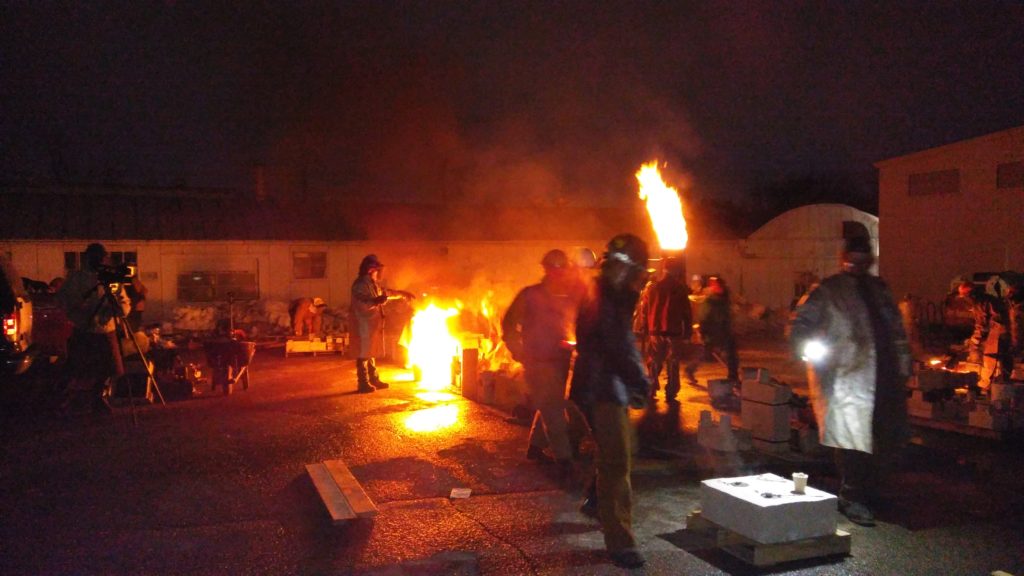 Experiencing the energy of it was similar to attending a festival. The cultural atmosphere was great for capturing footage and images that was impressionable. There was chili, hot drinks, and beer (BYOB) as well as classic American Rock music playing. For mid February, the weather was a little mild and the sun shined right into the parking lot of Sector67, in which we were able to enjoy.
 Excited as the first time I rode the Eagle at Great America, I recorded video and snapped away with my phone camera. My intentions were to create a video that would be one of the most memorable. So, I stepped out of my comfort zone and asked workers and volunteers of the Iron Pour for interviews. Actually, you could hear my nervousness as I asked questions in the video. In fact, this is the first video I ever recorded and edited for real viewing purposes. There was hours upon hours of editing involved with making the Iron pour video. Funny thing is, it only runs for about twelve minutes. The interviews are the best parts of the Iron Pour for me personally because I was able to learn about the people who make it happen. They were all from different states and all knew each other through professional and personal networks. The interviews took me beyond the idea of an event, and more into the realms of service and lovingkindness of people. The February Pour N’ Yer Out Iron Pour with Felion Studios and Sector67 is honestly a life experience I will never forget.
 s
s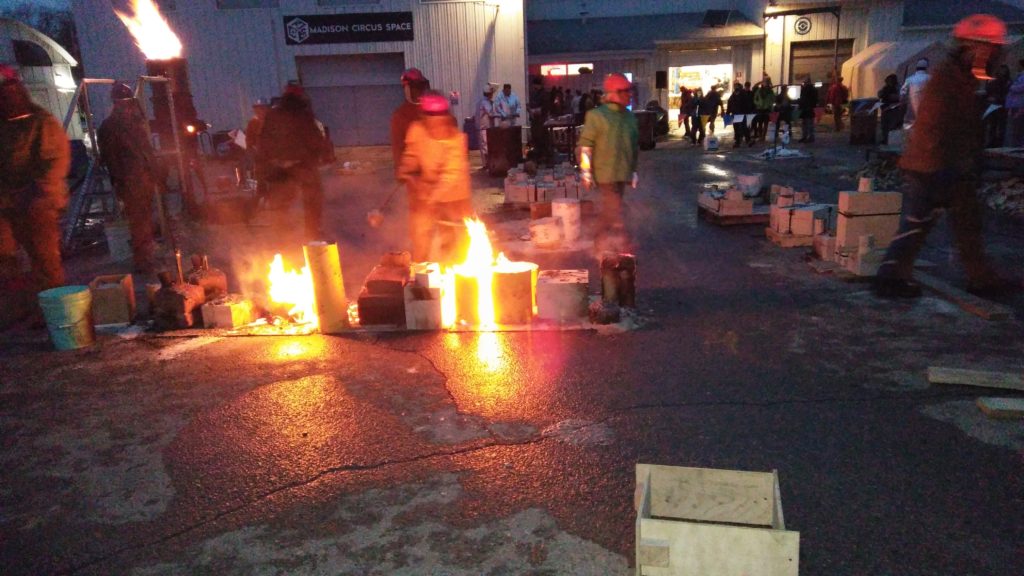


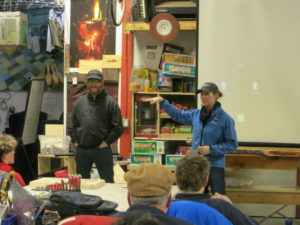
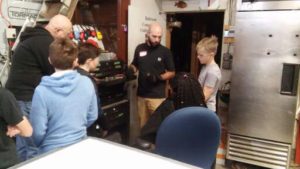
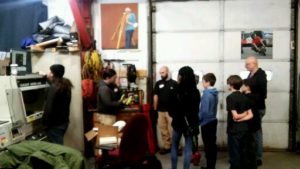
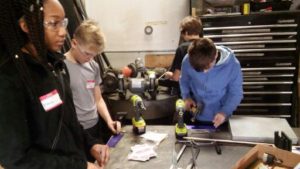
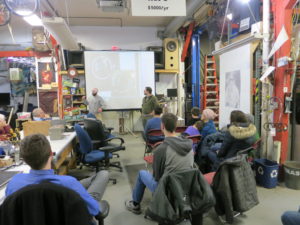
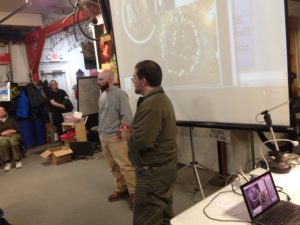
 After going over some safety precautions, brief history of metal working, and description of the tools of the trade, Quincy and Scott began demonstrating the usage of the tools. Soon after, the students began handling the tools by themselves. They also got a lecture and example of shop etiquette.
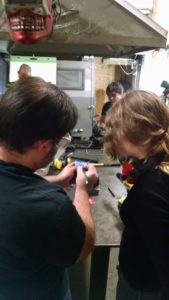


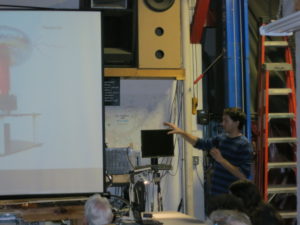
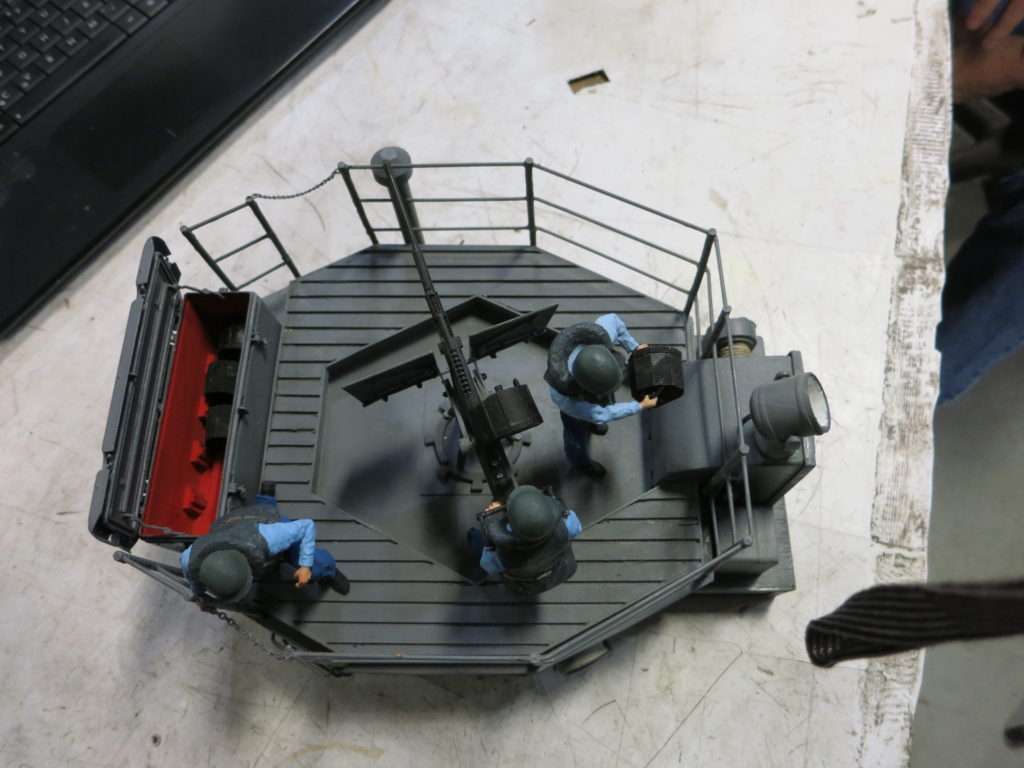
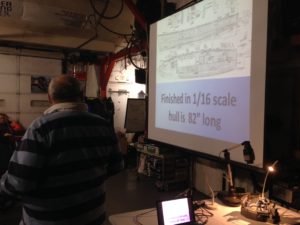 John pointing out the measurements of a tugboat he is working on. The original boat itself was built in Sturgeon Bay, Wisconsin.
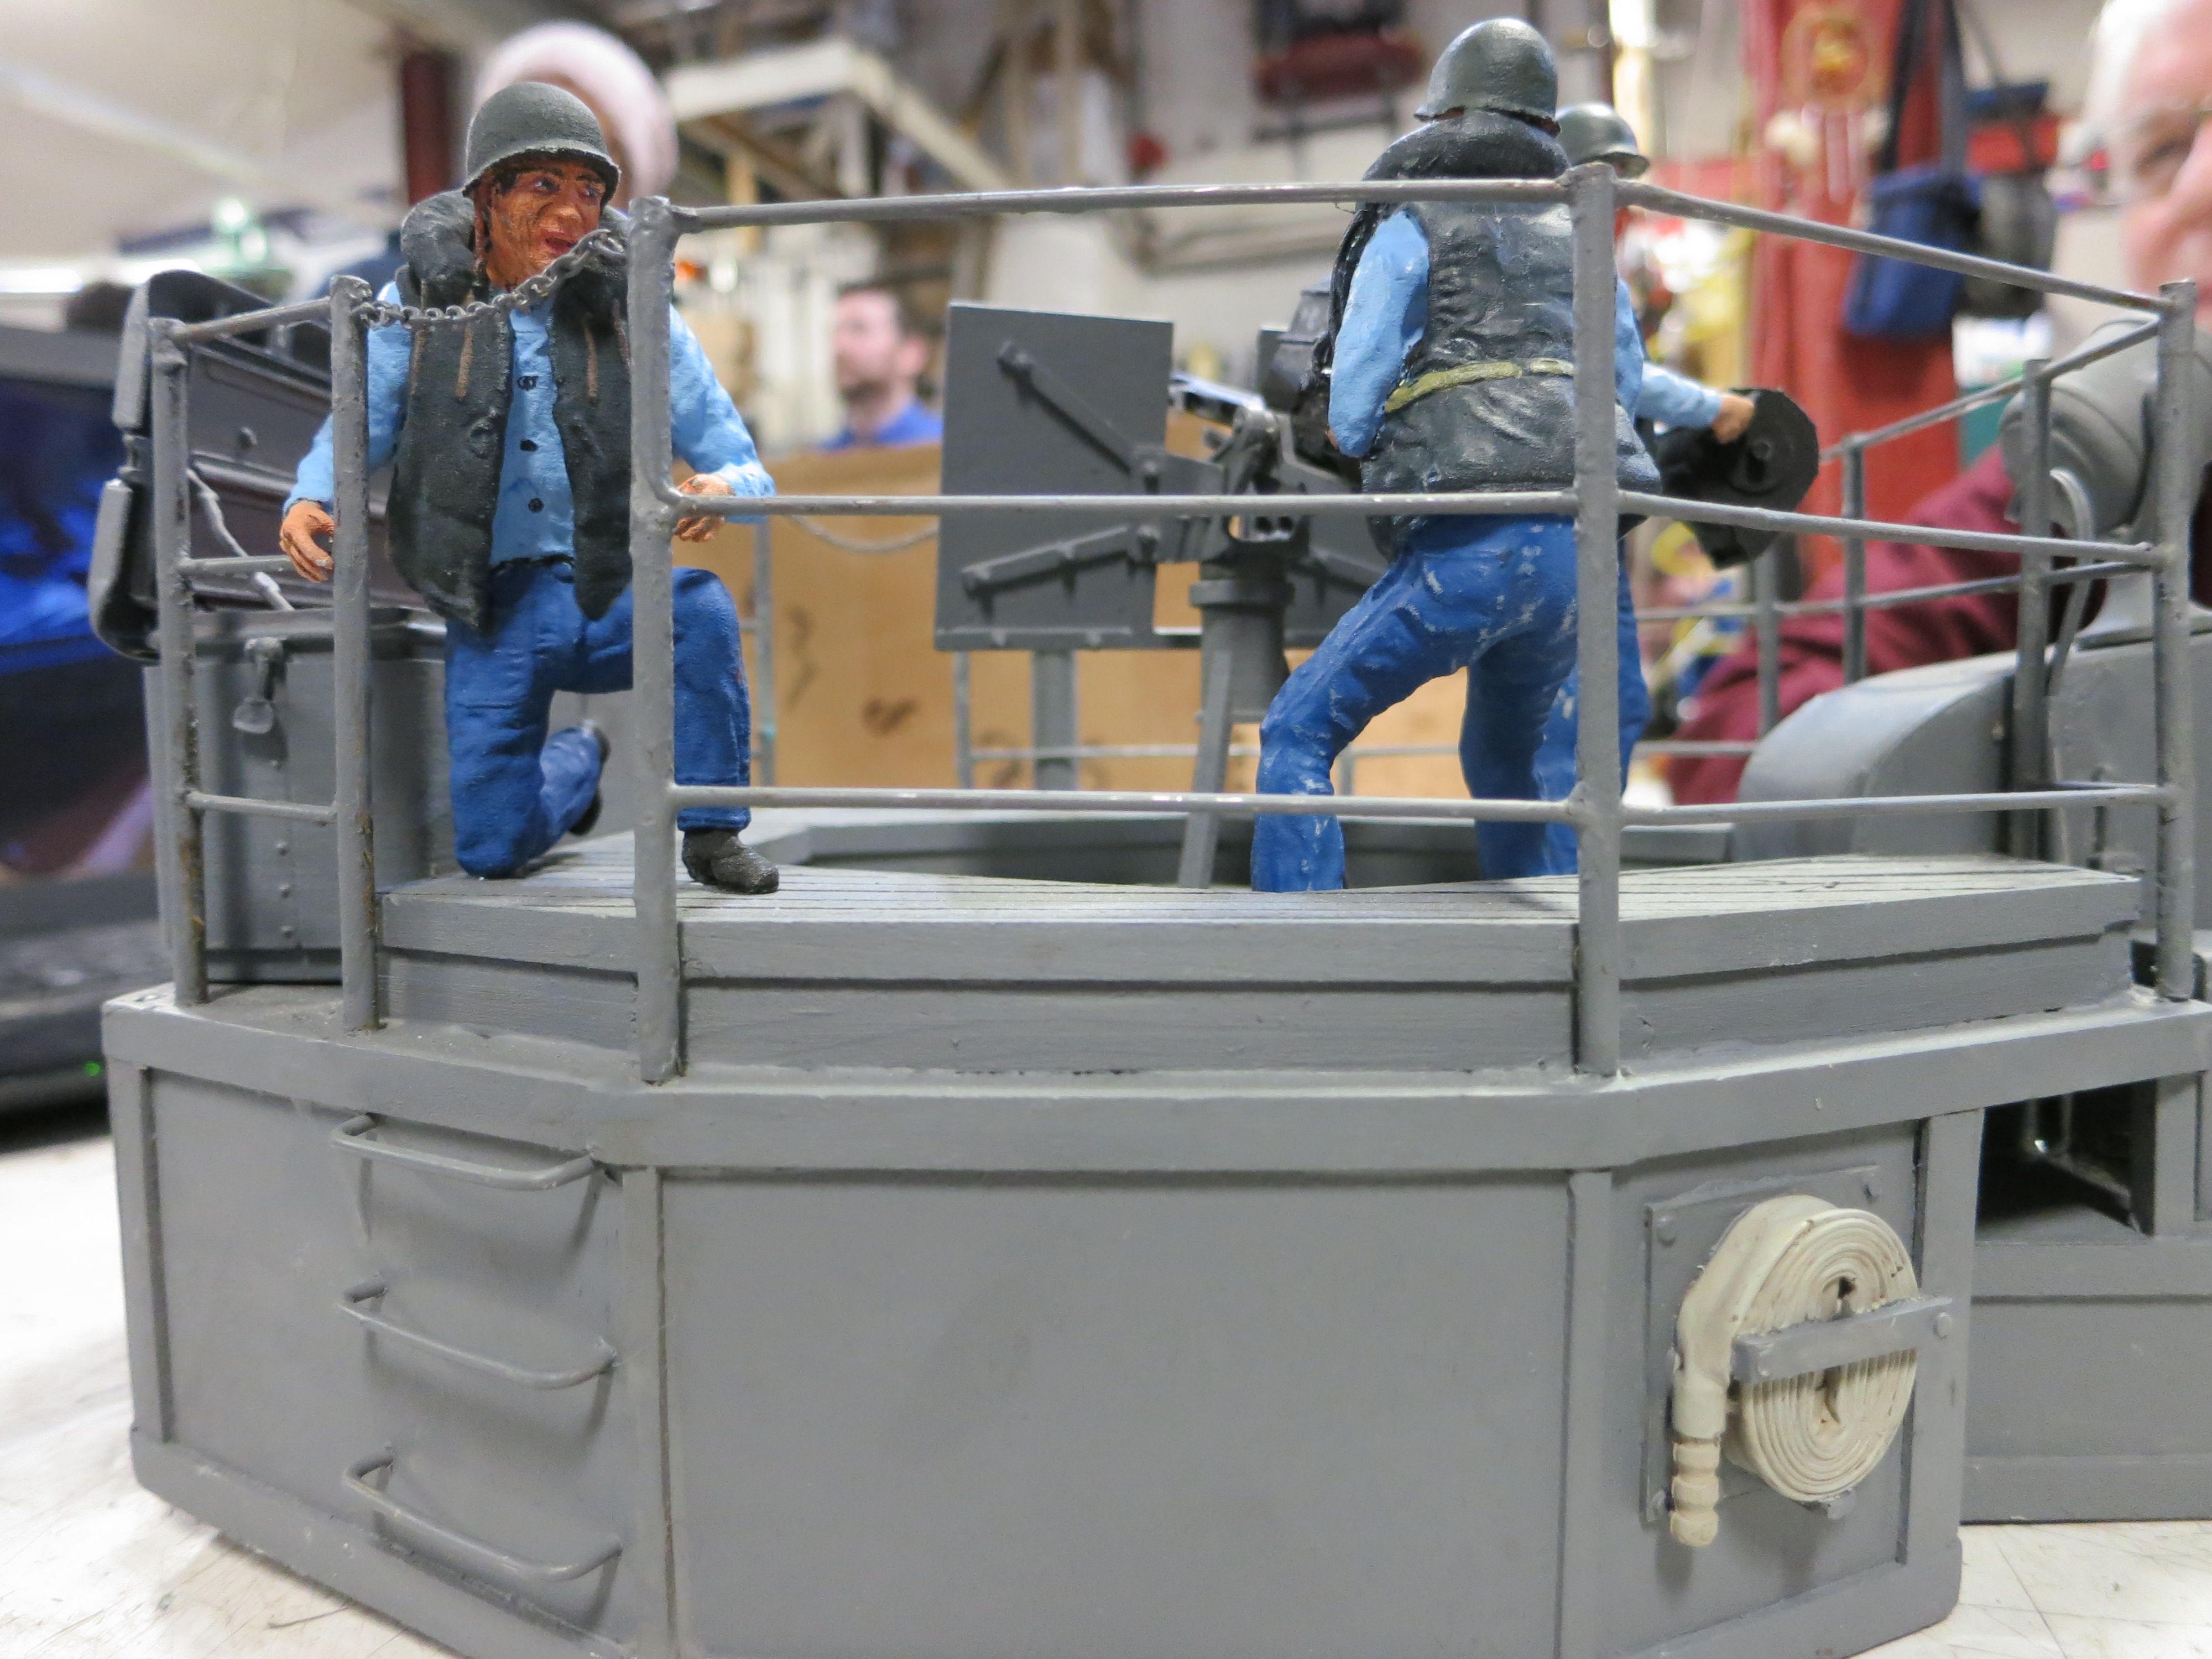
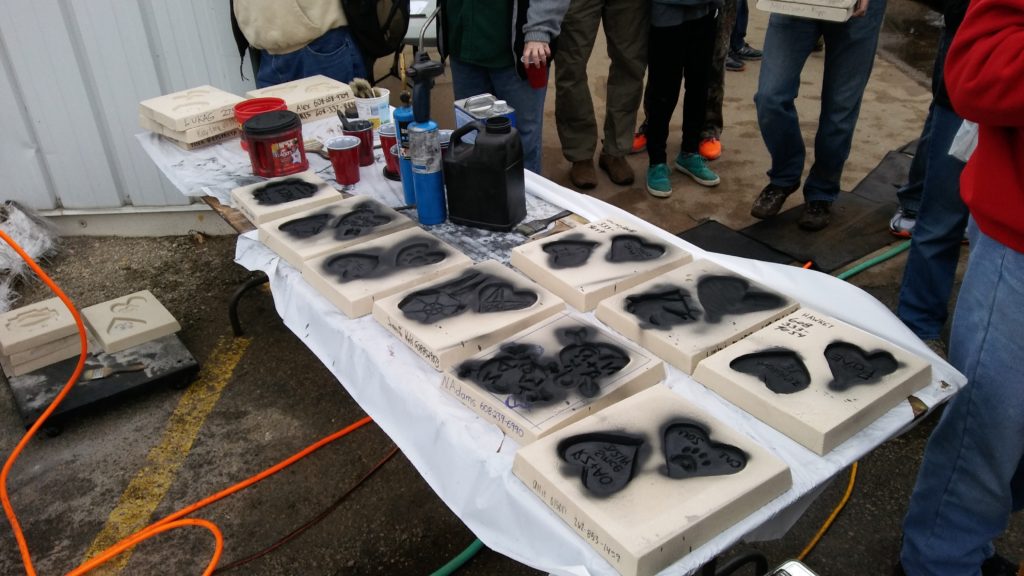
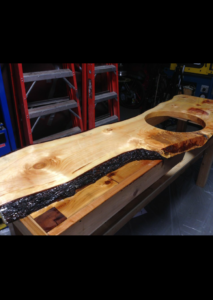
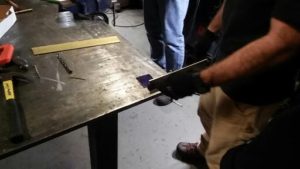
 I captured some images of some rough cuts while Luke was speaking.
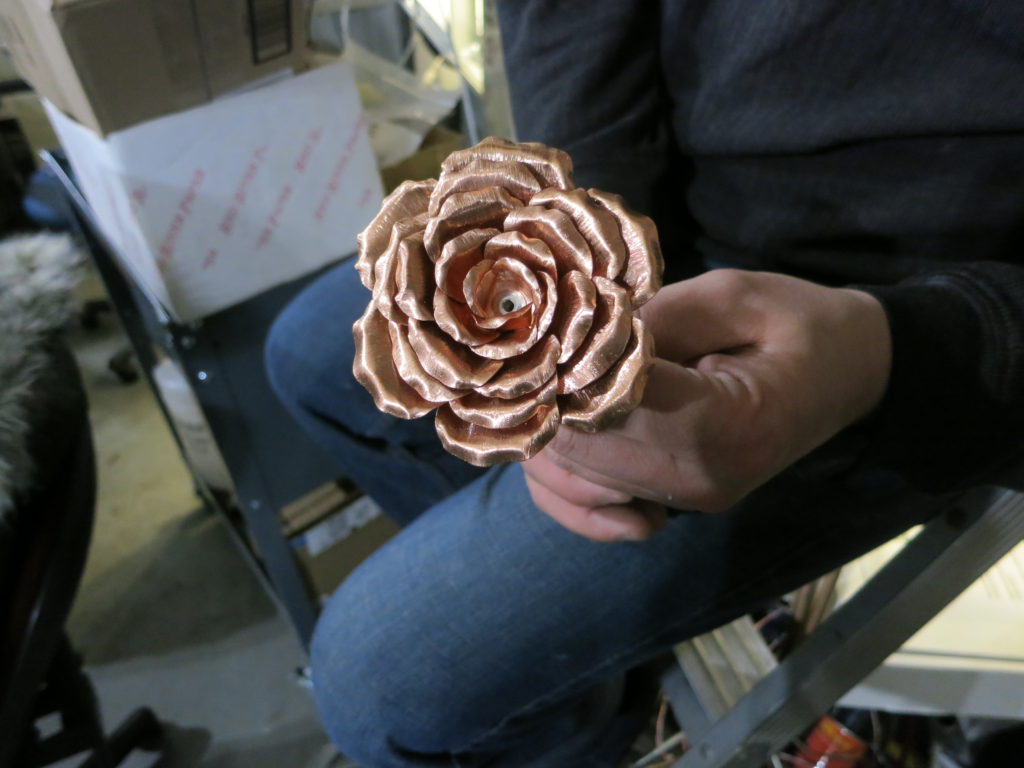
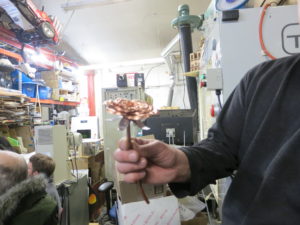 Sideview of a completed metal rose. Slightly bent copper tubing makes up the stem. Copper cuts makes up the leaves and petals on this one.
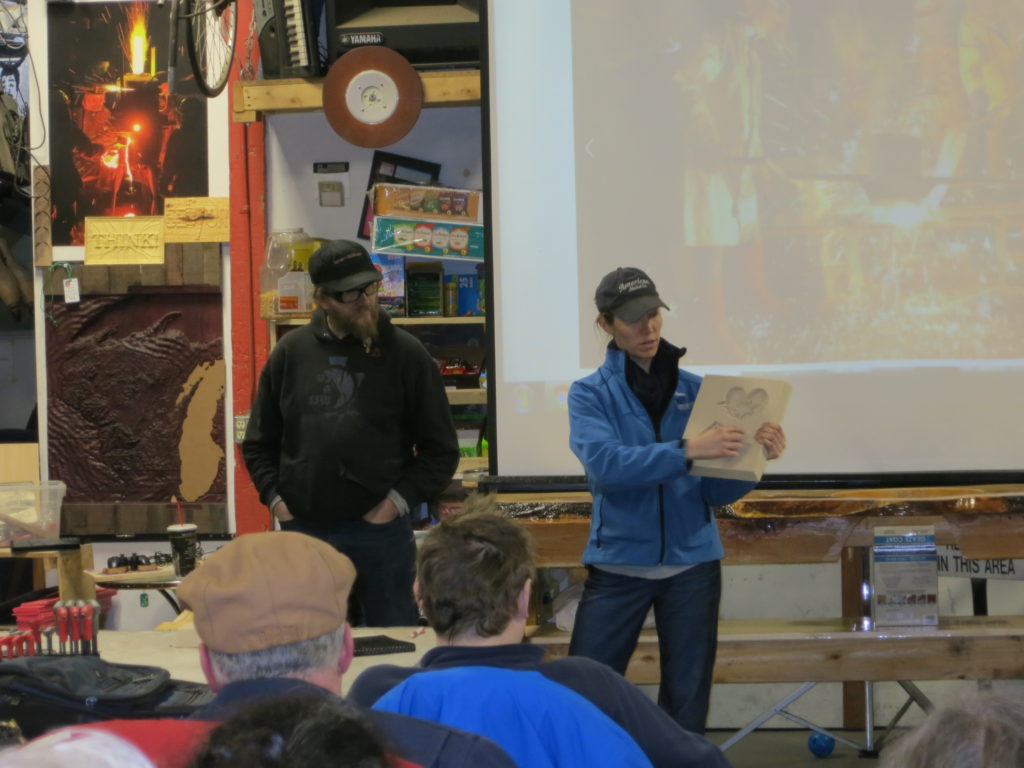
 Adrian is an industrial designer that recently completed some “bottle caps signs” for a client of his. He brought us some pictures and discussed some of the challenges he met while designing them. While speaking to me, Adrian told me that he likes Sector67 for all of the tools and the great networking. In fact, Adrian found out about Sector67 from a friend.
 Adrian explaining how the the lighting in this model illuminates the whitespace inside and around the logo.
 We’re excited to announce the 7th annual Build Madison event coordinated by